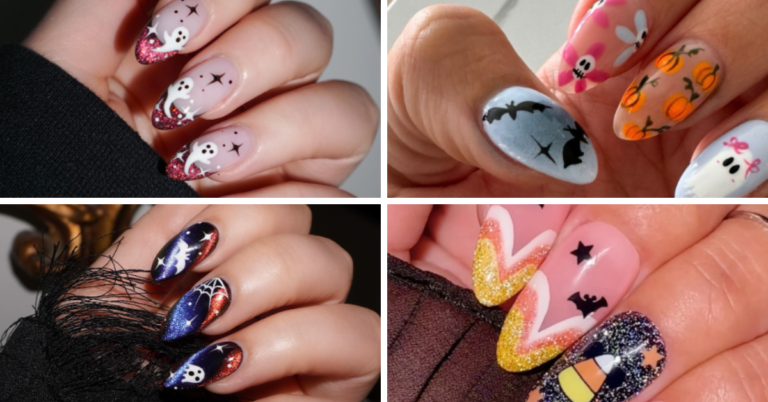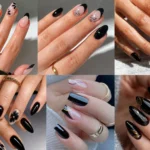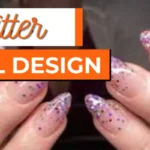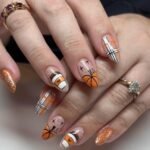

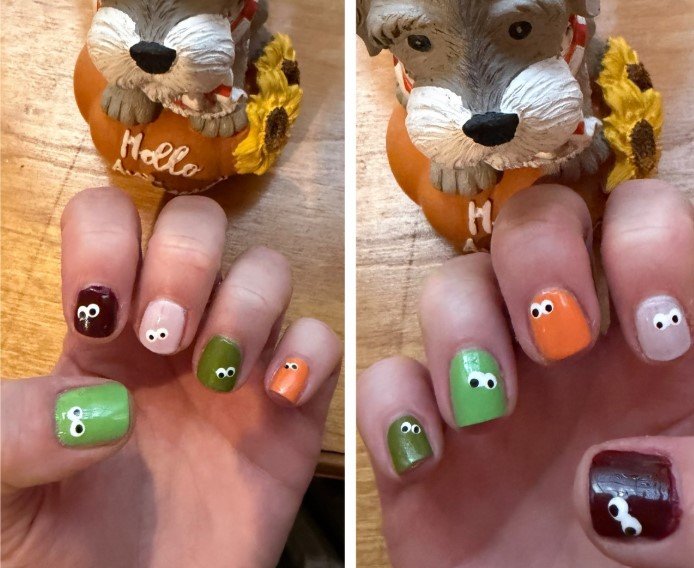
Halloween nails do not have to be complicated to make a statement. From tiny ghosts and spiderwebs to glitter, pumpkins, and moody ombre shades, there are plenty of easy Halloween nails you can recreate at home without advanced nail-art skills. Whether you want something cute, spooky, glamorous, or a little creepy, these quick DIY ideas offer plenty of inspiration for your next Halloween manicure.
1. Glitter Nails
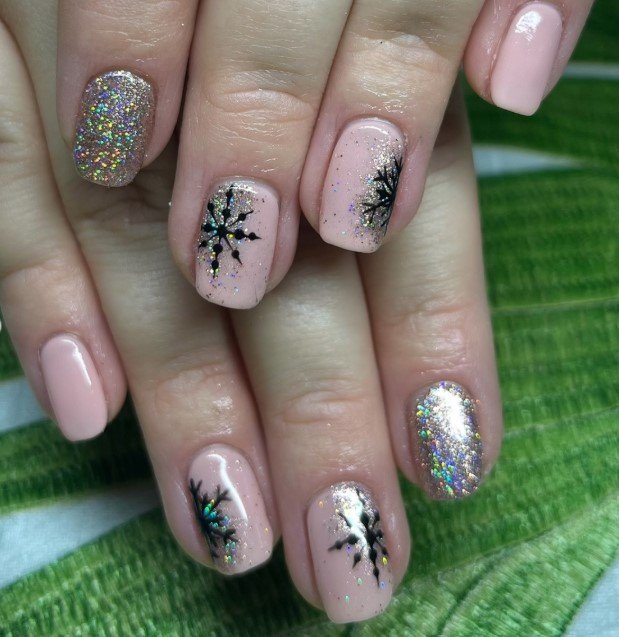
Glitter can make a simple Halloween manicure feel festive without requiring detailed nail art skills. Try a black, deep purple, or burnt orange base topped with fine glitter for a sparkling finish. You can also place glitter only on the tips or one accent nail to keep the look easy. This style works especially well for quick DIY Halloween nails.

2. Witchy Nails
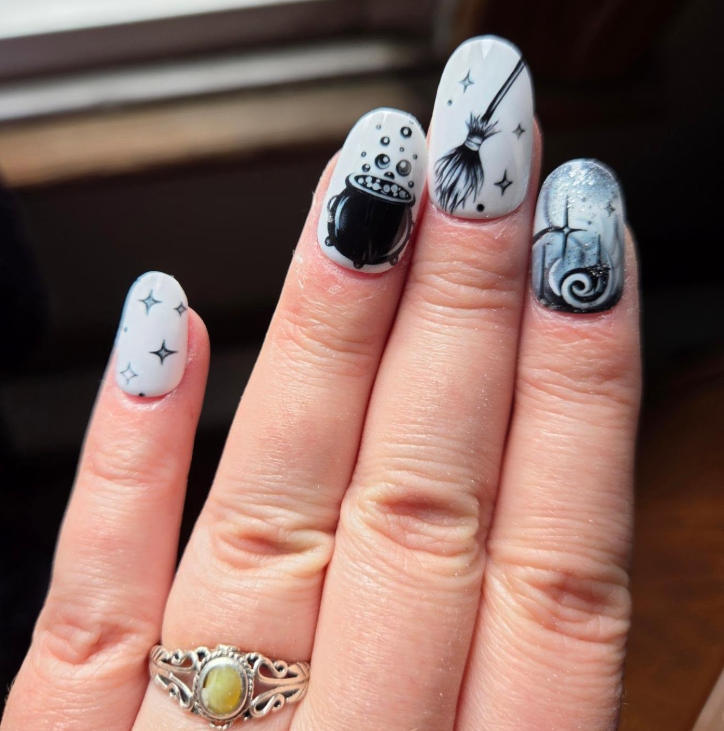
Witchy nails can be created with dark shades and a few simple magical details. Start with black, charcoal, plum, or forest green polish, then add tiny stars, moons, or pointed shapes using a thin nail-art brush. A glossy finish gives the manicure a dramatic look, while matte polish creates a moodier effect without adding much extra work.
Credit: @janisdulude
3. Spiderwebs
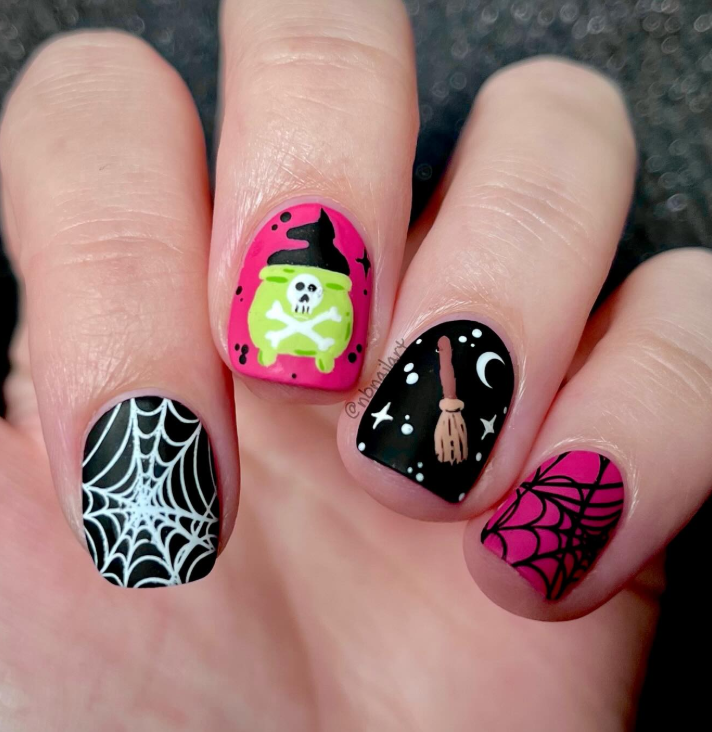
Spiderweb nail art looks intricate but can actually be made with just a few thin lines. Paint your nails black or another dark shade, then draw three or four curved lines crossing from one corner before adding small connecting strokes. White, silver, or orange details stand out beautifully against a dark base and instantly give the manicure a Halloween feel.
Credit: @nbnailart
4. Color Palettes
Choosing the right Halloween colors can make even plain nails look seasonal. Classic combinations include black and orange, purple and green, or white with deep red accents. For something softer, try nude nails with tiny touches of pumpkin orange or charcoal. Keeping the palette limited to two or three shades also makes DIY application much easier.
5. Moon and Stars
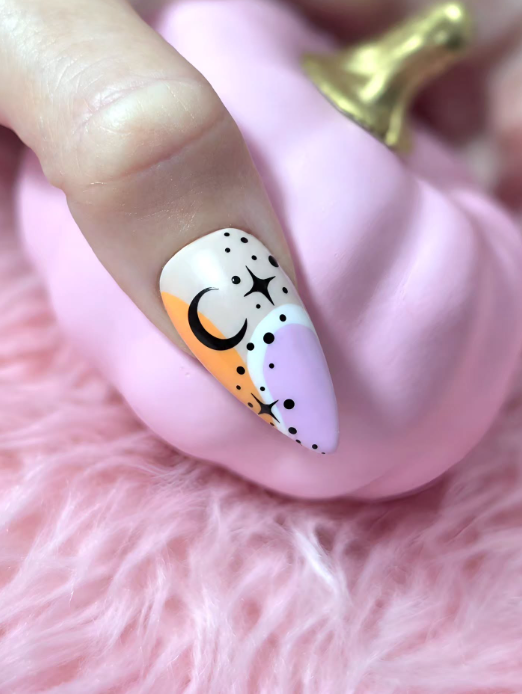
A moon-and-stars manicure brings a subtle mystical touch to Halloween nails without complicated artwork. Use a navy, black, or deep purple base and add small crescent moons with scattered stars in white, gold, or silver. Keeping the celestial details tiny allows you to create the design with a dotting tool or toothpick instead of needing advanced nail-art skills.
6. Frankenstein
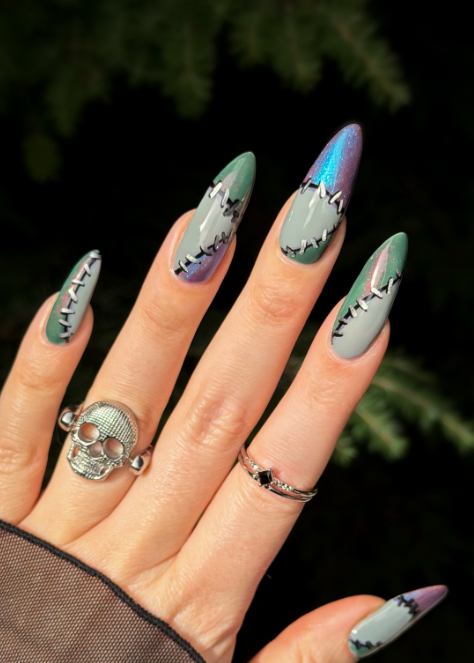
Frankenstein nails are a fun choice when you want a recognizable Halloween character with simple shapes. A bright green base can represent Frankenstein’s face, while black lines create his hair, brows, mouth, and stitches. You do not need every nail to show the complete face; alternating green nails with black or neutral accents can make the design easier to recreate.
7. Leaf Patterns
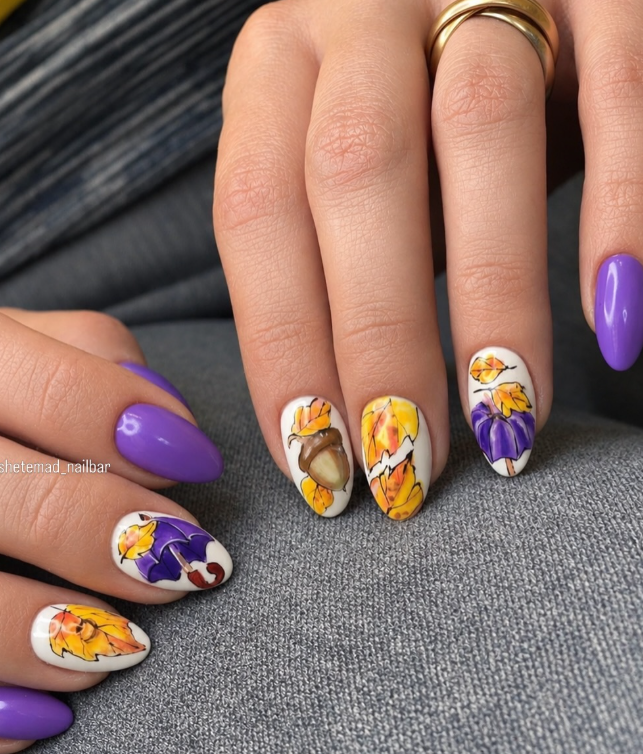
Leaf patterns give Halloween nails an autumn-inspired look while staying simple enough for DIY styling. Paint tiny leaves in orange, mustard, brown, or dark green over a nude, cream, or muted background. You can scatter the leaves across the nail or place them near the tips for a cleaner design. Fine outlines help each little leaf stand out.
Credit: @mehrnooshetemad_nailbar
8. Glow-in-the-Dark
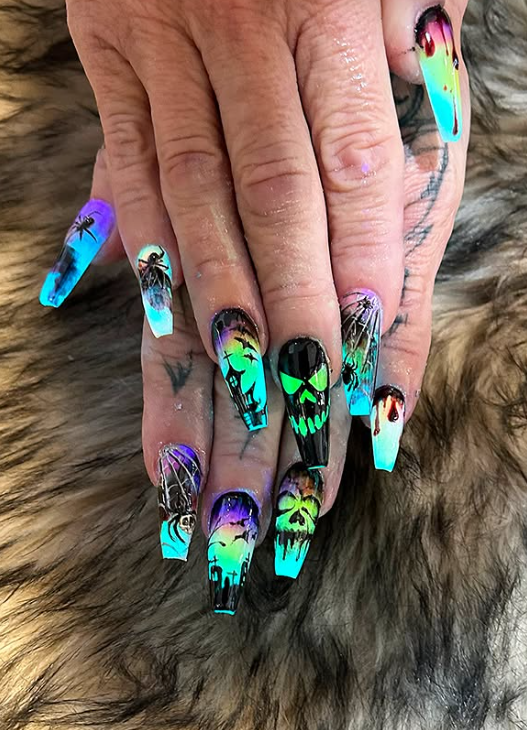
Glow-in-the-dark nails bring a playful surprise to a simple Halloween manicure. Start with a pale or neutral base and add spooky shapes such as ghosts, stars, pumpkins, or tiny dots using glow polish. The daytime design can stay understated, while the details become much more noticeable in low light. This makes the finish especially fun for Halloween parties.
Credit: @nailsbyhieu_swnails
9. Blood Spatter
Blood-spatter nails create a dramatic horror-inspired effect without requiring detailed illustrations. Begin with a white, nude, or pale pink base, then add small red splatters near the tips or across selected nails. A thin brush can create controlled drips, while a tiny flicking technique gives a more scattered effect. Keep the red concentrated for a stronger visual impact.

10. Vampire Nails
Vampire nails look striking with deep red, black, and glossy finishes. Try a black base with pointed red tips that resemble vampire fangs, or use dark burgundy polish with tiny dripping accents. A high-shine top coat makes the colors appear richer and more dramatic. The design can stay minimal while still giving your manicure a distinctly gothic Halloween mood.
11. Jack-O-Lanterns
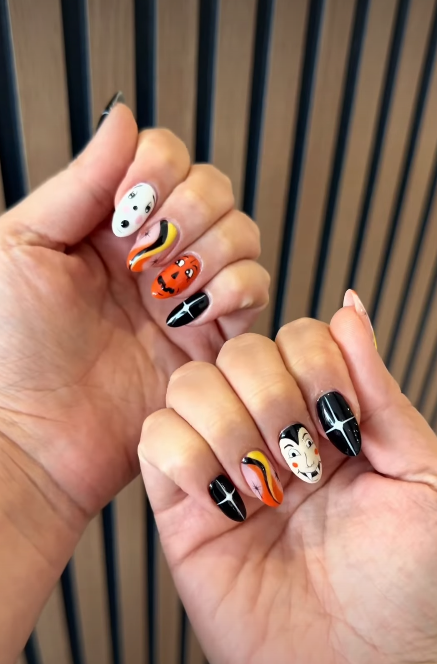
Jack-o-lantern nails are one of the easiest ways to bring classic Halloween imagery to your manicure. Use orange polish for rounded pumpkin shapes and add simple black triangles for the eyes and a small zigzag mouth. You can place one pumpkin on an accent nail and keep the remaining nails orange or black for a quicker DIY version.
Credit: @josiemaida
12. Ombre Nails
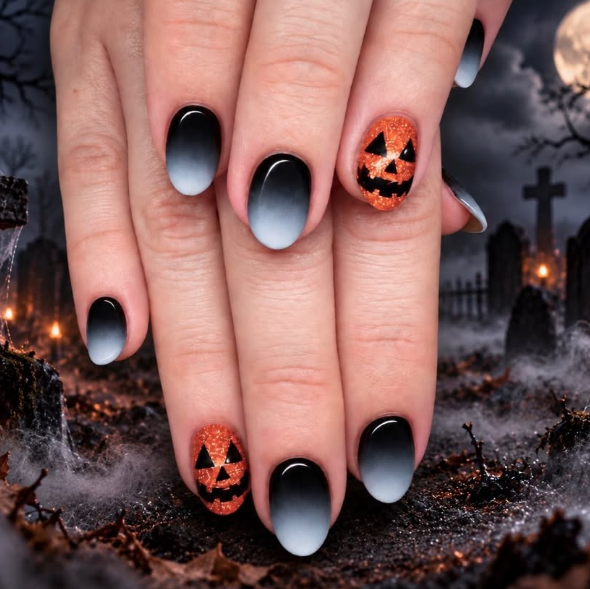
Halloween ombre nails create a spooky effect through blended shades rather than detailed artwork. Try fading black into orange, burgundy into black, or purple into a deep charcoal tone. A makeup sponge can help blend the colors smoothly before adding a glossy top coat. The result feels atmospheric and polished while remaining much easier than hand-painted designs.
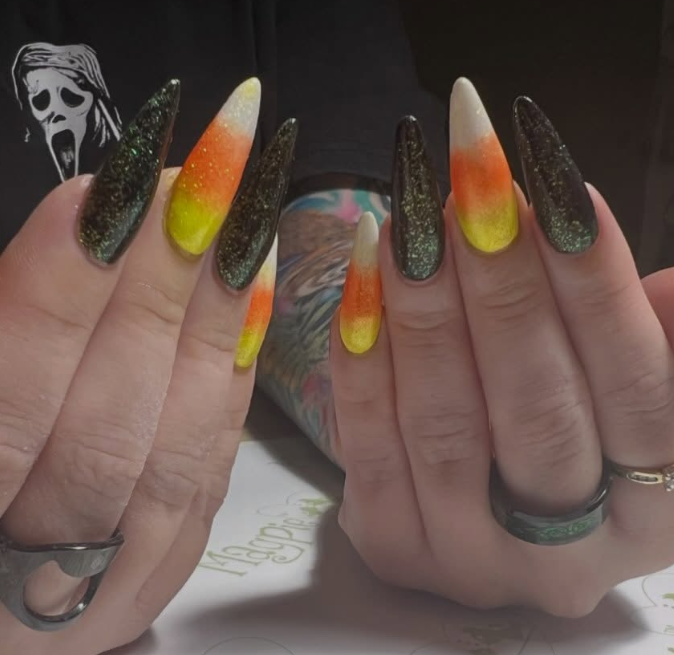
13. Candy Corn
Candy corn nails use the familiar orange, yellow, and white combination for a cheerful Halloween manicure. You can divide each nail into three curved or straight sections and layer the colors from light to dark. For an easier version, paint just one or two candy-corn accent nails and keep the others a warm orange or creamy white.
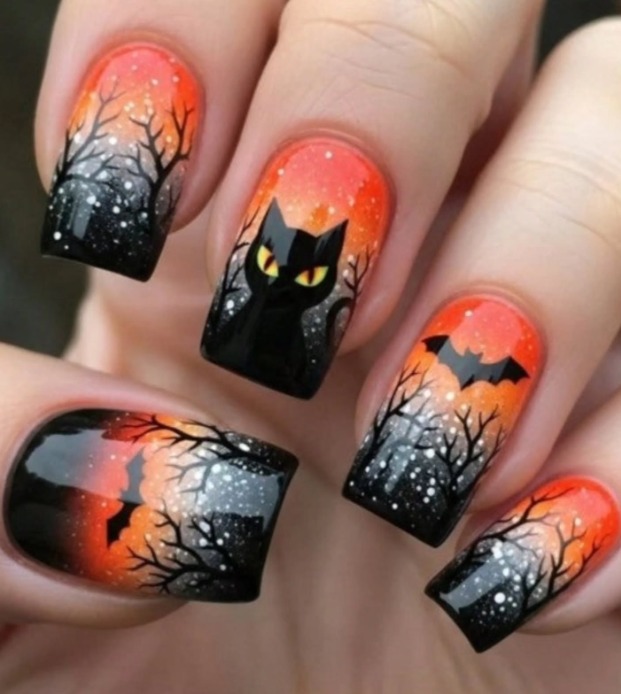
14. Bats and Cats
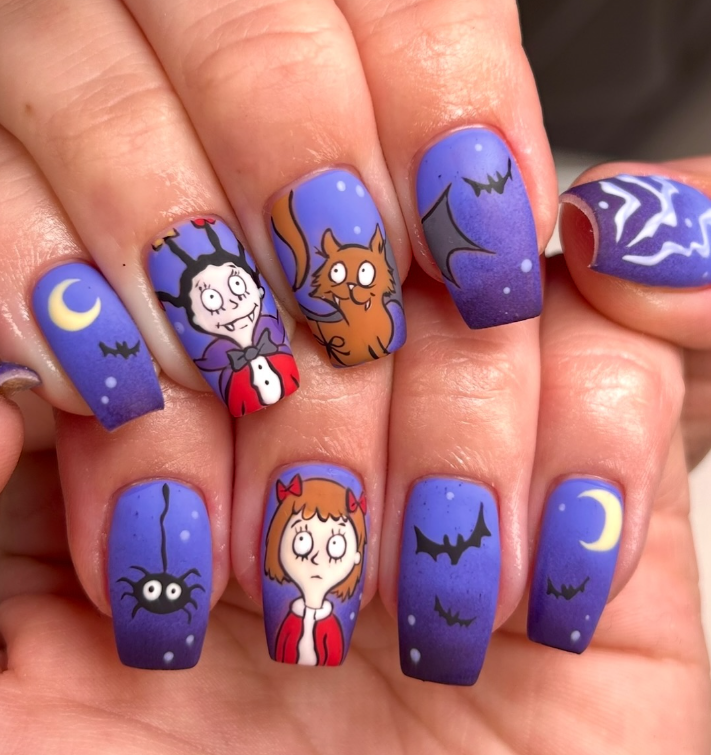
Bats and cats make a playful pairing for an easy Halloween manicure. Use a neutral, black, or dark purple base and add tiny black silhouettes with simple pointed ears, curved tails, or outstretched wings. Because the designs rely mainly on recognizable outlines, they do not need to be perfectly detailed. Mixing the two creatures across different nails adds variety without extra complexity.
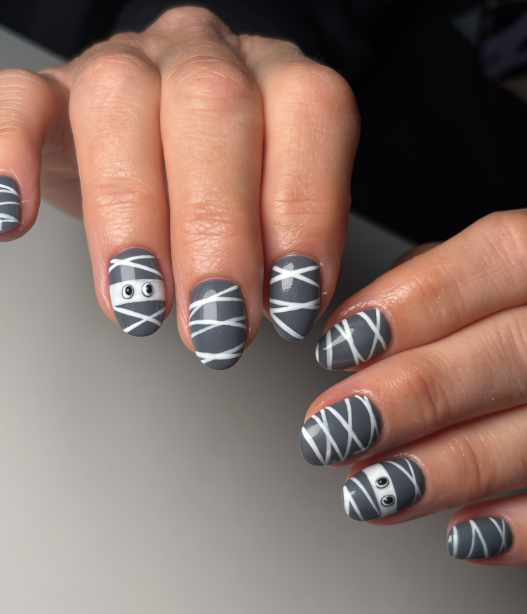
15. Mummy Designs
Mummy nails are easy to recognize because the design depends mostly on layered lines. Paint a beige, cream, or white base, then draw uneven black or gray strips across the nail to imitate wrapped fabric. Add two small eyes between the lines for a cute spooky expression. Slightly irregular lines actually make the mummy effect look more authentic and playful.
16. Bloody Good
A milky or pale manicure becomes much more dramatic with carefully placed red blood details. Keep the base soft and clean, then add thin red drips starting near the nail tips or cuticle area. Varying the length of each drip prevents the design from looking too uniform. The contrast between the delicate base and bold red details gives this manicure its spooky character.
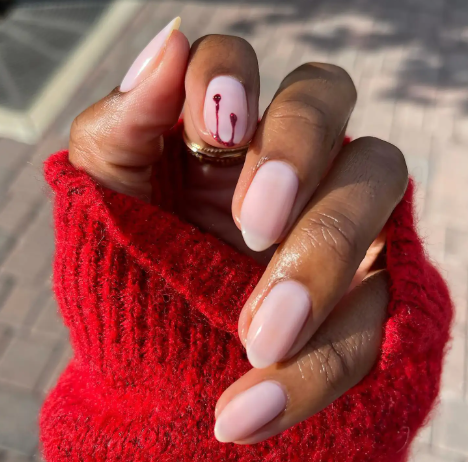
Credit: @lolo.nailedit
17. Boo-tiful Designs
Cute ghost details can turn a simple manicure into something charmingly spooky. Use a pale, nude, or transparent base and add tiny white ghost shapes with black eyes and small mouths. You can vary their expressions across the nails so each character feels slightly different. Small orange or purple accents can add Halloween color without making the design feel crowded.
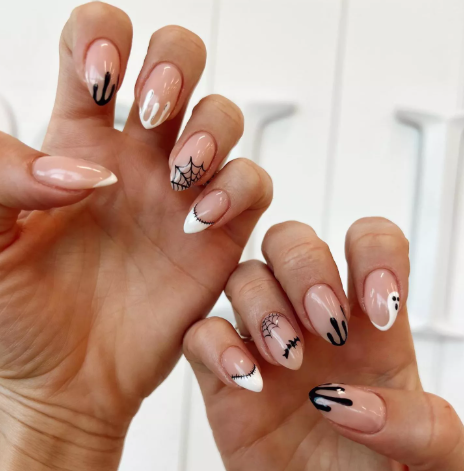
Credit: @nailsby.hails
18. Slime-Time Entertainment
Slime-inspired nails bring a playful monster effect through bright, gooey-looking details. Neon green polish works especially well against black, white, or nude backgrounds, especially when the green is painted in uneven drips. Add a few rounded drops near the tips to make the slime appear as though it is melting downward. A glossy top coat enhances the wet-looking finish.

Credit: @sunbeamnails
19. Ghosts With the Most
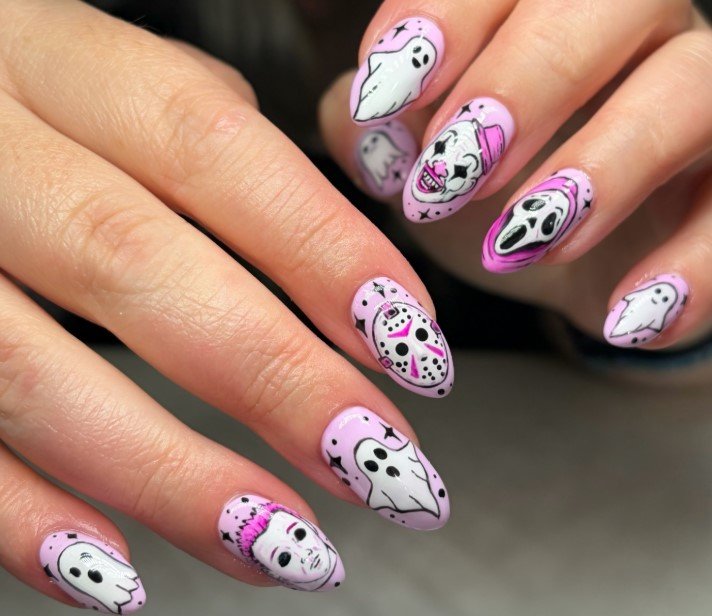
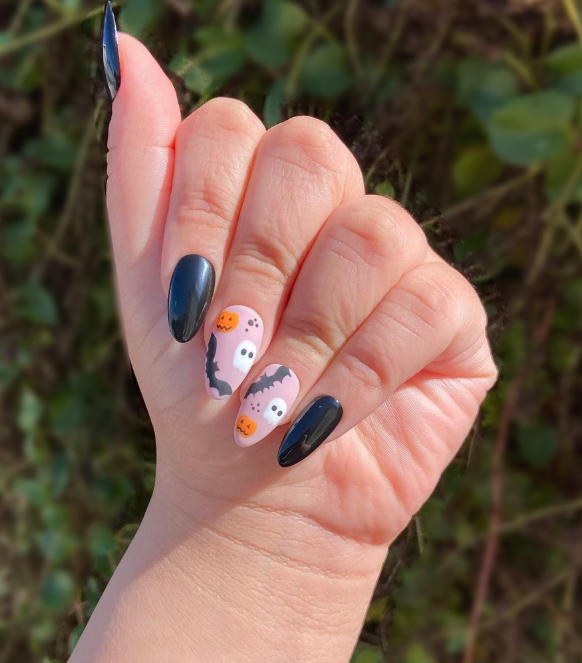
Ghost nails can be cute rather than frightening when you keep the shapes small and expressive. A sheer, nude, or pale pink base gives white ghost figures enough contrast without creating a heavy manicure. Add simple black eyes and tiny mouths, then scatter a few stars or dots around them. The result feels playful, clean, and easy to recreate at home.
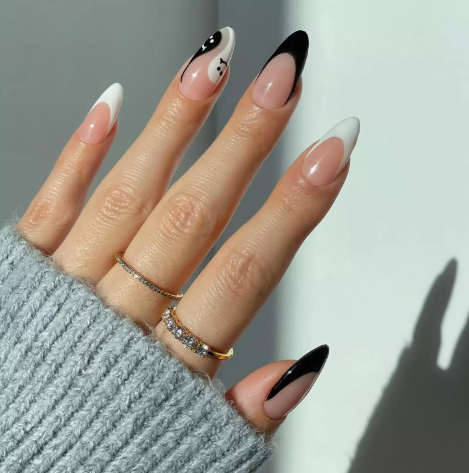
Credit: @disseynails
20. Up in Smoke
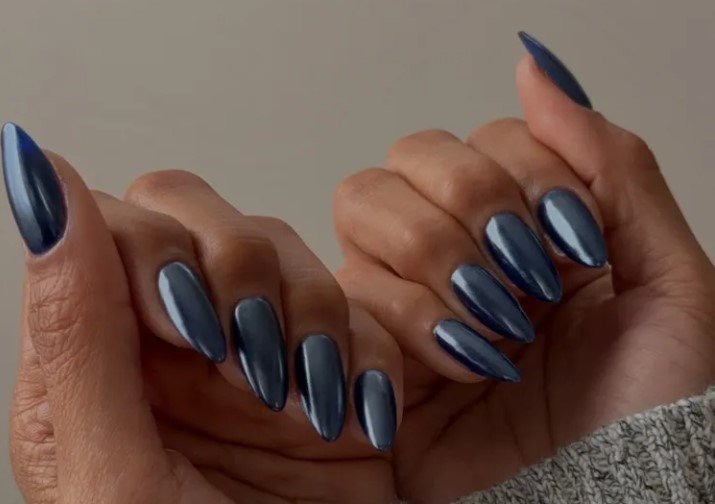
Smoky Halloween nails create a mysterious effect by blending wispy colors across the surface. Black, gray, purple, and muted white can be softly layered to imitate curling smoke. You can use a sponge or small brush to blur the edges instead of painting precise shapes. A glossy finish keeps the colors dimensional, while matte polish makes the smoky effect feel darker.
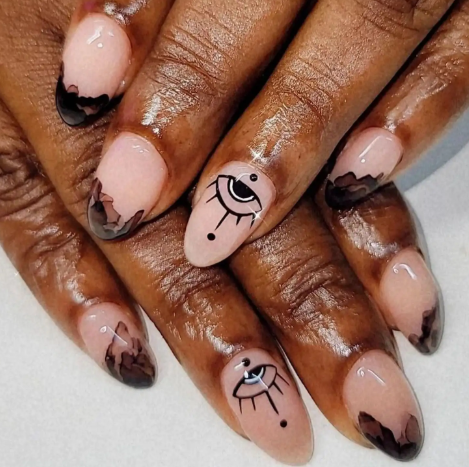
Credit: @nails_byely
21. Spooky Doodles
Spooky doodle nails are ideal when you want several Halloween elements without committing to one detailed design. Draw tiny pumpkins, ghosts, bats, stars, spiderwebs, or little faces over a simple neutral or dark base. The illustrations can remain slightly imperfect, which gives the manicure a handmade feel. Using a thin nail-art pen makes the small doodles much easier to control.
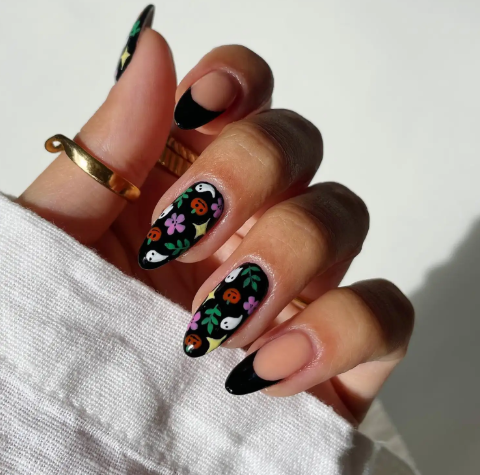
Credit: @phoebesummernails
22. A Medusa Moment
Medusa-inspired nails offer a more unusual Halloween look with serpentine details and rich, moody colors. Try a dark green, black, bronze, or deep brown base and add small snake-like curves across one or two accent nails. Metallic touches can suggest scales without requiring detailed painting. Keeping the design limited to a few nails makes this dramatic idea much more manageable for DIY styling.
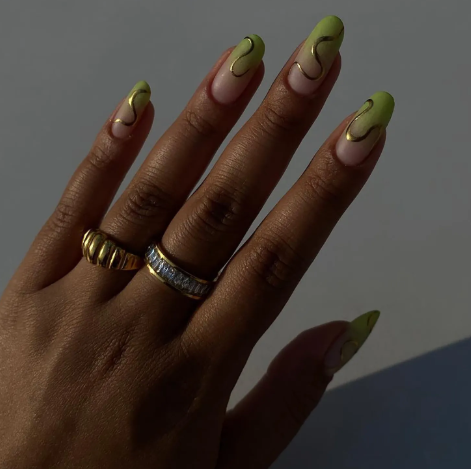
Credit: @nailsbysuman
23. Shimmering Cuticles
Shimmering cuticles add Halloween glamour without covering the entire nail in complicated artwork. Start with a sheer nude, pale pink, or soft neutral base, then place metallic glitter or shimmer close to the cuticle line. Gold, silver, copper, or dark reflective shades can create different moods. The concentrated sparkle draws attention to the nail shape while keeping the design clean.
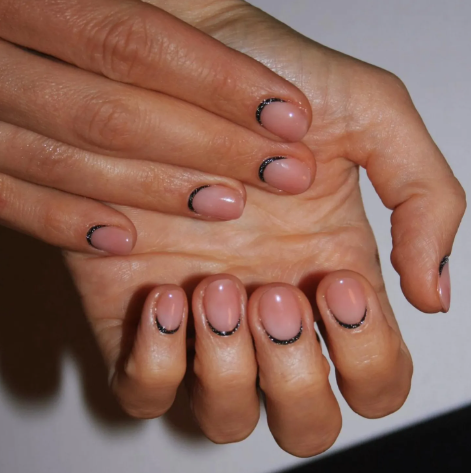
Credit: @imarninails
24. Midnight Magic
Midnight-inspired nails capture the darker side of Halloween with deep colors and tiny celestial accents. A black, midnight blue, or rich purple base works beautifully with silver moons, stars, or scattered specks of shimmer. Keep the artwork delicate so the dark background remains the main feature. This approach creates an elegant spooky manicure without requiring complicated painting techniques.
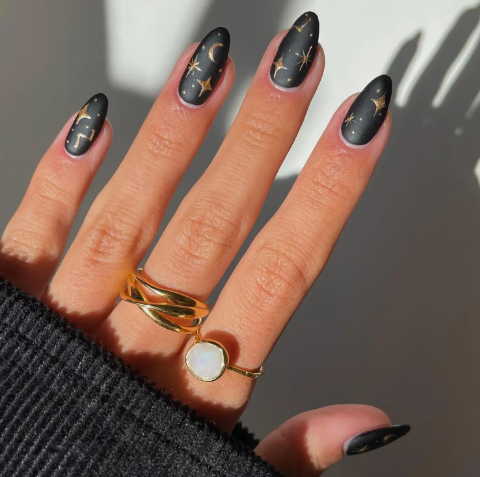
Credit: @phoebesummernails
25. Pretty in Pumpkin
Pumpkin nails can look sweet and polished when warm orange shades are paired with a soft or neutral base. Paint small pumpkins with rounded sections, then add simple green stems or tiny leaves for extra detail. Cream, blush, or nude backgrounds make the orange stand out beautifully. For a faster DIY manicure, feature pumpkins on only a few accent nails.
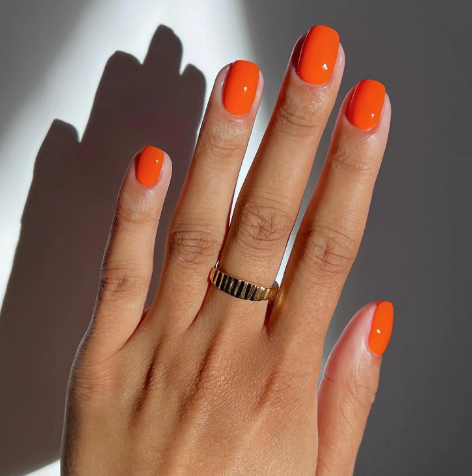
Credit: @iramshelton
Conclusion
With so many simple designs to choose from, creating a Halloween manicure at home can be much easier than it looks. Pick a style that matches your mood, grab a few seasonal shades, and start with small details before adding more if you like. Whether you choose playful ghosts, bloody drips, glowing accents, or classic pumpkins, these ideas make it easy to give your nails a festive Halloween makeover.