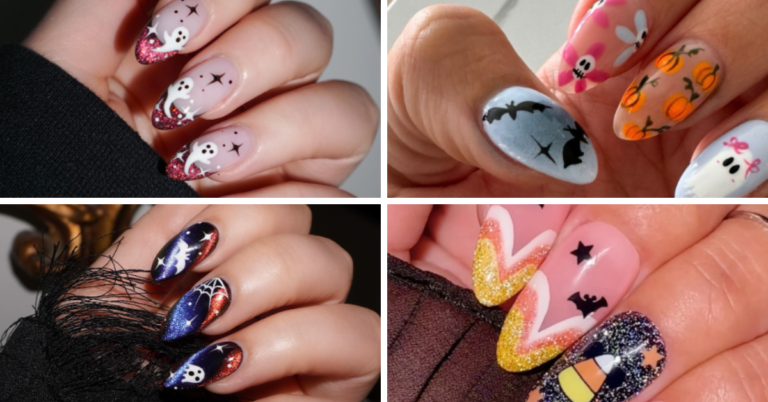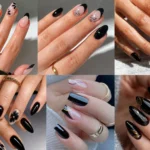

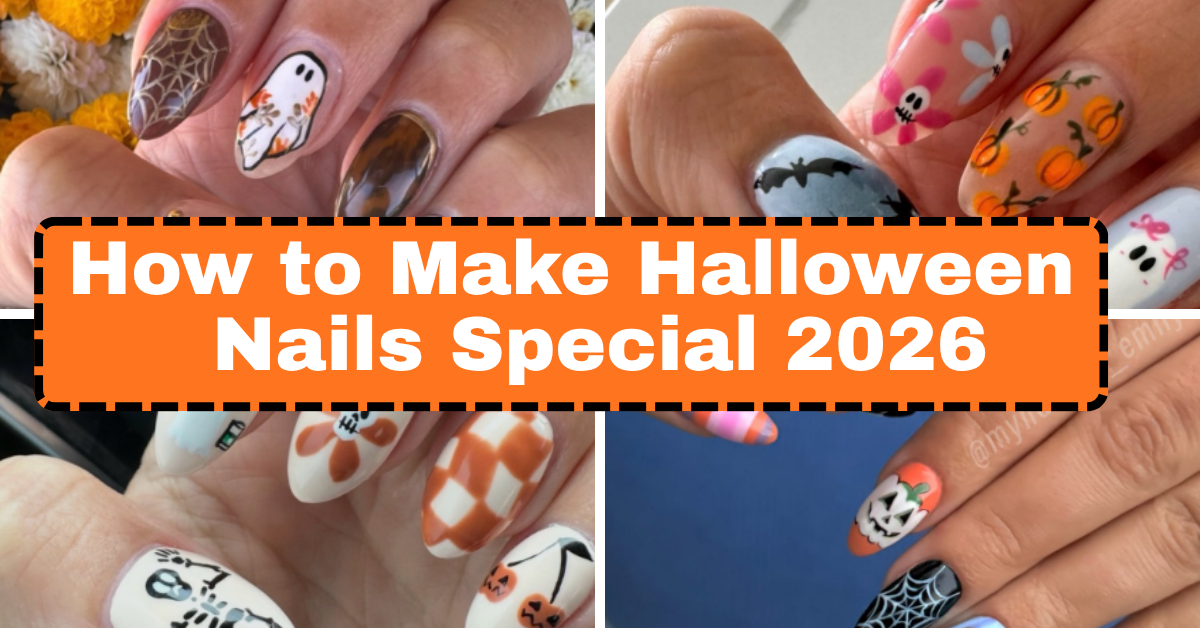
Halloween nails can be so much more than orange polish, black cats, and tiny pumpkins. This season, it’s all about creative combinations, dark chrome finishes, delicate spooky details, unexpected color pairings, and nail art that feels both festive and stylish. Whether you love a cute Halloween manicure or prefer something dark and dramatic, a few thoughtful details can make your nails stand out.
If you’re wondering how to make Halloween nails special, the secret is to combine trendy designs with small personal touches. You don’t need professional nail-art skills or a drawer full of expensive products to create a beautiful manicure at home. From glossy black chrome and ghost French tips to velvet-inspired finishes and miniature Halloween illustrations, these ten ideas will help you create a manicure that feels fresh, polished, and Pinterest-worthy.
1. Make Black Chrome Nails Your Halloween Statement
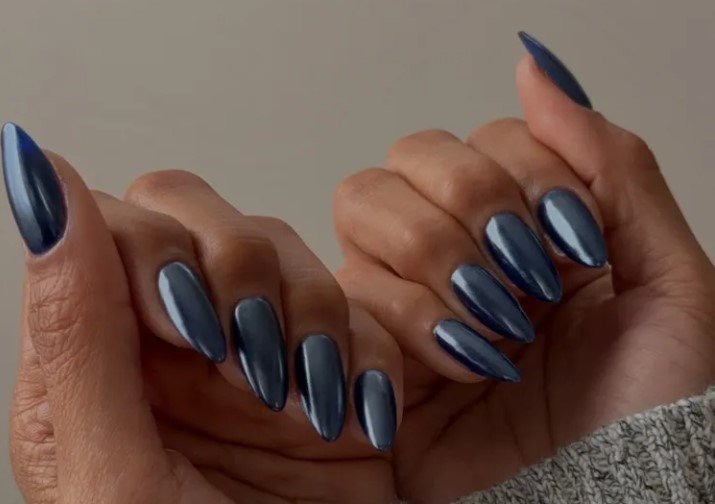
Black chrome nails are a beautiful choice when you want a Halloween manicure that looks bold, mysterious, and effortlessly glamorous. Their reflective finish catches the light beautifully, giving ordinary black polish a metallic, almost liquid appearance. This look works especially well on almond and coffin-shaped nails, where the longer surface shows off the chrome effect.
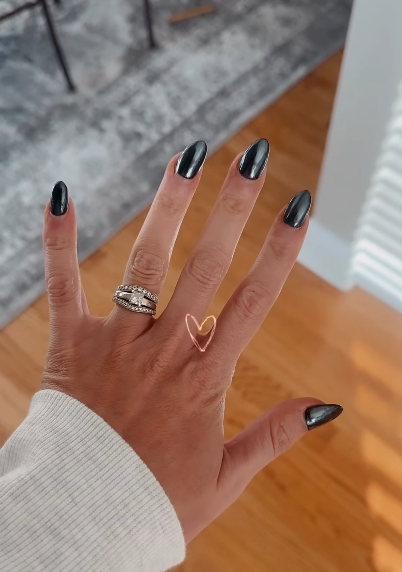
Image Credit: kelseylwagner
To recreate this style, start with a smooth black base and apply black chrome powder according to the product instructions. If you prefer a simpler approach, use a ready-made black chrome polish. Add one or two accent nails featuring silver spiderwebs, tiny bats, or miniature crescent moons to bring in the Halloween theme without overpowering the metallic finish.
Easy tip: Keep your cuticles neat and your top coat smooth. Black chrome looks most striking when the surface is even and reflective. If you want a softer variation, try charcoal chrome or a deep plum metallic finish.
2. Upgrade Your Manicure With Spooky French Tips
Halloween French tips are perfect when you want something festive without committing to a full set of dark nails. Instead of traditional white tips, experiment with black, blood red, deep purple, burnt orange, or forest green. A sheer nude or milky pink base keeps the overall manicure clean, while the colored tips add just enough seasonal character.
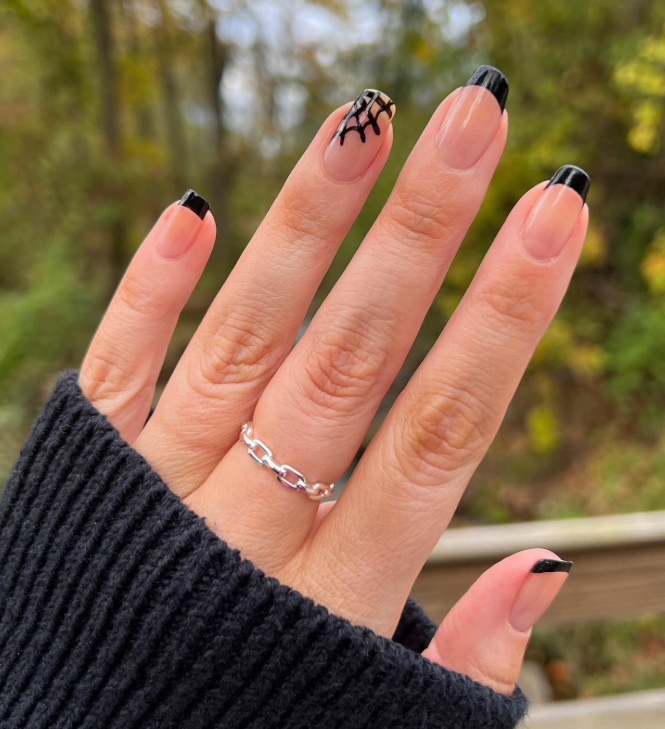
Image Credit: lindsloveslacquer
You can make this design more interesting by mixing different tip styles across your nails. Try classic black French tips on three fingers, a burnt-orange tip on another, and a tiny spiderweb on the final accent nail. For a more dramatic version, choose sharp V-shaped tips or double French lines with a thin metallic accent.
Easy tip: Use French-tip guides or a fine liner brush if you struggle to create even curves. Keep the tips similar in thickness so the manicure looks coordinated rather than mismatched.
3. Add Tiny Ghosts for a Cute Halloween Manicure
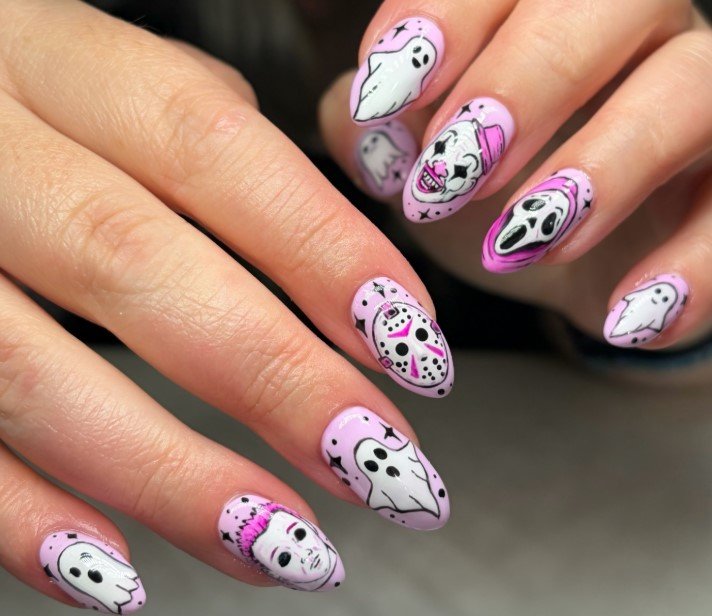
If you love playful nail art, tiny ghosts are one of the easiest ways to make Halloween nails feel adorable and seasonal. Instead of painting large characters on every nail, place small white ghosts over a sheer pink, milky nude, lavender, or glossy black base. The contrast between the background and the little ghost figures makes the design instantly recognizable.
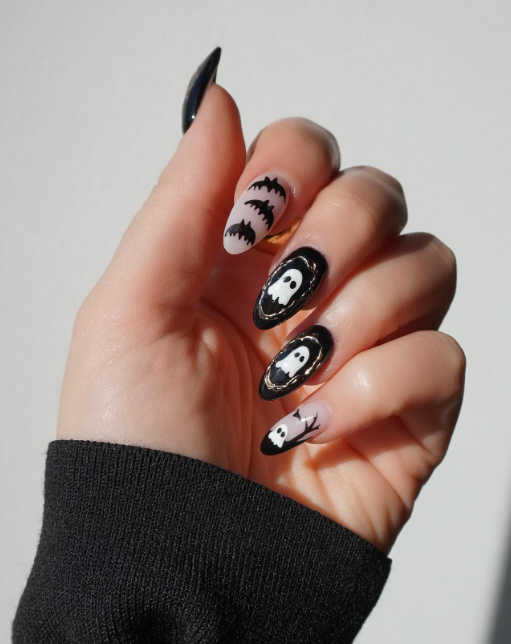
Image credit: jackiegiardina
To create your ghosts, use a dotting tool or fine brush to form a rounded white shape with a slightly wavy bottom. Once the polish dries, add two tiny black eyes and a small mouth. You can give each ghost a different expression or add a miniature bow, star, or sparkling detail to make the set feel more personal.
Easy tip: Let the white shapes dry before adding the facial details. If you want a softer look, use a translucent nude base and decorate only two nails with ghosts. This leaves enough negative space to keep the manicure looking neat.
4. Create Delicate Spiderweb Nails With Negative Space
Spiderweb nail art can look surprisingly elegant when you keep the lines thin and the design simple. Rather than covering every nail with a detailed web, leave part of the natural or nude-colored base visible. This negative-space effect makes the manicure feel modern while still giving it a recognizable Halloween theme.
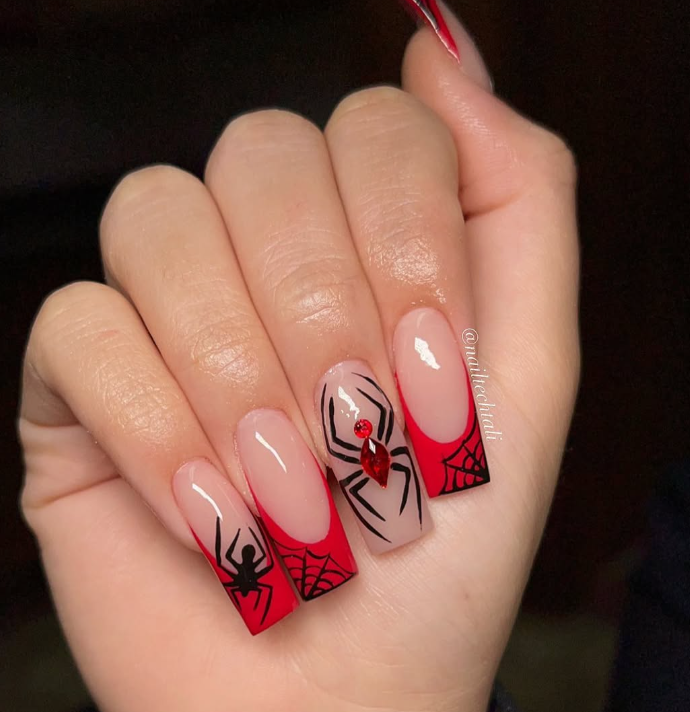
Image Credit: nailtechtali
Begin with a black, milky white, or sheer nude base. Using a fine nail-art brush, draw three or four thin lines from one corner of the nail, then connect them with small curved strokes. You can place a web on the outer corner of one nail, a miniature spider on another, and leave the remaining nails plain or glossy black.
Easy tip: Practice your web on paper before painting your nails. Thin lines usually look more refined than thick ones, and you don’t need perfectly identical webs on every finger to create a beautiful set.
5. Try Bloody Red Drips for a Dramatic Halloween Look
For anyone who prefers a darker, more theatrical manicure, bloody red drips are a classic Halloween choice. The design looks particularly striking against a milky white, pale pink, or nude base because the deep red details immediately draw attention. You can make the look glamorous with burgundy polish or more playful with a brighter cherry-red shade.
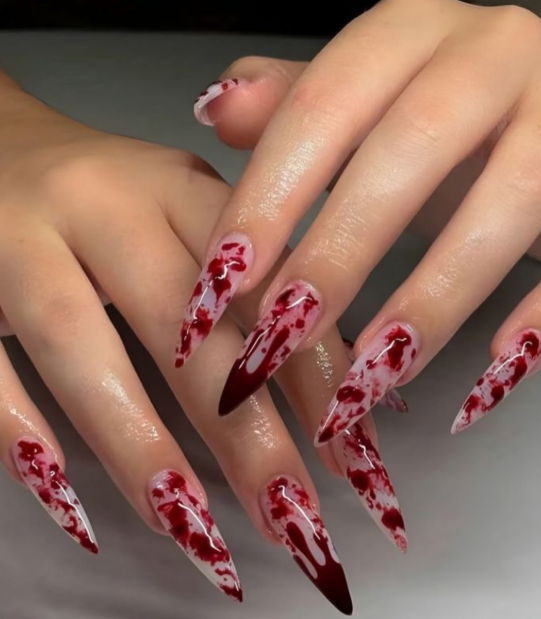
Image Credit: lamournailspasalon
Start by applying your base color and letting it dry completely. Paint a narrow band of red near the tips, then pull a few uneven drips toward the center of the nail with a fine brush. Vary the length of the drips to make the design look more natural. Finish with a glossy top coat for a smooth, glass-like effect.
Easy tip: If you want a wearable everyday version, create bloody tips on just two accent nails and keep the others in solid burgundy or sheer nude. This gives you the Halloween effect without making the manicure feel too intense.
6. Mix Matte Black With Glossy Halloween Patterns
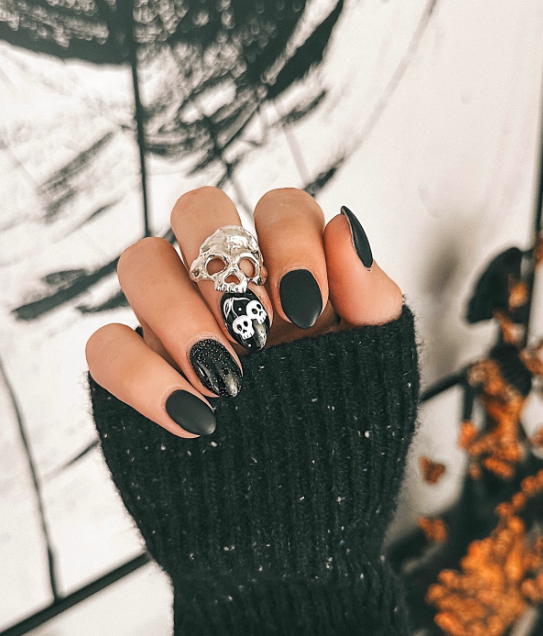
One of the easiest ways to make simple Halloween nails look more expensive is to experiment with contrasting textures. Matte black creates a velvety background, while glossy black details become visible when the light hits them. Because both finishes use the same color, the result feels subtle, sophisticated, and beautifully coordinated.
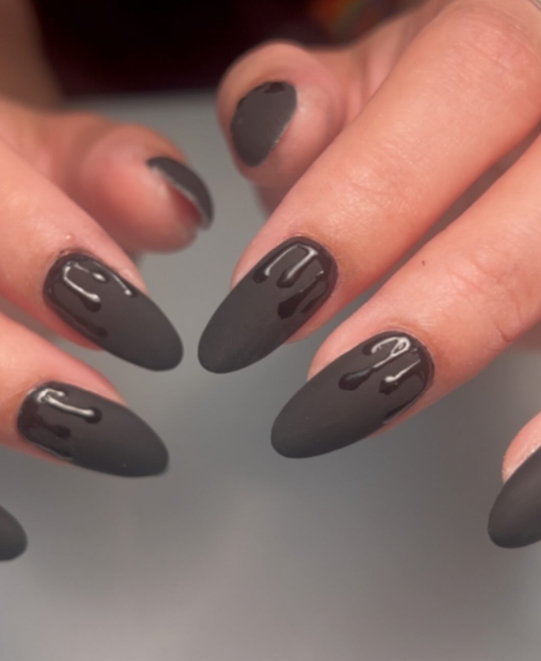
Image Credit: refreshnailbar
Apply black polish to each nail and seal it with a matte top coat. Once the surface is ready, use glossy black polish to draw tiny bats, spiderwebs, dripping edges, or flame-inspired patterns. You can also reverse the combination by using a glossy base with matte symbols for a different effect.
Easy tip: Make sure the matte layer is completely dry before adding glossy designs. Keep the patterns small and leave some areas untouched so the difference between the two finishes remains visible.
7. Give Pumpkin Nails a Chic Autumn-Inspired Twist
Pumpkin nails never go out of style during Halloween season, but you can make them feel more modern by moving beyond bright orange polish. Muted terracotta, burnt orange, caramel, chocolate brown, and creamy beige create a warmer, more sophisticated palette that works beautifully throughout autumn.
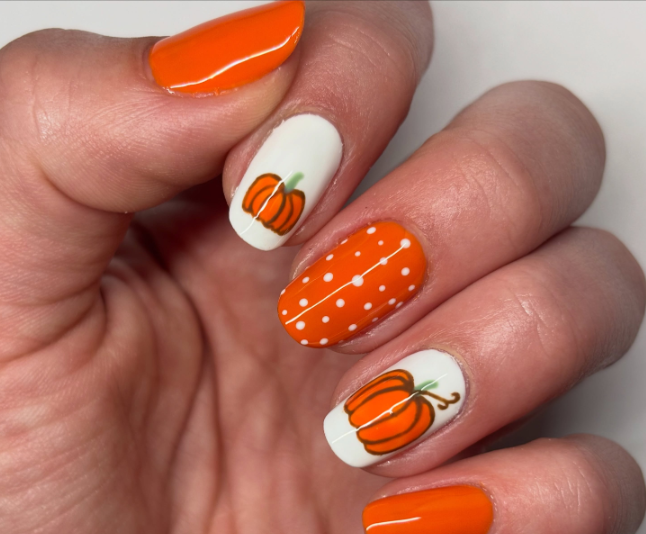
Image Credit: simply._.nail._.art
For a simple design, paint most nails in a neutral shade and add tiny pumpkins to one or two accent nails. Use a fine brush to create small orange ovals, then add curved lines, a dark stem, and a tiny green leaf if you like. You can also combine miniature pumpkins with black French tips, gold stars, or a delicate checkerboard pattern.
Easy tip: Keep the pumpkin illustrations small enough to fit comfortably on the nail. If detailed artwork feels difficult, use a pumpkin nail sticker over a neutral base and seal it with a top coat.
8. Create a Smoky Halloween Ombre With Spooky Silhouettes
Dark ombre nails are ideal when you want a manicure that feels atmospheric rather than overly decorative. A gradient of black and purple, burgundy and black, or burnt orange and chocolate brown creates a moody background that instantly suits the Halloween season. Add a simple silhouette, and the result can look like a tiny spooky scene on your fingertips.
Apply your chosen base colors close together on a makeup sponge and gently dab them onto the nail to blend the shades. Repeat with thin layers until the gradient looks smooth, allowing each layer to settle before adding more. Once the design is dry, paint a tiny bat, haunted tree, crescent moon, or flying witch in black.
Easy tip: Use a small amount of polish on the sponge to avoid a thick, uneven finish. A makeup sponge can leave texture behind, so apply a compatible glossy top coat after the gradient has dried to help smooth the surface.
9. Add Velvet, Metallic, or Glitter Details for Extra Sparkle
If you want your Halloween manicure to catch everyone’s attention, a little shine can make a big difference. Metallic silver pairs beautifully with black and purple, while warm gold complements burgundy, chocolate brown, and burnt orange. Magnetic velvet-effect polish is another option if you want a rich, light-catching finish without adding complicated illustrations.
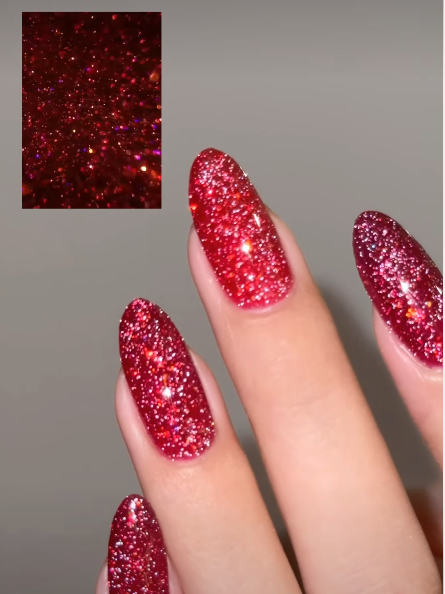
Image Credit: moding.official
Choose one effect as the main feature instead of combining every shiny product at once. You could wear deep-purple magnetic polish with tiny silver stars, add gold foil to two burgundy nails, or place a fine glitter gradient over a black base. For a glamorous party manicure, combine one statement nail with simpler coordinating colors on the remaining fingers.
Easy tip: Apply metallic details sparingly and seal them properly with a compatible top coat. If you’re using magnetic polish, follow the product instructions and use the magnet before curing or allowing the polish to set, as directed.
10. Mix Your Favorite Halloween Designs for a Personalized Set
The best way to make Halloween nails special is to create a design that reflects your own style. You don’t have to choose between ghosts, pumpkins, spiderwebs, chrome, and French tips. Instead, select two or three elements that work well together and distribute them thoughtfully across your nails.
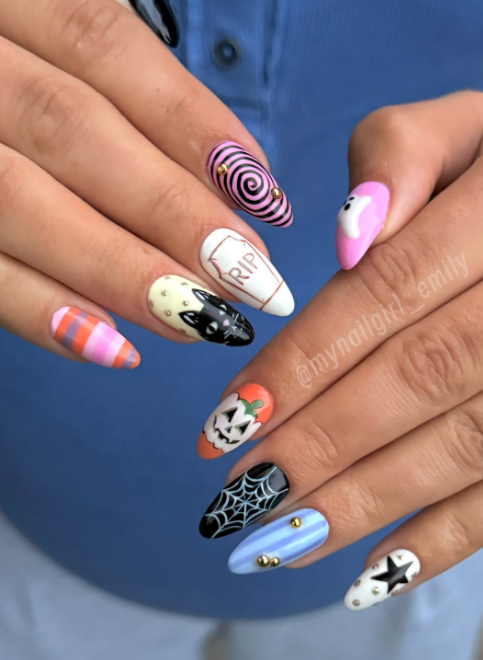
For a cute manicure, combine a sheer pink base, tiny white ghosts, and delicate silver stars. If you prefer a darker aesthetic, pair glossy black nails with one chrome accent, a miniature spiderweb, and a deep-purple ombre nail. For an autumn-inspired look, mix terracotta polish, tiny pumpkins, and warm gold details.
Easy tip: Choose a limited color palette before you begin. Two or three main colors, one accent finish, and a consistent theme will help different designs feel connected. Take a final look at your nails from a little distance, and add only the small details that genuinely improve the overall balance.
Easy Tips to Make Halloween Nails Look Better and Last Longer
Even the most creative nail design looks better when the manicure is properly prepared. Before you begin, gently clean your nails, shape the edges, and make sure the nail surface is dry. Avoid applying polish over oily nails, as this can affect how well the manicure adheres.
Keep these practical tips in mind:
- Prepare your nails first: Remove old polish, shape your nails, and clean away dust before applying a base coat.
- Use thin layers: Several thin coats generally give you a smoother finish than one thick coat.
- Choose a simple focal point: Make one or two nails the stars of the design and keep the rest coordinated.
- Use the right tools: A fine liner brush helps with spiderwebs and drips, while a dotting tool makes tiny eyes, stars, and ghost details easier.
- Let each layer dry: Rushing between colors can cause smudges, uneven lines, and damaged artwork.
- Seal your design: Apply a compatible top coat and follow the product’s instructions for drying or curing.
- Keep your manicure fresh: Avoid picking at chipped polish, and use cuticle oil around the nails to maintain a neat appearance.
If you’re new to nail art, start with a nude base, a dark French tip, and one small Halloween accent. You can always experiment with chrome powder, magnetic polish, or more detailed illustrations once you’re comfortable with the basics.
Final Thoughts
Learning how to make Halloween nails special doesn’t mean you need complicated nail art or a different design on every finger. Sometimes, glossy black chrome, a tiny ghost, a dramatic French tip, or a carefully placed metallic accent is all it takes to transform a simple manicure into something memorable.
Start with the Halloween style you love most, choose colors that complement each other, and add details that feel personal rather than crowded. Whether you prefer cute ghosts, elegant spiderwebs, moody ombre, or glamorous velvet finishes, these ten ideas give you plenty of inspiration for your next seasonal manicure. Save your favorite look, gather a few basic nail-art tools, and create a Halloween manicure that’s stylish, distinctive, and completely your own.