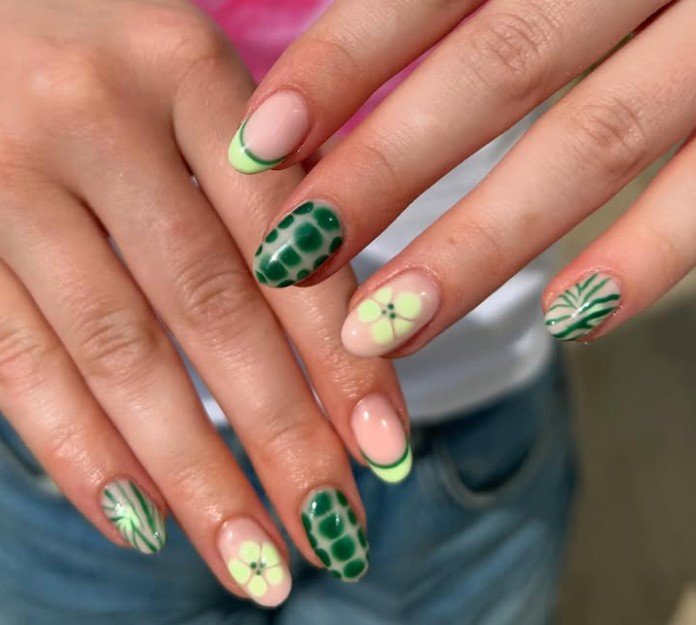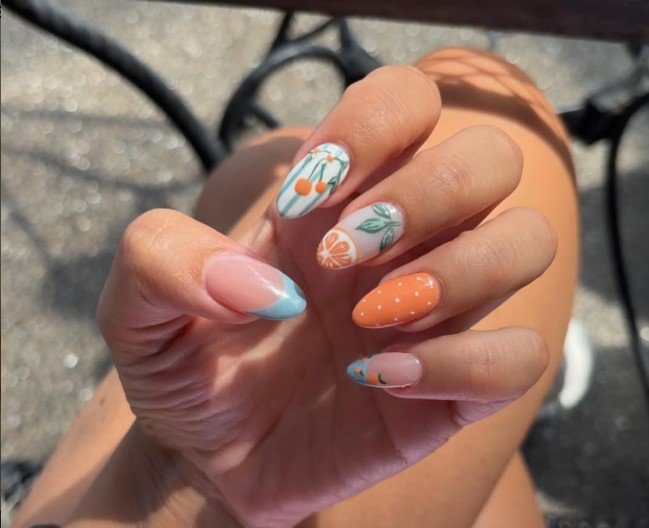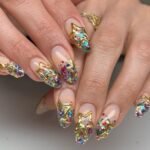

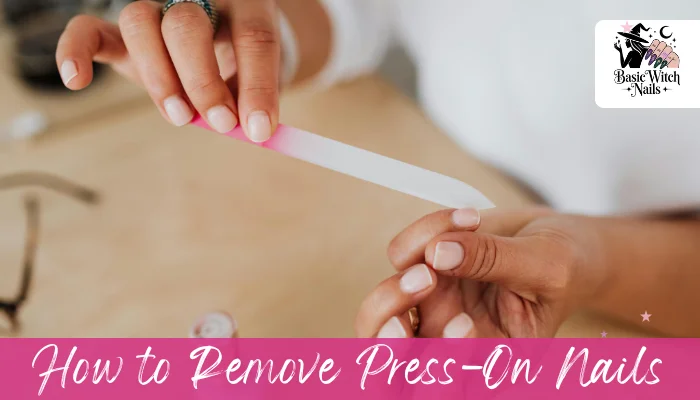
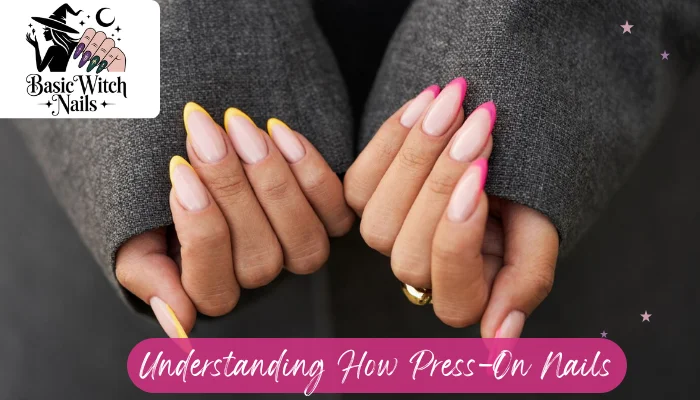
Press-on nails are one of the easiest ways to achieve a salon-style manicure at home. They instantly upgrade your look, save time, and offer endless styles without the cost of a salon visit. But while applying them is simple and fun, removing them is where most people go wrong.
If you remove them the wrong way, you can weaken your natural nails, cause peeling, or even make them painfully thin. The good news is that safe removal is simple when you understand the right process and follow it patiently.
This guide will walk you through safe, effective, and gentle methods to remove press-on nails at home while keeping your natural nails strong and healthy.
Understanding How Press-On Nails Stay Attached
Press-on nails are designed to stay firmly in place using either nail glue or adhesive tabs. Nail glue creates a strong bond that can last for days, while adhesive tabs are lighter and easier to remove.
The important thing to understand is that both are meant to loosen gradually, not be pulled off. When you force them, you risk lifting layers of your natural nail along with the press-on.
Safe removal always starts by softening the adhesive instead of breaking it.
Method 1: Gentle Warm Water Soak
This is the safest and most nail-friendly method, especially if you want to avoid any damage or dryness.
What you need
A bowl of warm water
A small amount of mild dish soap
A wooden cuticle stick
A soft towel
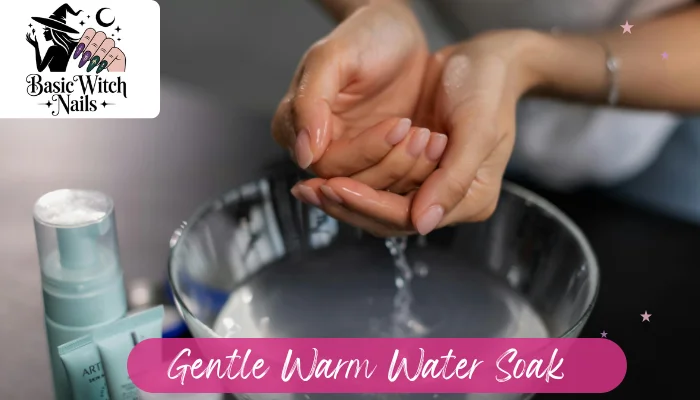
How to do it
Fill a bowl with warm water and add a few drops of dish soap. Make sure the water is comfortably warm and not hot.
Place your fingers into the bowl and let them soak for about ten to fifteen minutes. During this time, the warm water slowly weakens the adhesive bond under the press-on nails.
After soaking, gently test the edge of one nail using a wooden cuticle stick. If it lifts easily, continue slowly working around the edges. If it does not move, soak your nails for a few more minutes instead of forcing them.
When done correctly, the press-on nails will slide off naturally without pulling or pressure.
READ MORE: Bubble Bath Nails Ideas Perfect to showcase a classic look
Method 2: Oil-Enhanced Soak for Extra Protection
This method is ideal for people with dry or sensitive nails because it not only helps loosen the adhesive but also nourishes the skin and nail bed.
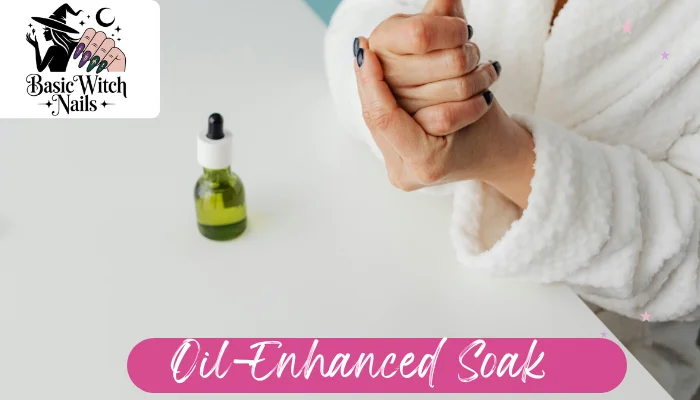
What you need
Warm water
Dish soap
Olive oil, coconut oil, or cuticle oil
A bowl
How to do it
Mix warm water with a few drops of dish soap and add a small amount of oil. Soak your nails for ten to fifteen minutes.
The oil helps break down the glue around the edges while keeping your skin hydrated. After soaking, gently lift the press-on nails using a wooden stick. If they feel tight, simply soak them again instead of applying force.
This method is gentle and often allows press-on nails to be reused.
Method 3: Acetone Soak for Strong Adhesive
If your press-on nails were applied with strong nail glue, acetone is the fastest and most effective method. However, it should be used carefully because it can dry out your nails and skin.
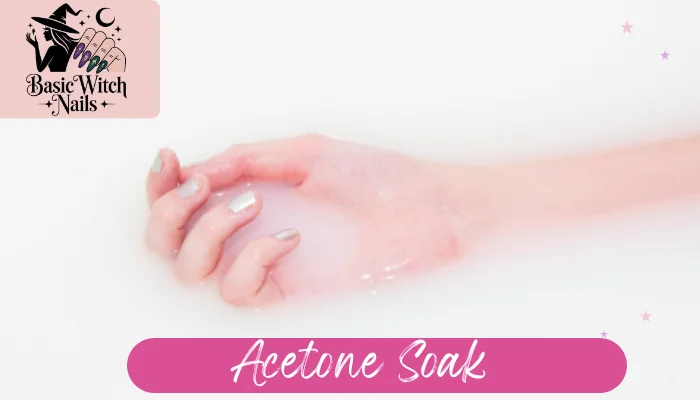
What you need
One hundred percent acetone
Cotton balls
Aluminum foil or nail clips
Wooden cuticle stick
Moisturizer or cuticle oil
How to do it
Start by lightly filing the surface of your press-on nails. This helps the acetone penetrate more effectively.
Soak cotton balls in acetone and place them directly on each nail. Wrap your fingertips with foil or use nail clips to hold them in place.
Wait for about ten to fifteen minutes. After that, gently check one nail using a wooden stick. The press-ons should begin to loosen or slide off easily.
If they do not come off, wrap them again and wait a little longer. Never force them.
Once removed, wash your hands and immediately apply moisturizer or cuticle oil to restore hydration.
Mistakes You Should Avoid Completely
Many people damage their nails because they rush the process or use the wrong technique.
Never peel or rip off press-on nails
Never bite or force them off
Never use metal tools aggressively
Never remove nails when they are completely dry
Never rush the soaking process
These mistakes can cause thinning, peeling, or long term weakness in your natural nails.
What to Do If a Nail Does Not Come Off
Sometimes one or two nails may stay stubborn even after soaking. This is completely normal.
In that situation, simply soak your nails again for a few more minutes. You can also apply a little oil around the edges to help loosen the bond.
Try lifting from a different side instead of pulling from the same corner repeatedly. Patience is the key to safe removal.
Aftercare for Healthy Natural Nails
Once your press-on nails are removed, your natural nails need a little care to recover.
Start by washing your hands gently to remove any glue or residue. Then lightly buff the nail surface to smooth out any uneven areas.
Next, apply cuticle oil and massage it into your nails and surrounding skin. Follow with a nourishing hand cream to lock in moisture.
If your nails feel weak or sensitive, give them a few days of rest before applying another set of press-ons.
Proper aftercare is what keeps your nails strong and ready for your next manicure.
Final Thoughts
Removing press-on nails safely is not about speed or strength. It is about patience and allowing the adhesive to loosen naturally.
Whether you choose warm water, oil, or acetone, the principle is always the same. Soften first, then remove gently.
When done correctly, press-on nails will never damage your natural nails. Instead, they remain a fun, flexible, and safe way to change your look whenever you want.
Healthy nails always come from gentle habits, and safe removal is the most important one of all.