
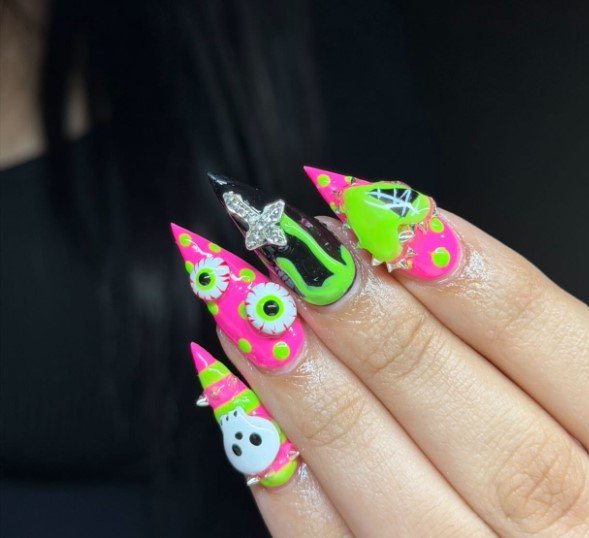
Zombie nails are a fun way to give your Halloween manicure a seriously creepy makeover. From sickly green French tips and cracked zombie faces to bloody details, eerie eyes, and graveyard scenes, there are plenty of creative ways to build an undead-inspired look. Whether you prefer subtle nail art or a full horror manicure, these ideas bring spooky character, messy textures, and dark Halloween energy to your fingertips.
1. Zombie Apocalypse Tips
Zombie apocalypse nails can combine distressed textures, eerie green shades, and dark details for a dramatic Halloween look. Use muddy olive, gray, black, and deep red across the nails to create a worn-out effect. Add tiny cracks, scratches, warning symbols, or scattered blood marks to make the manicure feel like it came straight from a survival scene.
2. Undead Green French
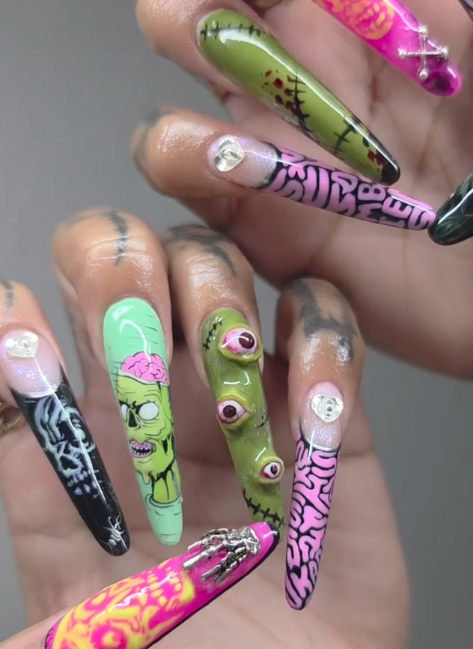
Give classic French tips an undead twist with sickly green polish replacing the usual white. Keep the base sheer or nude, then shape each tip in muted lime, moss, or zombie green. Thin black outlines, tiny cracks, or faded speckles can make the simple design look more eerie without overwhelming the clean French structure.
3. Bloody Zombie Faces
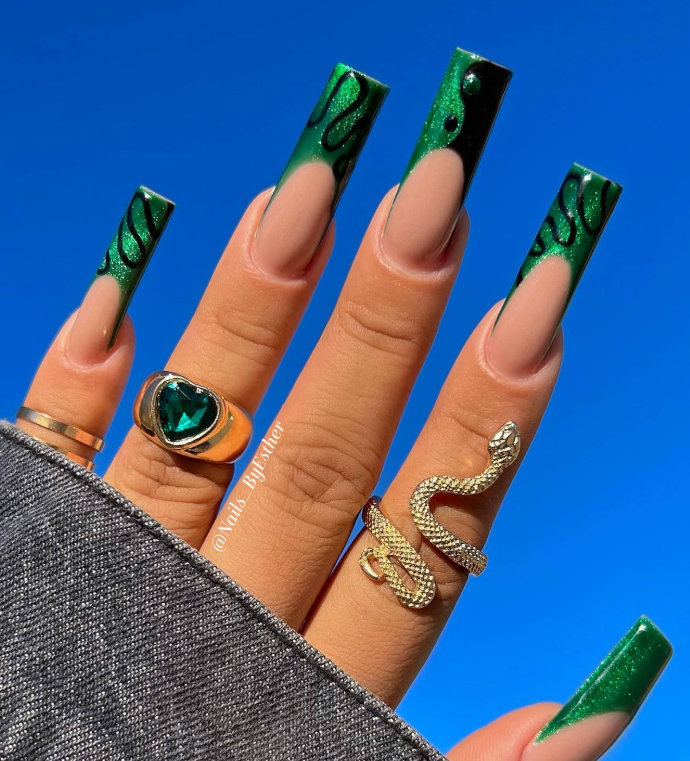
Paint tiny zombie faces across a dark or neutral base for a creepy character-inspired manicure. Green-gray skin, uneven eyes, messy hair, and small red marks can create different expressions on each nail. A glossy finish helps the painted details stand out, while a few matte nails can add contrast and make the faces look more weathered.
4. Zombie Graveyard Art
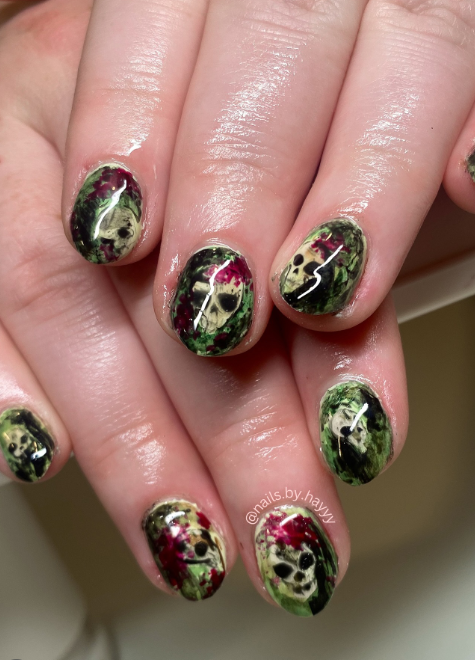
Turn your nails into a miniature graveyard with crooked tombstones, dark clouds, bare trees, and tiny zombie silhouettes. Use charcoal, deep purple, gray, and muted green to build a shadowy background. Small red accents can suggest a spooky atmosphere without covering the entire design, especially when the artwork is placed over a black or smoky ombré base.
5. Decayed Skin Nails
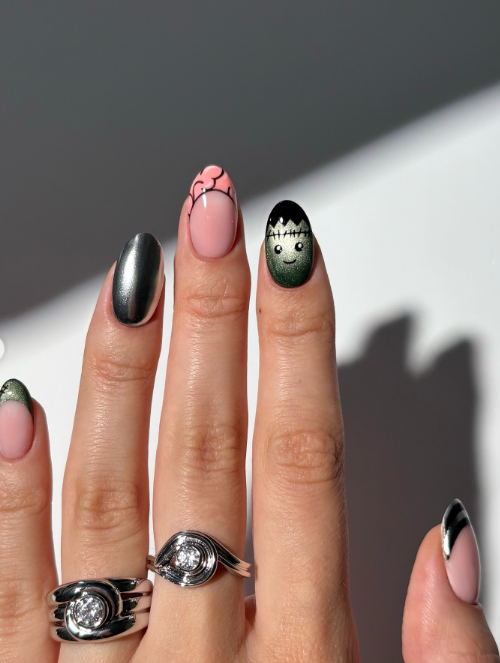
Create a disturbing texture by layering pale green, gray, beige, and brown tones across the nails. Uneven patches and thin dark lines can mimic cracked, aged skin without needing complicated artwork. A semi-matte finish works especially well because it gives the surface a dry, rough appearance while keeping the color details visible.
6. Zombie Bite Tips
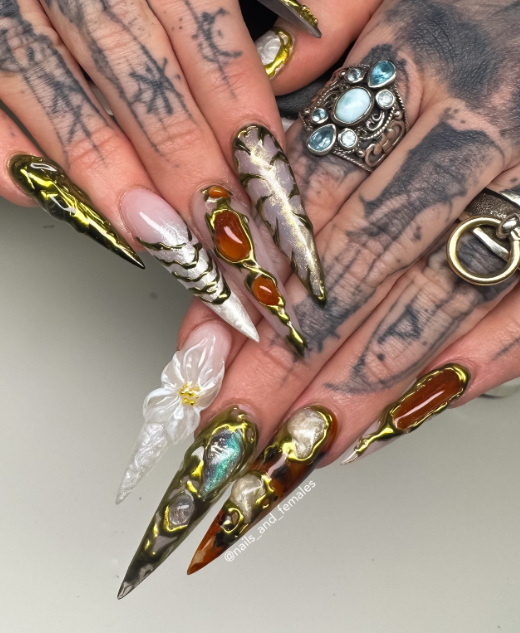
Make the French tip look like it has been bitten away with uneven edges and tiny red accents. Start with a nude or pale gray base, then shape jagged green tips with darker shading around the damaged areas. A few small dots or curved marks near the edge can suggest bite impressions while keeping the design wearable.
7. Undead Eyes Design
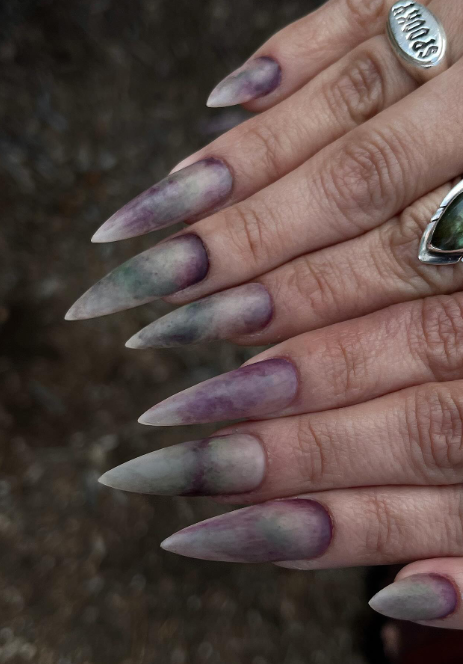
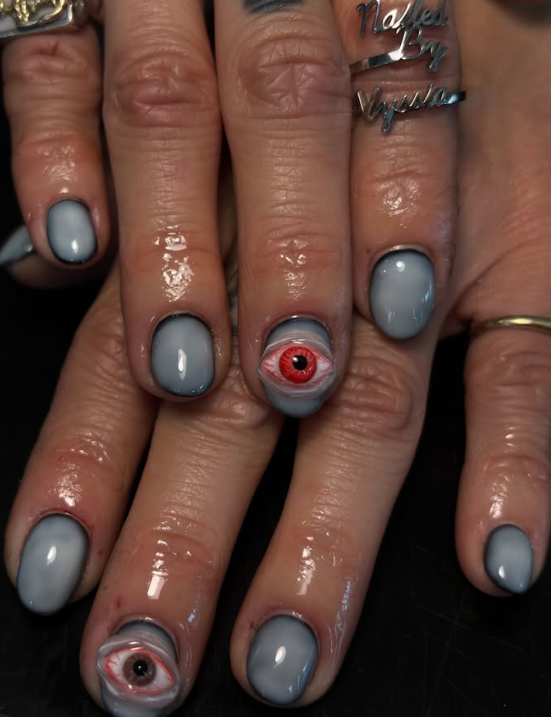
Zombie eyes make a strong focal point when painted over a dark, muted base. Try pale white or cloudy gray eyes with dark pupils, surrounded by green, purple, or bruised-looking shadows. Placing one large eye on an accent nail while keeping the remaining nails simple creates a creepy effect without making every nail equally detailed.
8. Zombie Brain Art
Bring a playful horror theme to the manicure with detailed brain patterns in pink, dusty red, and muted purple. Fine curved lines can create the familiar folded texture while darker shading gives the design more dimension. Pair the brain accent with plain gray or green nails so the artwork remains the main feature.
9. Creepy Zombie Hands
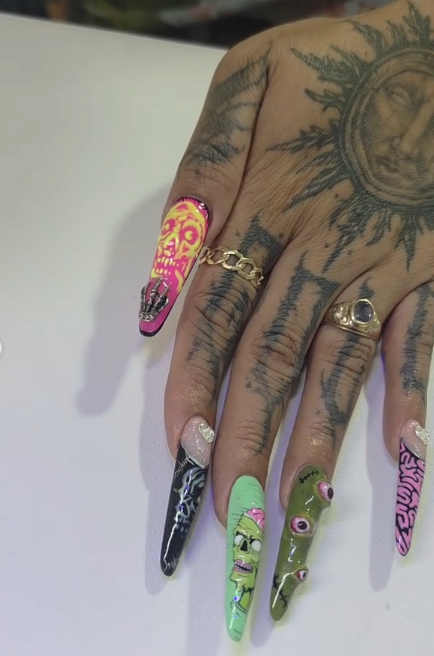
Tiny reaching hands can create a dramatic undead scene across several nails. Paint green or gray hands emerging from a black, smoky background, using thin lines to define fingers and shadows. Adding a few red details near the fingertips can intensify the horror theme while keeping the artwork focused and recognizable.
10. Freshly Bitten Nails
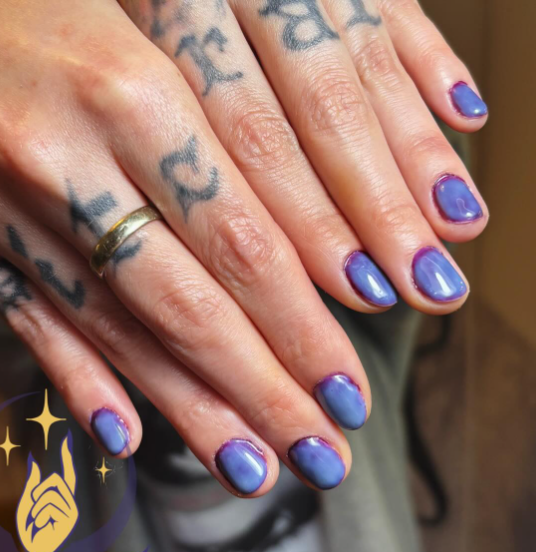
Create the look of a recent zombie attack with uneven red bite marks against pale green or nude polish. Small curved shapes can imitate teeth impressions, while darker red shading around the edges adds depth. Keep some nails clean and glossy so the bitten details feel more intentional rather than covering the entire manicure.
11. Zombie Scratch Marks
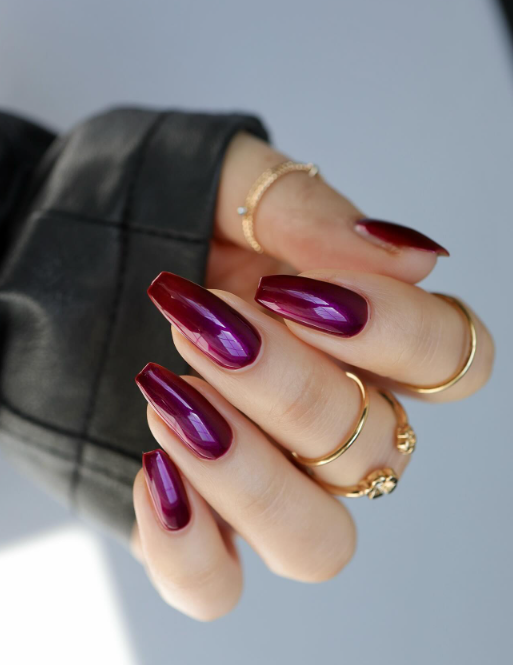
Long, uneven scratches can give a simple manicure an instantly creepy finish. Use black, burgundy, or dark brown lines over green, gray, or nude polish, varying their length and direction across each nail. A slightly smudged edge makes the marks look rough and distressed instead of perfectly painted.
12. Rotting Green Tips
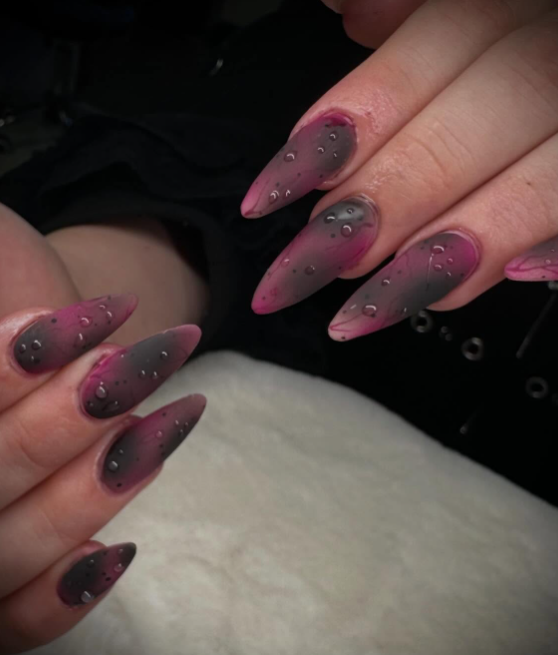
Sickly green French tips can create an unsettling look with very little artwork. Blend olive, moss, lime, and yellow-green shades along the tips to produce a patchy, decayed effect. Add a few thin black cracks near the smile line for extra definition, then finish with a glossy topcoat for a wet, eerie appearance.
13. Zombie Face Portraits
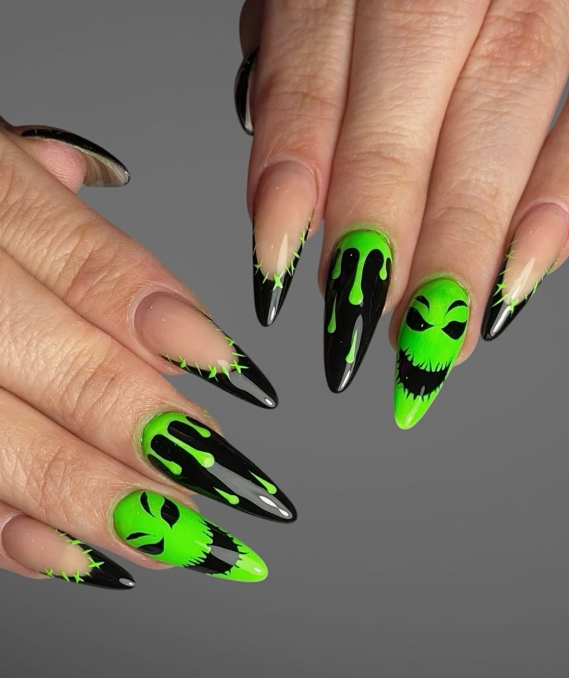
Detailed zombie portraits can turn each nail into a tiny horror illustration. Use pale green-gray skin, hollow-looking eyes, messy features, and dark shadows around the face to create a worn appearance. Keep the portraits on two or three accent nails and use coordinating dark shades on the others to prevent the manicure from looking too crowded.
14. Undead Blood Drips
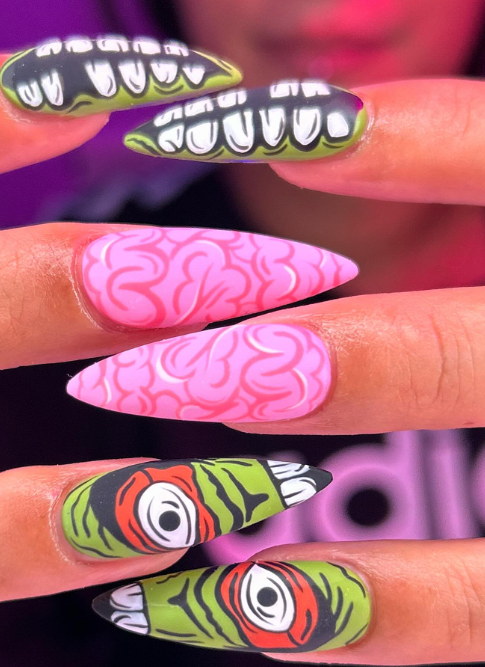
Blood-drip details become especially striking when paired with undead-inspired colors. Paint deep red drips over pale green, gray, black, or milky nude bases, allowing some drops to extend toward the center of the nail. Vary the drip lengths and shapes so the design feels hand-painted and slightly chaotic.
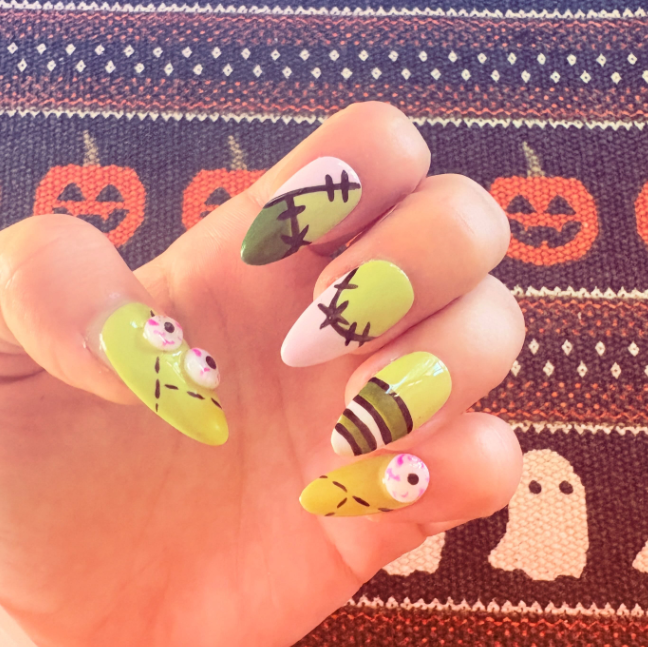
15. Zombie Stitch Details
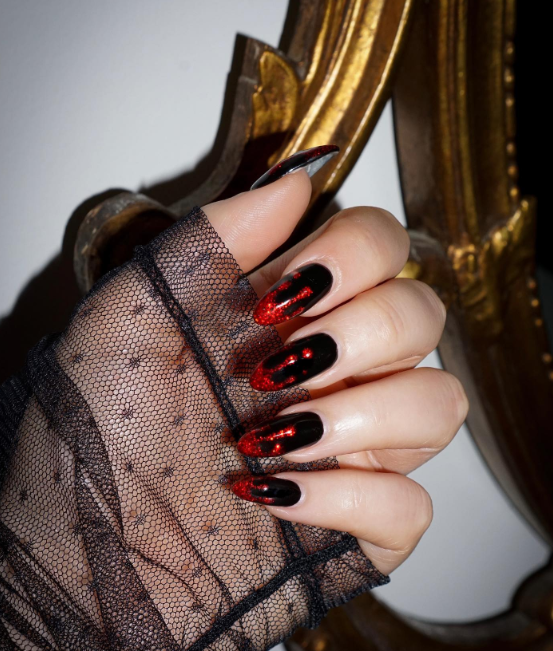
Stitched details can make a manicure look like damaged zombie skin without requiring full character artwork. Use thin black or dark brown lines to create uneven stitches over green, gray, or beige polish. Add tiny red accents around selected stitches for a fresh-looking effect, while leaving other nails plain for contrast.
16. Grave Dirt Nails
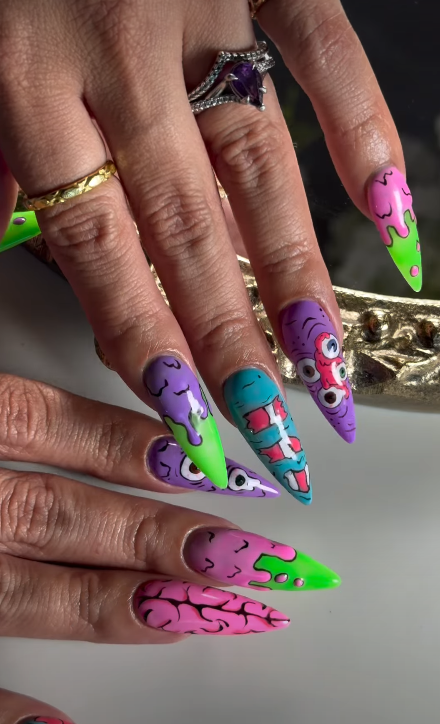
Create a gritty cemetery-inspired manicure with charcoal, brown, gray, and muddy green shades. Speckled textures can resemble dirt, while tiny stones, grass strokes, or faded bone shapes add visual interest. A matte topcoat helps the colors look dusty and worn, giving the nails a rugged appearance rather than a polished finish.
17. Zombie Claw Tips
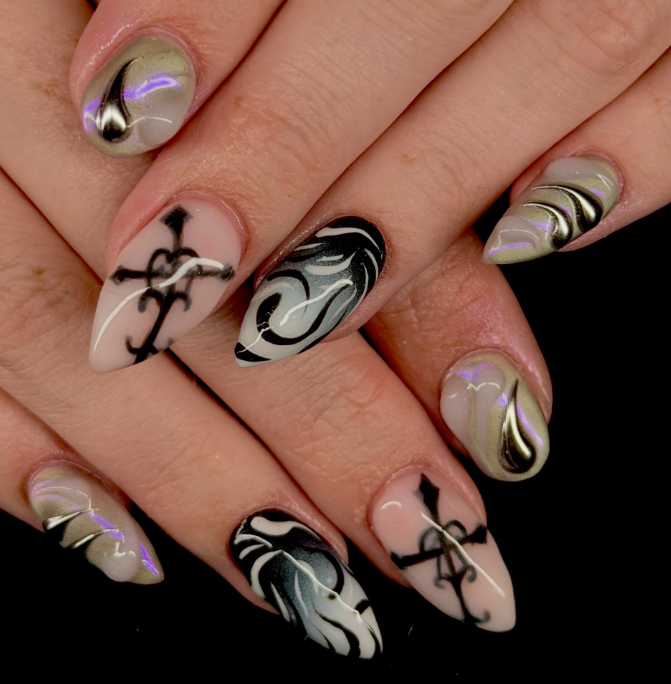
Give pointed or almond-shaped nails an undead claw effect with dark, irregular tips. Blend black, brown, green, and muted red around the edges, then add small scratches or cracked details. The sharper nail shape naturally enhances the creature-like theme, while keeping the base color simple prevents the design from becoming too busy.
18. Mutant Zombie Art
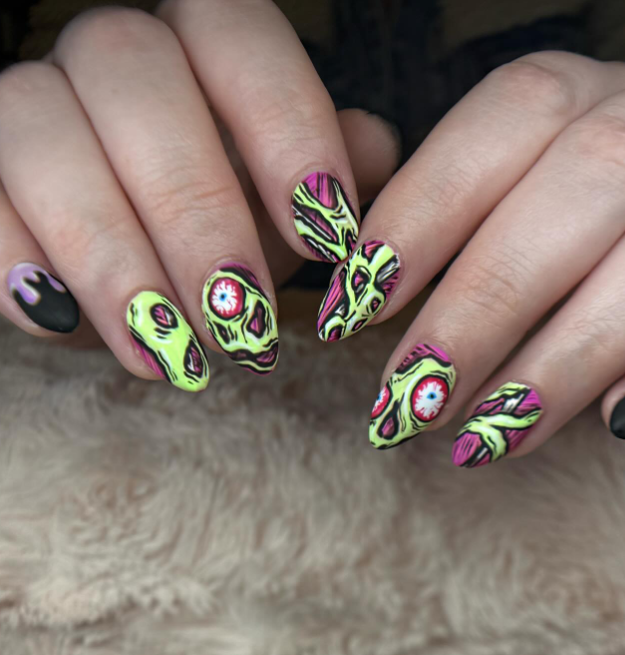
Mutant-inspired nails can mix unusual skin tones, distorted eyes, sharp teeth, and strange facial features. Combine acid green, gray, purple, black, and small red accents for a comic-book horror effect. Each nail can feature a different mutation, creating a mismatched set that feels creative and slightly chaotic.

19. Green Grunge Zombies
Layer several dirty green shades over a darker base to create a grungy undead appearance. Add black smudges, rough lines, faded patches, and tiny red marks for a distressed finish. The design works especially well with short or medium nails because the imperfect details create texture without requiring large illustrations.
20. Zombie Shadow Nails
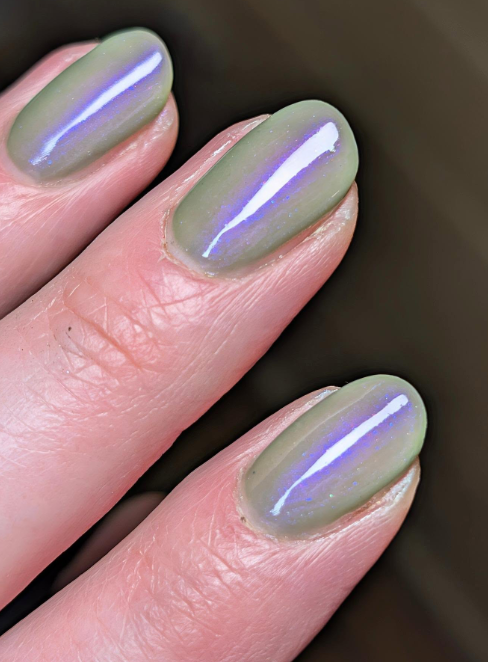
Silhouetted zombies can create a spooky look with minimal painting. Use a smoky gray, purple, or black background and add small black figures with raised arms or uneven poses. A subtle gradient behind the silhouettes can suggest fog, while tiny moon or graveyard details complete the scene without making it overly complicated.
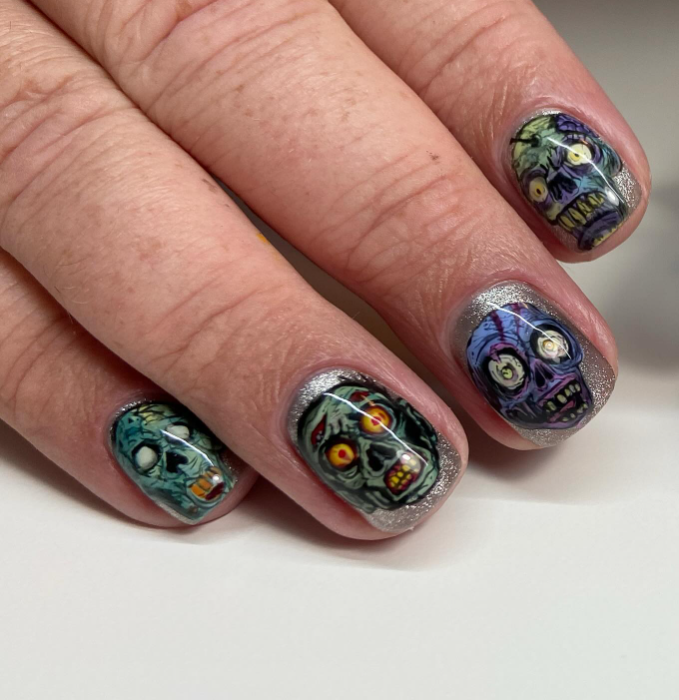
21. Half-Dead French Tips
Half-dead French tips mix a clean manicure with distressed zombie details. Keep one side of each tip neatly curved while allowing the other side to become cracked, uneven, or splattered. Green, gray, black, and deep red work together nicely, especially when the base remains sheer so the unusual French shape stays easy to see.
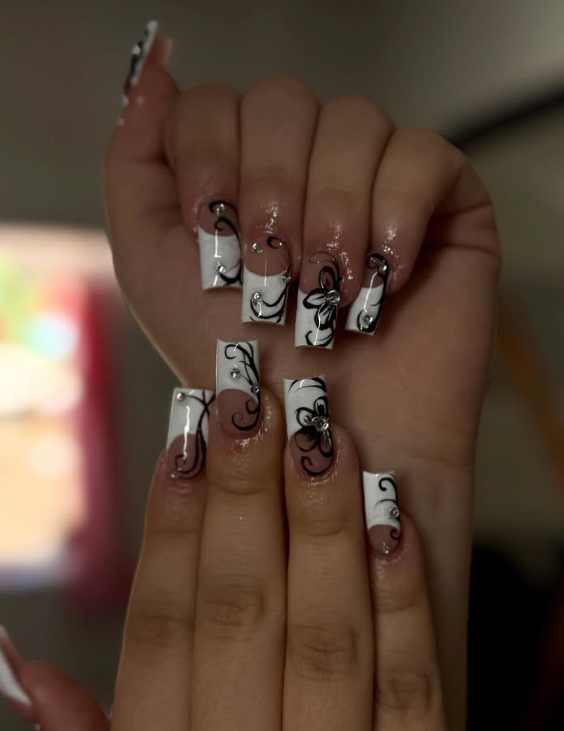
22. Zombie Infection Nails
Show an imaginary zombie infection spreading across the nails with branching lines, dark spots, and gradually changing colors. Begin with a pale base and add green, purple, and burgundy patches that become stronger toward the tips. The effect looks more interesting when each nail shows a different stage of the spreading pattern.
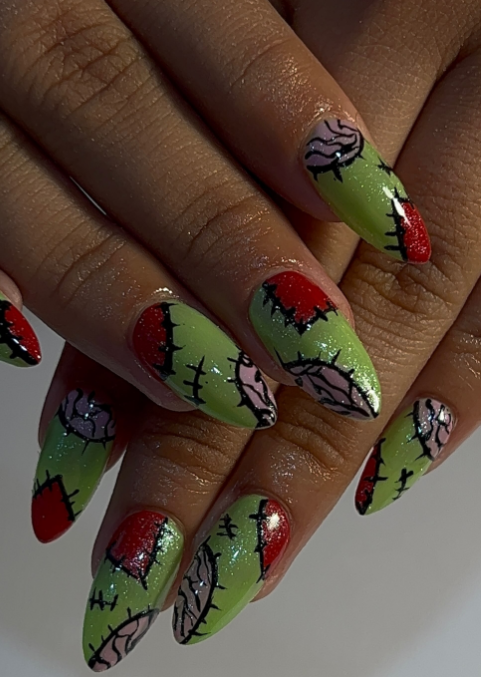
23. Cracked Zombie Faces
Paint zombie faces with cracked skin for a more detailed horror-inspired manicure. Use pale green or gray as the main face color, then draw thin black cracks across the forehead, cheeks, and jaw. Hollow eyes and small red accents can add intensity while keeping the artwork focused on the damaged facial texture.
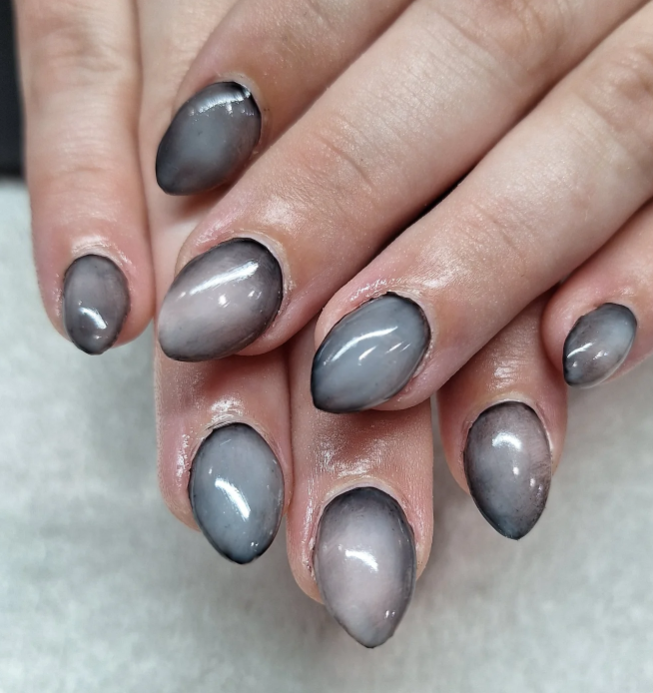
24. Undead Ombre Nails
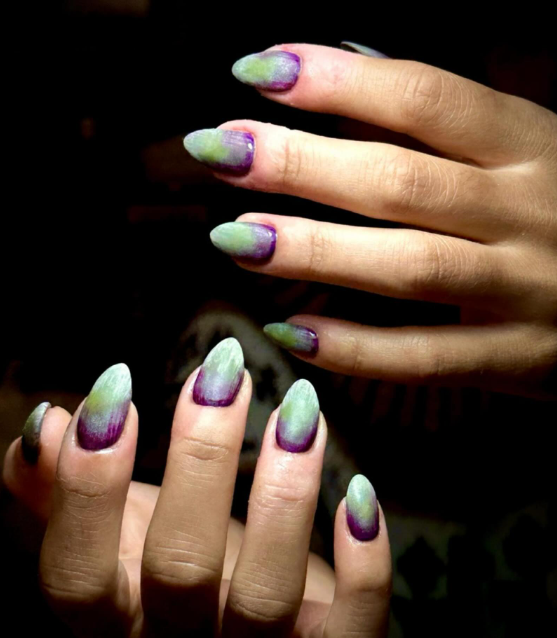
Blend pale green into gray, black, or deep purple for an undead-inspired ombré manicure. Add faint scratches, tiny cracks, or smoky patches over selected nails to create more depth. The smooth color transition keeps the base elegant, while the distressed details introduce the creepy zombie theme.
25. Zombie Blood Splatter
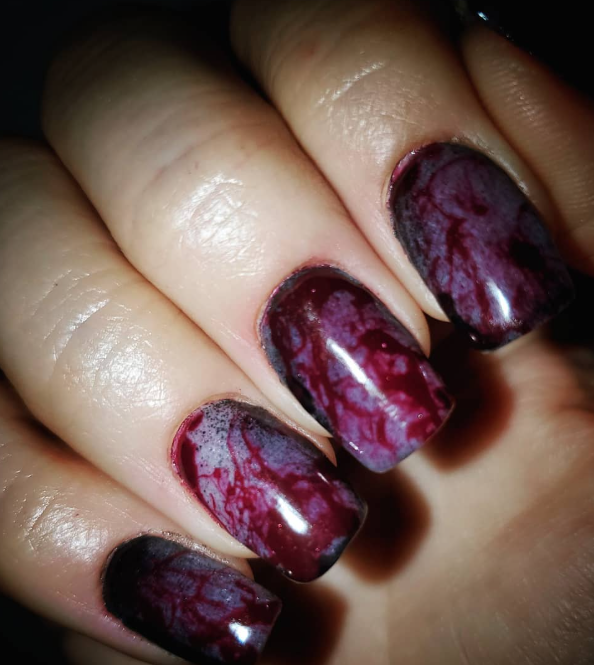
Blood-splatter artwork creates a bold horror effect when placed over pale zombie-inspired colors. Use dark red drops and irregular flicks across gray, green, white, or nude bases, keeping the splatter varied in size. Pair heavily decorated nails with a few solid-color nails to give the overall manicure a cleaner visual rhythm.
26. Eerie Zombie Eyes
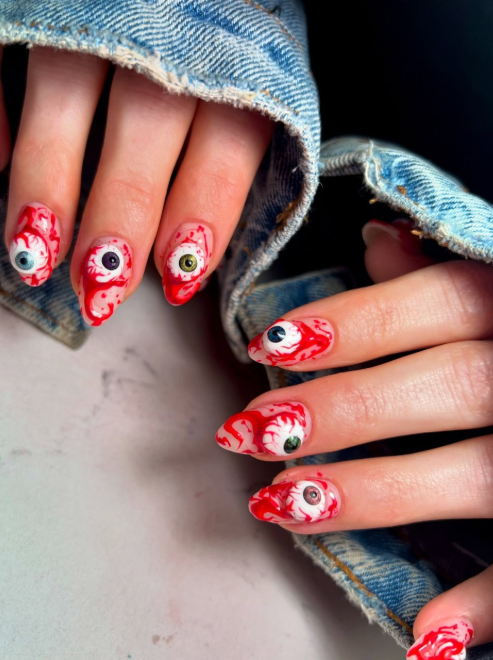
For an unsettling design, focus entirely on cloudy zombie eyes surrounded by dark shadows. Pale white, yellow, or gray irises can stand out against black, green, or bruised-purple backgrounds. Add thin veins or rough outlines to make the eyes appear unnatural, then keep the surrounding artwork minimal so the gaze remains the strongest detail.
27. Zombie Skin Cracks
Thin cracks can transform an ordinary green or gray manicure into something much more sinister. Draw irregular lines across the nails and add darker shading around a few sections to create the appearance of damaged skin. Mixing glossy and matte finishes can also make the cracked areas look more textured and dimensional.
28. Cartoon Undead Nails
Cartoon zombies offer a fun alternative to realistic horror artwork. Use bright green faces, oversized eyes, goofy expressions, tiny teeth, and playful hairstyles to create a lighthearted undead theme. Bold outlines make the characters easier to recognize, while colorful backgrounds such as purple, orange, or black give the manicure a fun Halloween feel.
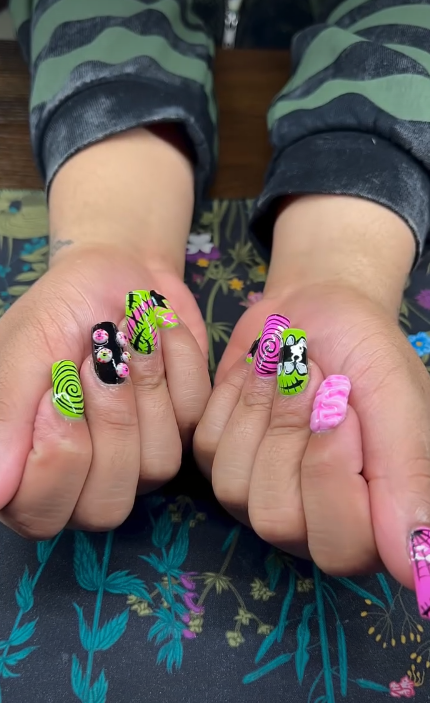
29. 3D Zombie Details
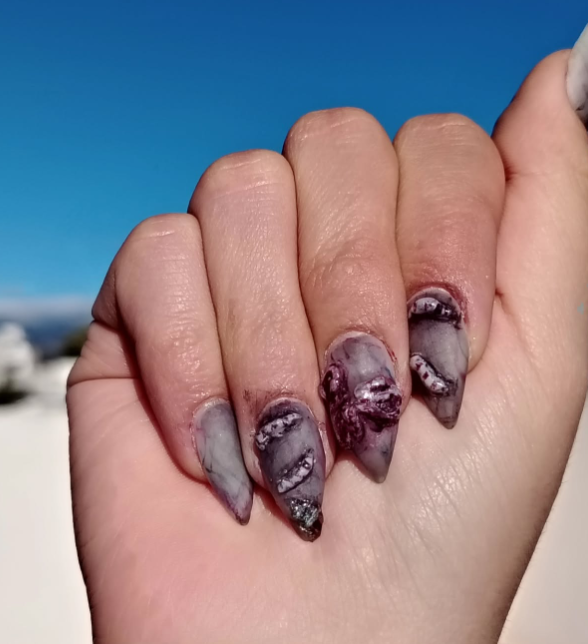
Add raised elements such as tiny stitches, textured scars, miniature bones, or sculpted zombie features for a dramatic manicure. Keep the main colors muted with green, gray, black, and dark red so the dimensional details remain visible. Using 3D accents on only a few nails can make the design striking without covering every surface.
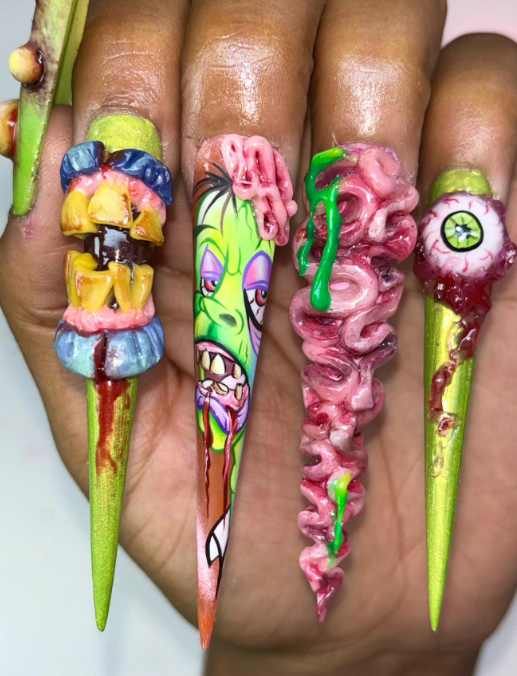
30. Full Zombie Horror Nails
A full horror set can combine several zombie elements into one dramatic manicure. Mix portraits, blood drips, cracked skin, graveyard scenes, scratches, and eerie eyes across different nails while keeping the colors connected. Deep green, black, gray, burgundy, and muted purple create a cohesive palette that makes the entire set feel like one complete zombie story.
Conclusion
Zombie nails can be as bold, creepy, or playful as you want them to be. Mix undead greens with black, gray, burgundy, and muted purple, then add details like scratches, stitches, blood drips, cracked skin, or zombie portraits for extra impact. Whether you choose one eerie accent nail or a complete horror-themed set, these designs offer plenty of inspiration for creating a memorable Halloween manicure.