
Acrylic nails look stunning, but removing them the wrong way can seriously damage your natural nails. If you’re wondering how to remove acrylic nails at home, you’re not alone. Many people prefer DIY removal to save time and money, but it must be done carefully to avoid thinning, breakage, or pain.
In this detailed, expert-backed guide, you’ll learn three safe and effective methods to remove acrylic nails at home. Each method is explained step-by-step with practical tips, mistakes to avoid, and aftercare advice. This article follows EEAT (Experience, Expertise, Authoritativeness, Trustworthiness) principles, ensuring you get reliable and real-world guidance.
Why Proper Acrylic Nail Removal Matters
Before jumping into the methods, it’s important to understand why safe removal is crucial.
Acrylic nails are bonded tightly to your natural nails using strong adhesives. If you:
- Rip or pull them off
- Force them without softening
- Skip proper soaking
You risk:
- Nail plate damage
- Weak, peeling nails
- Pain and inflammation
Expert tip: Nail technicians always soften acrylic before removal. That’s the golden rule you should follow at home.
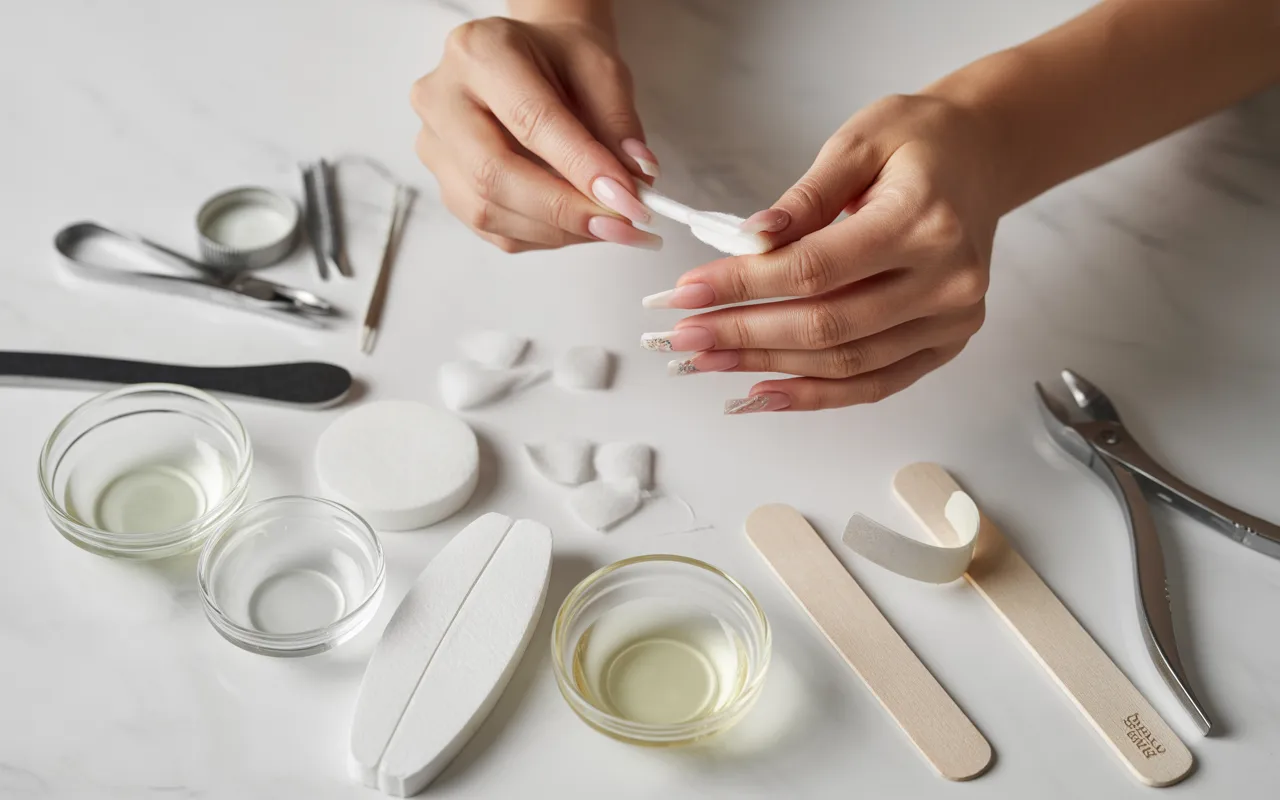
Method 1: Acetone Soak (Most Effective & Recommended)
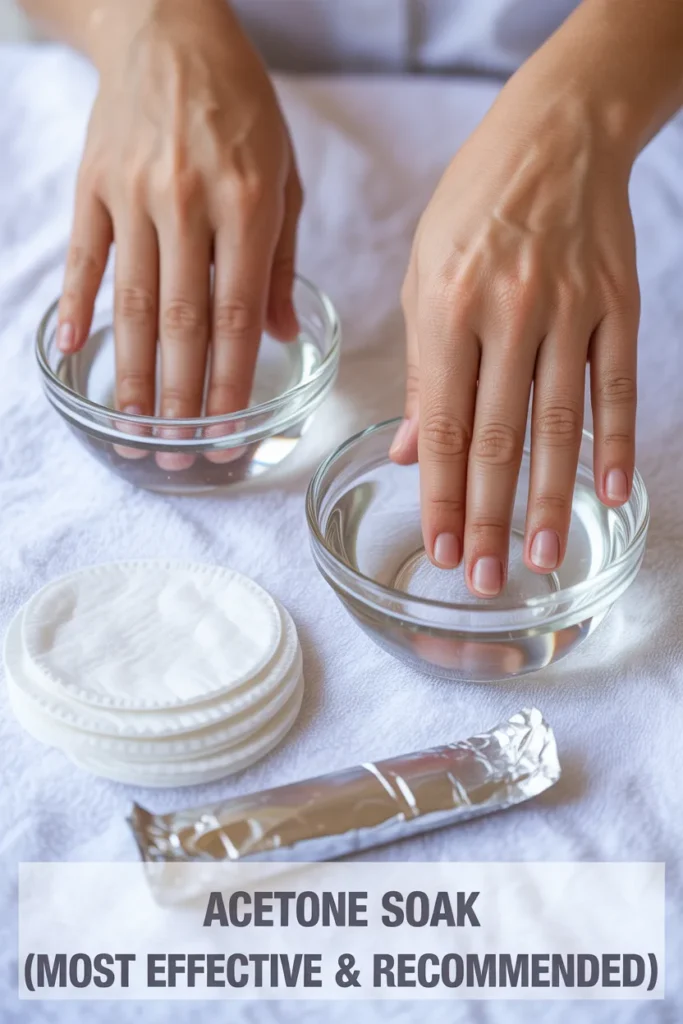
This is the most reliable and salon-approved method for removing acrylic nails at home.
What You’ll Need:
- 100% pure acetone
- Nail clippers
- Nail file (100/180 grit)
- Cotton balls or pads
- Aluminum foil
- Cuticle pusher
- Petroleum jelly (optional)
Step-by-Step Process
Step 1: Trim the Acrylic Nails
Cut your acrylic nails as short as possible using nail clippers. This reduces soaking time and makes removal easier.
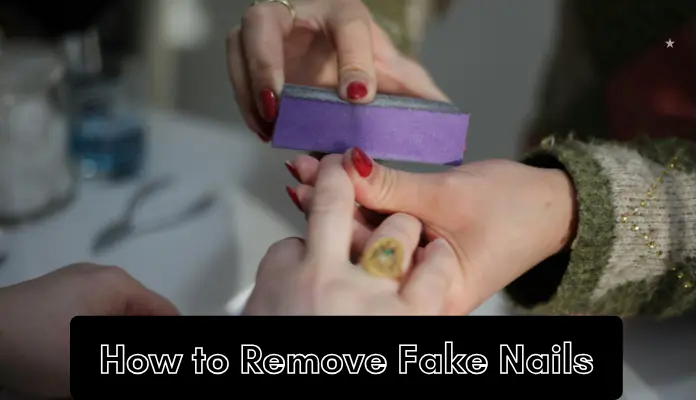
Step 2: File the Top Layer
Gently file the shiny topcoat. This breaks the seal and allows acetone to penetrate faster.
Pro Tip: Don’t over-file—just remove the glossy layer.
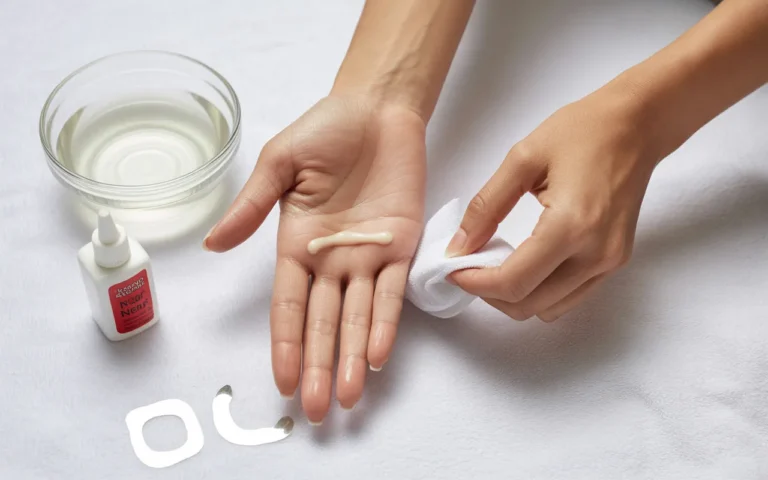
Step 3: Protect Your Skin
Apply petroleum jelly around your cuticles to prevent dryness caused by acetone.
Step 4: Soak Cotton in Acetone
Soak cotton balls in acetone and place them directly on each nail.
Step 5: Wrap with Foil
Wrap each finger tightly with aluminum foil to keep the cotton in place.
Step 6: Wait 20–30 Minutes
Let the acetone dissolve the acrylic. You’ll notice the acrylic becoming soft and flaky.
Step 7: Gently Remove Acrylic
Use a cuticle pusher to gently slide off the softened acrylic.
Important: If it doesn’t come off easily, re-wrap and soak longer. Never force it.
Step 8: Buff & Moisturize
Buff remaining residue, then apply cuticle oil and hand cream.
Pros & Cons
Pros:
- Highly effective
- Professional-level results
- Works for thick acrylics
Cons:
- Strong smell
- Can dry out skin and nails
- Method 2: Warm Water + Soap + Oil (Gentle & Natural Method)
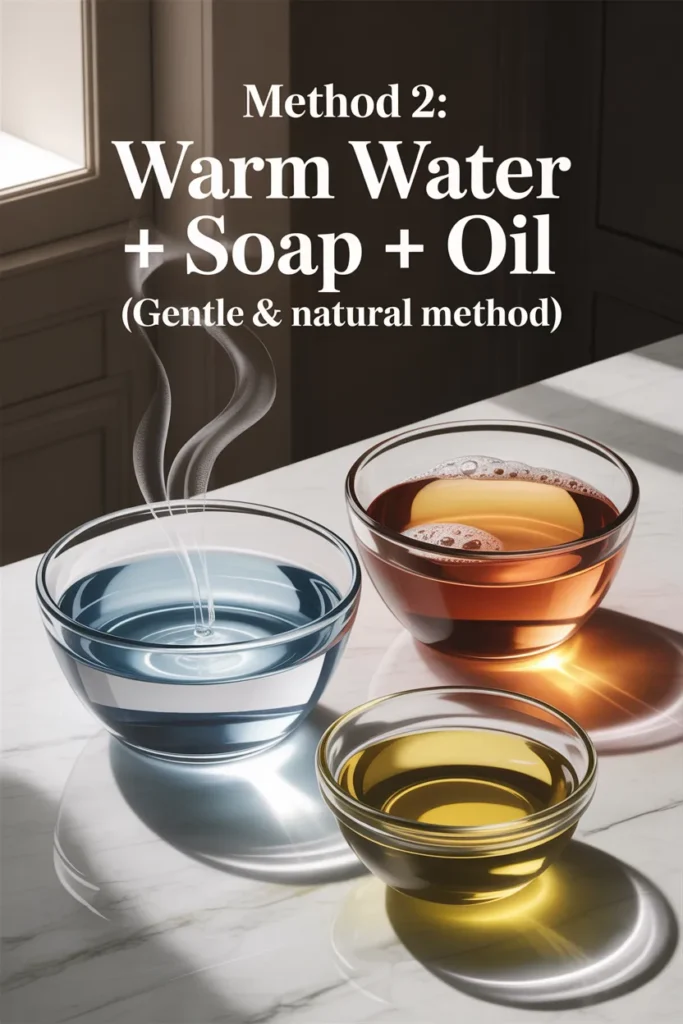
If you want a chemical-free option, this method is slower but safer for sensitive skin.
What You’ll Need:
- Warm water
- Dish soap or shampoo
- Cuticle oil or olive oil
- Nail file
- Cuticle stick
Step-by-Step Process
Step 1: Trim & File
Just like the acetone method, trim and lightly file the acrylic surface.
Step 2: Prepare Soaking Solution
Mix:
- Warm water
- A few drops of dish soap
- A tablespoon of oil
Step 3: Soak Nails
Place your fingers in the mixture for 30–40 minutes.
Step 4: Loosen Acrylic
Gently try lifting edges using a cuticle stick.
Step 5: Repeat if Needed
This method requires patience. Repeat soaking until acrylic loosens completely.
Pros & Cons
Pros:
- No harsh chemicals
- Less drying
- Safe for sensitive skin
Cons:
- Time-consuming
- Not effective for thick acrylics
Method 3: Dental Floss Technique (Fast but Requires Caution)
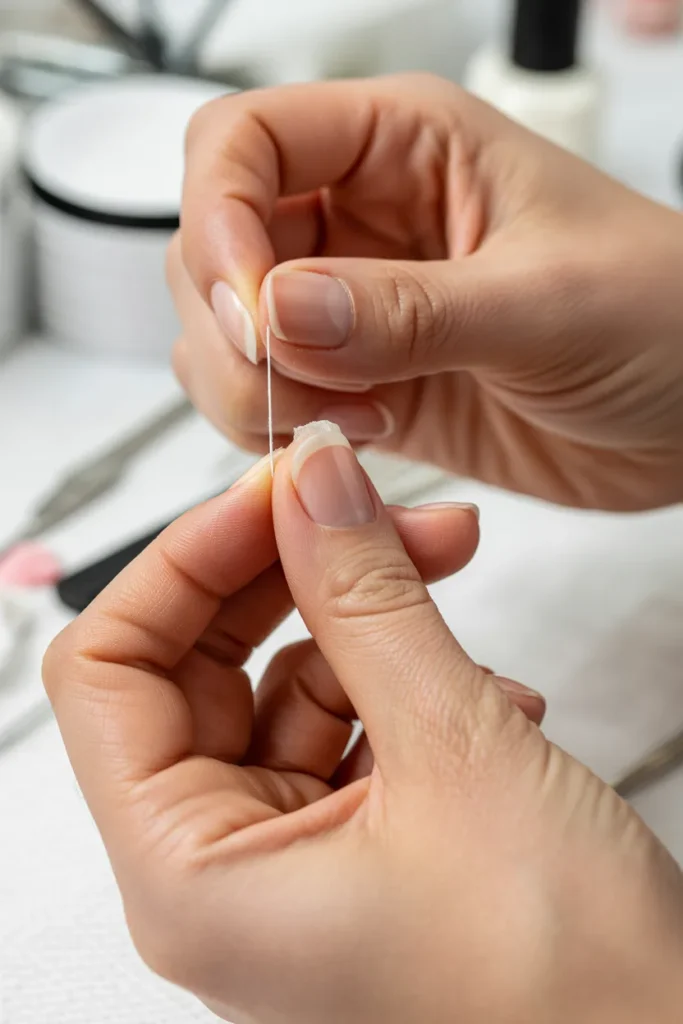
This method is popular but should only be used if the acrylic is already lifting.
What You’ll Need:
- Dental floss
- Cuticle stick
- A helper (recommended)
Step-by-Step Process
Step 1: Lift the Edge
Use a cuticle stick to gently lift the edge of the acrylic nail.
Step 2: Insert Dental Floss
Slide dental floss under the lifted edge.
Step 3: Gently Saw Back and Forth
Move the floss in a sawing motion to separate the acrylic from your natural nail.
Step 4: Go Slowly
Work gradually across the nail.
Important Warning ⚠️
- Do NOT use this method on tightly bonded nails
- Can cause severe nail damage if forced
Pros & Cons
Pros:
- Quick method
- No chemicals required
Cons:
- Risky if done incorrectly
- Can damage natural nails
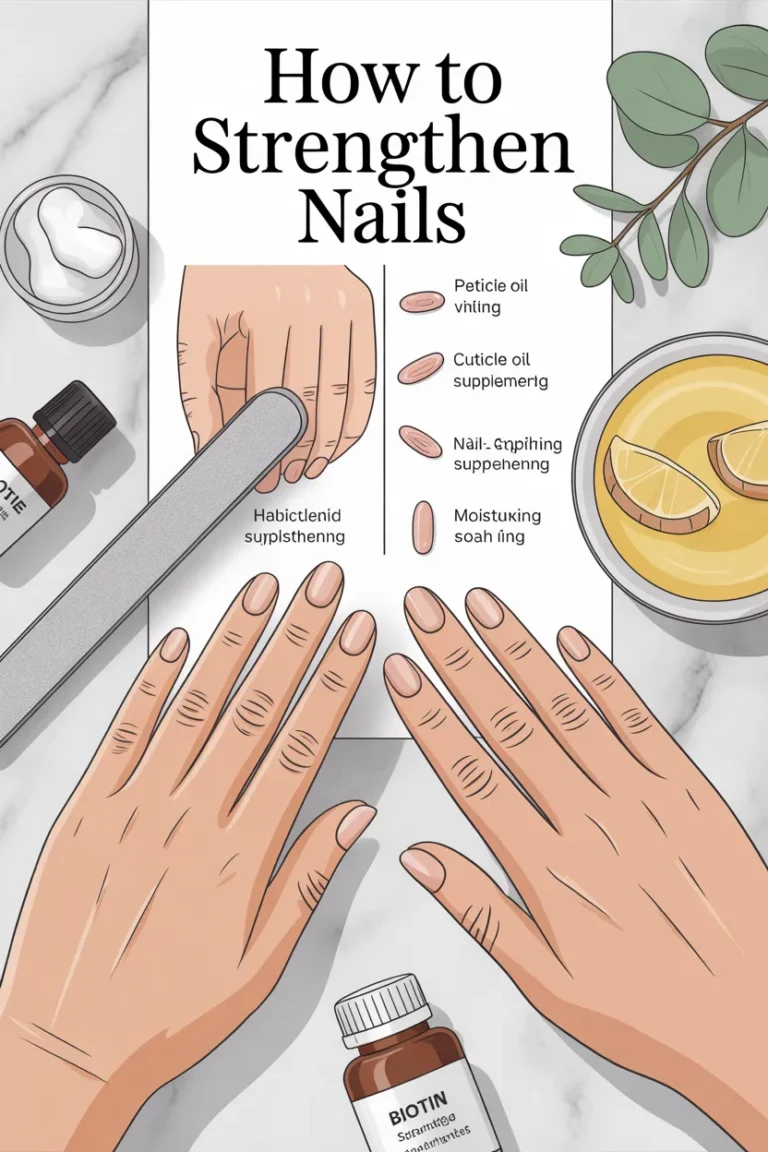
Aftercare: Restore Your Natural Nails
Removing acrylic nails is only half the job. Proper aftercare is essential.
1. Hydrate Your Nails
Use cuticle oil daily to restore moisture.
2. Avoid Nail Products for a Few Days
Give your nails time to breathe and recover.
3. Use a Nail Strengthener
Helps rebuild weak nail structure.
4. Keep Nails Short
Short nails reduce breakage during recovery.
5. Maintain a Healthy Diet
Biotin-rich foods (eggs, nuts) support nail growth.
Common Mistakes to Avoid
- ❌ Pulling off acrylic nails
- ❌ Skipping soaking step
- ❌ Using metal tools aggressively
- ❌ Over-filing natural nails
These mistakes can lead to long-term nail damage.
Expert Tips for Best Results
- Always use 100% acetone for faster removal
- Wrap nails tightly to prevent evaporation
- Be patient—rushing causes damage
- Moisturize immediately after removal
FAQs About Removing Acrylic Nails at Home
1. Can I remove acrylic nails without acetone?
Yes, but it takes longer. The warm water method is a safer alternative, though less effective.
2. How long does it take to remove acrylic nails at home?
- Acetone method: 20–30 minutes
- Natural method: 45–60 minutes or more
3. Is it safe to remove acrylic nails at home?
Yes, if done correctly. Following proper steps minimizes damage.
4. Why do my nails hurt after removing acrylics?
Pain can occur if the nails were removed forcefully or improperly.
5. Can I reuse acrylic nails after removal?
No. Acrylic nails are not reusable once removed.
6. How often should I take a break from acrylic nails?
Experts recommend taking a break every 2–3 months to maintain nail health.
7. What should I do if acrylic won’t come off?
Soak longer in acetone. Never force removal.
Conclusion
Learning how to remove acrylic nails at home safely can save you time and money—but it requires patience and the right technique. Among the three methods:
- Acetone soak is the most effective and recommended
- Warm water method is gentle but slower
- Dental floss method is fast but risky
The key is to never rush or force the process. Healthy nails should always be your priority.
With proper removal and aftercare, your natural nails can stay strong, smooth, and ready for your next manicure.
Read More How to Get Nail Glue Off Skin ? (Expert Guide with Safe, Proven Methods)