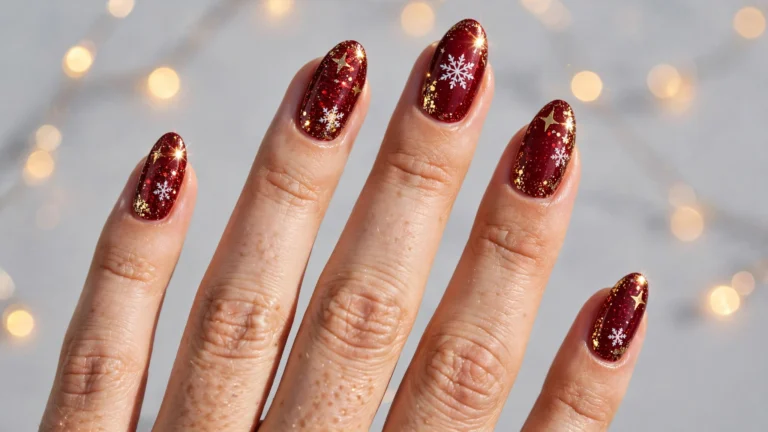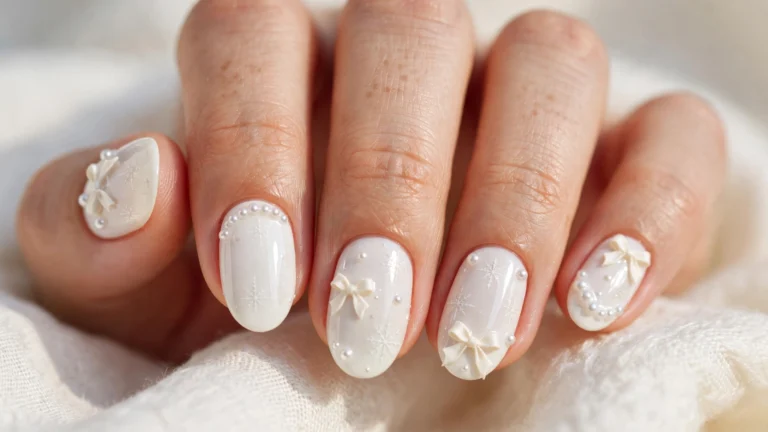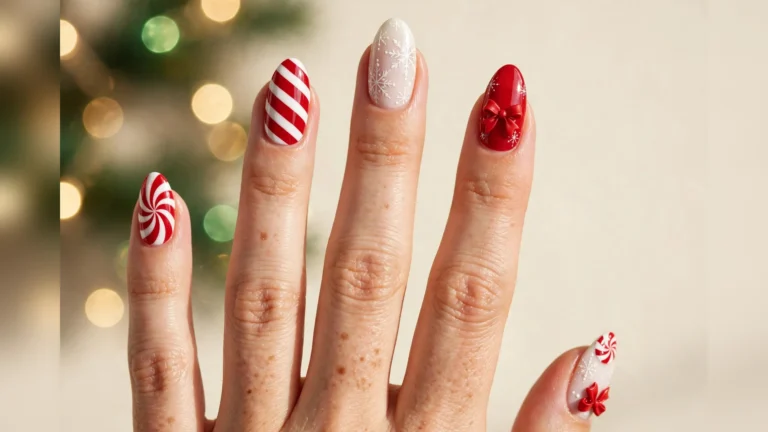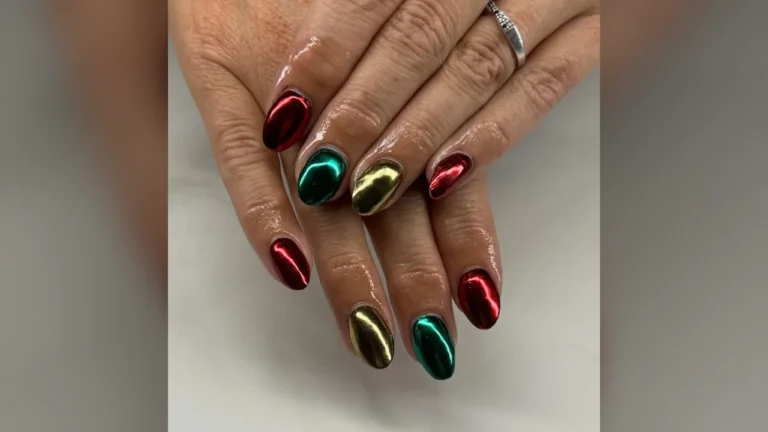


Red glitter, gold lines, gingerbread faces, and soft pink lights fill these 25 festive nail designs. Each set mixes a clear base colour with one or two small details. Details include a bow, a tree, a candy stripe, or a gem cluster. Deep reds sit beside pale pinks, warm browns, and cool blue blocks. Some nails shine with cat-eye light, while others stay matte or sheer. Every idea below names its colours, its finish, and its pattern. Then each guide explains how to build the same look at home.
1. Deep Red Nails With Gold Glitter Edges
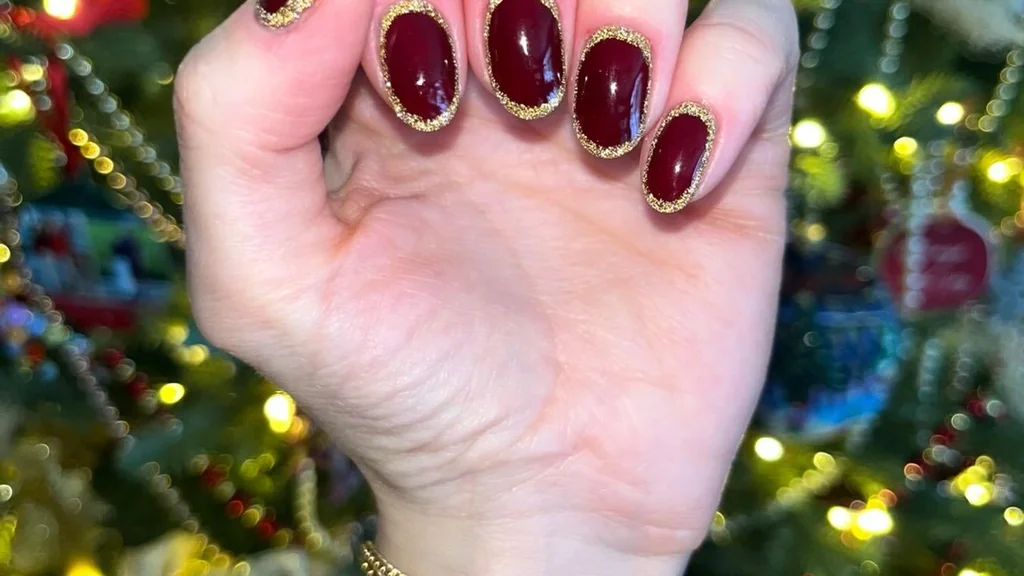
Deep wine red covers each nail in a rich glossy coat. Gold glitter traces the edge of every nail in a thin bright line. Light catches the glitter, so each outline glows warm against the red. Five nails also share the same deep red base and the same gold frame. Lit tree lights blur behind the hand and add green and gold sparks.
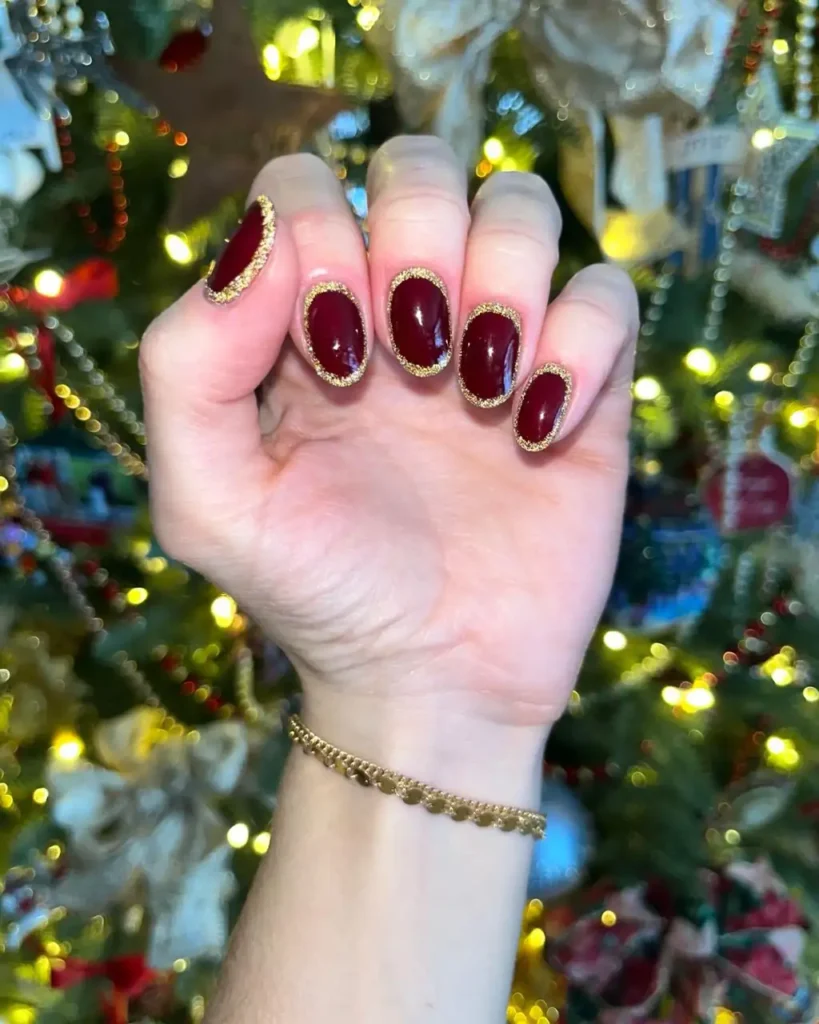
Paint two thin coats of deep red and let each coat dry fully. Brush gold glitter polish along the edge with a thin brush. Clean stray specks with a dry brush next. Work on one nail at a time so the glitter line stays neat. Seal the design with a glossy top coat and cap the free edge. Wear gloves for washing up, because water and soap wear the glitter edge down first.
2. Nude Nails With Christmas Scene Art
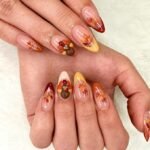
Sheer nude covers each nail in a soft clear coat. Tiny painted scenes sit on the pale base in green, pink, and brown. One nail shows a small tree with pink and blue dots. Next, a gingerbread figure wears a pink scarf and smiles. One nail shows a pink ornament with blue dots. Last, a small brown house wears white icing lines.

Start with a sheer nude base in two thin coats and let each coat dry. Use a thin brush to draw one small scene on each nail. Keep each scene simple, with two or three colours at most. Seal the art with a glossy top coat so the paint stays smooth. Touch up chips at the free edge with a small brush, because tips wear first.
3. Bright Red Glitter Nails With Bows
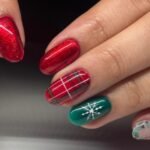
Bright red glitter covers the thumb and middle nails in a dense sparkle. Sheer pink fills the other nails with a soft clear shine. One sheer nail carries a red bow drawn in fine lines. Two nails wear red glitter tips over the pale pink base. Gold sparkle dusts the red tips near the cuticles. Green branches and gold lights blur behind the hand, so the red pops.
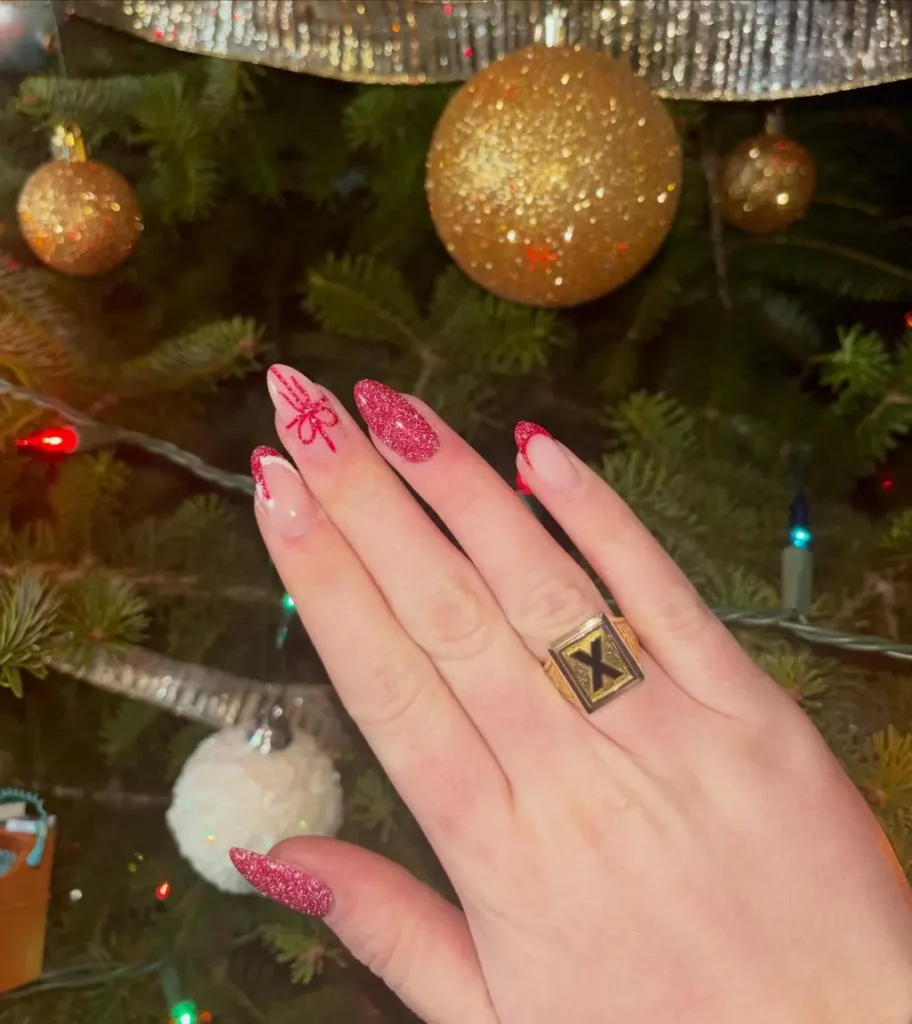
Begin with the glitter nails in two thin coats and let them dry. Add sheer pink to the plain nails with one even coat. Draw the bow with a thin brush and red polish. Use tape to keep the glitter tips crisp and straight. Seal all nails with a glossy top coat for a smooth shine. Wear gloves for washing up, because water dulls the glitter fast.
4. Gingerbread Brown Nails With Icing Art
Warm gingerbread brown covers most nails in a smooth glossy coat. White icing lines draw snowflakes, small trees, and dots on the brown base. Two nails stay pale pink with a brown icing border and a white heart. Each brown nail holds one white motif, so the set reads calm and neat. Tiny white dots fill the gaps between the larger shapes.
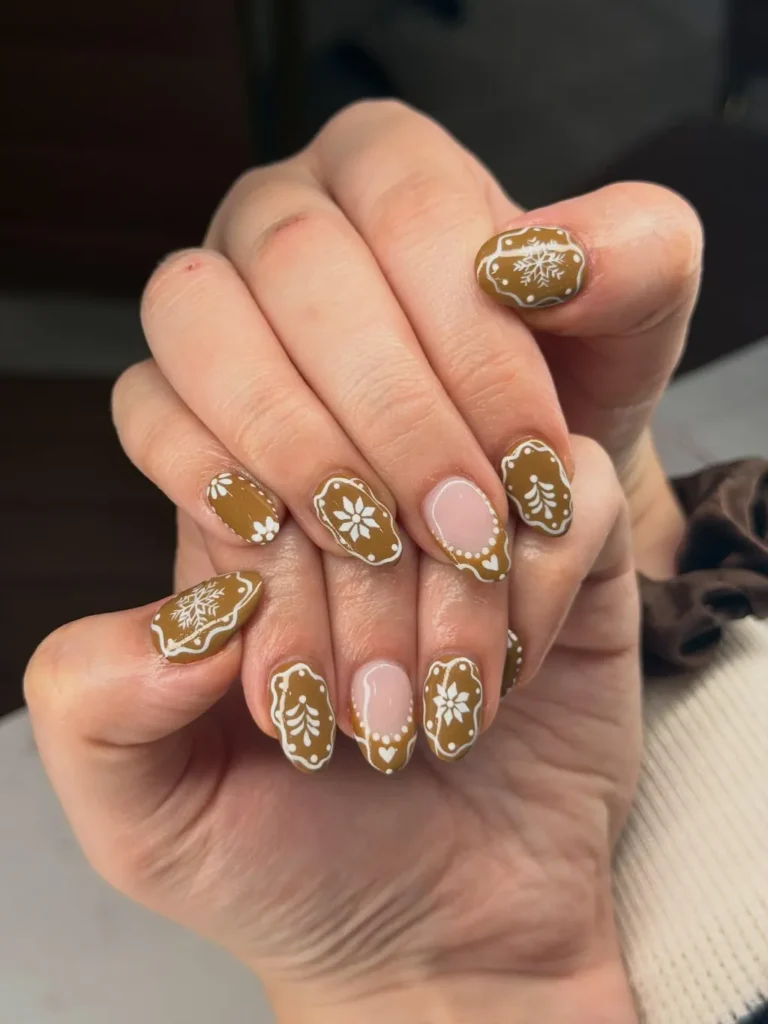
Brush the gingerbread brown nails in two thin coats and let each coat dry. Draw the white motifs with a thin brush and white polish. Keep the brush steady, because heavy lines bleed into the brown. Leave the pale pink nails plain except for the brown rim. Finish with a glossy top coat and cap the free edge. Wear gloves for washing up, so water stays off the paint.
5. Red Glitter Nails With Gold Pearls
Glitter covers most nails in a dense red shine. Two nails stay sheer with a gold glitter outline around each edge. One gold glitter nail carries small white pearls and dark gems. Gold sparkle sits on the cuticle line of the sheer nails. Dark green branches and red baubles blur behind the hands, so the gold glows. Gold dust sparkles along the cuticle line of each nail.

Layer the red glitter nails in two thin coats and let them dry. Trace the sheer nails with gold glitter polish and a thin brush. Place pearls and gems with a dotting tool while the top coat stays wet. Work on one nail at a time, because gems slide on wet polish. Coat the set with a glossy top coat and cap the free edge.
6. Pink Gingerbread Nails With Snowflakes
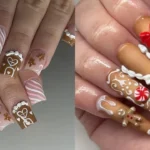
Soft pink covers each nail in a pale glossy coat. One nail also shows a gingerbread figure with a pink bow. White snowflakes sit on two nails in fine lines. Pink and white candy stripes cross one nail from edge to edge. One nail shows a small brown house with white icing and pink dots. Gold stars dust the pink base near the cuticles. Green leaves curl around the brown house.

Coat the pink base in two thin coats and let each coat dry. Draw the gingerbread figure with a thin brush and brown polish. Add the flakes with a dotting tool and white polish. Keep the stripes thin, because wide stripes hide the pink base. Seal the art with a glossy top coat for a smooth shine. Wear gloves for washing up, so water stays off the art.
7. Classic Red French Tips With Stripes
Classic red fills the tips of most nails over a sheer pink base. One accent nail wears red, white, and gold wavy stripes. Next, a gold glitter tip replaces red on one accent nail. Each tip sits in a clean curve at the free edge. Soft white fur blurs behind the hands, so the red tips stand out. Gold glitter dusts the tip of the striped nail.

Smooth a sheer pink base on in one even coat and let it dry. Draw the red tips with a thin brush and steady strokes. Use tape to keep the tip line crisp and even. Paint the wavy stripes with a striping brush and three colours. Seal the set with a glossy top coat, because French tips chip first at the edge.
8. White Nails With Gingerbread Dots
White covers most nails in a bright glossy coat. Red, green, and silver dots scatter across the white base. Two nails show small gingerbread figures with red and green buttons. Tan nails wear a white icing outline with white dots. Each nail holds one small motif, so the set stays light and neat. Silver dots shine between the red and green ones.

Cover the nails with two thin coats of white polish and let each coat dry fully. Add the coloured dots with a dotting tool and three soft polishes. Draw the small figures with a thin brush and tan polish. Keep the icing lines fine, because thick lines cover the tan shade. Finish the set with a glossy top coat and cap each tip.
9. Blush Pink Nails With Gold Bows
Blush pink covers most nails in a soft glossy coat. Gold lines draw large bows on two nails in fine strokes. One nail shows a red glitter bauble with a gold string. Two nails wear red glitter tips over the blush base. Tiny gold stars and dots scatter near the cuticles, so the set glows. Silver light catches the gold stars and makes them sparkle.
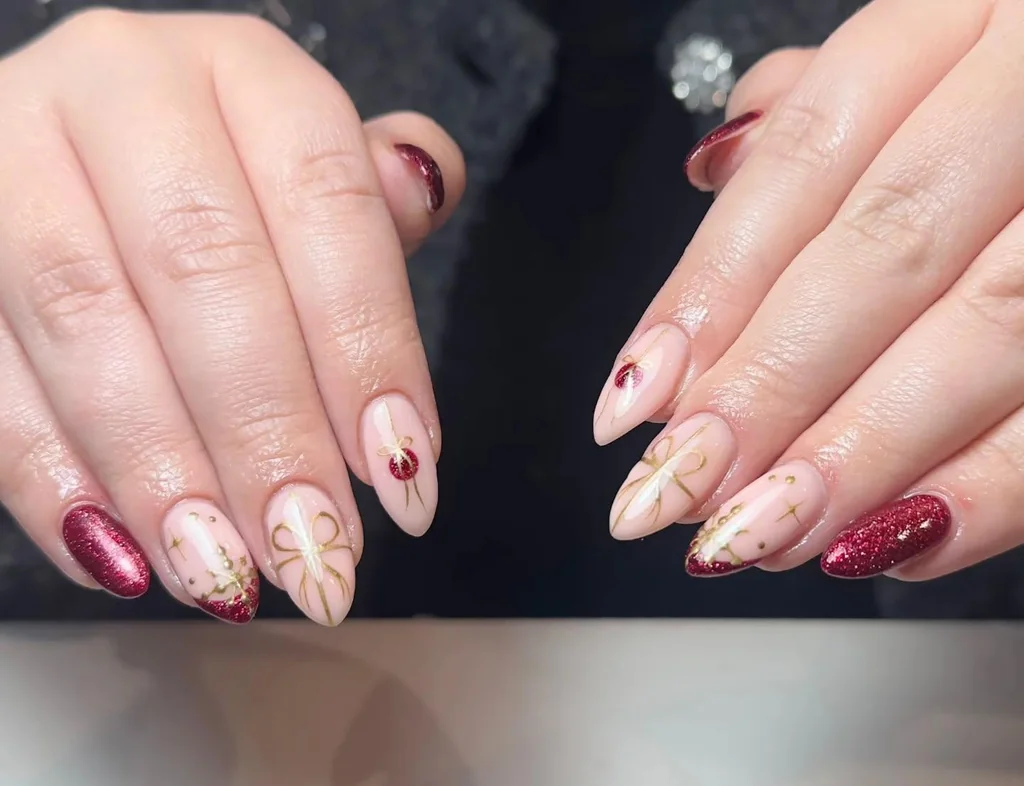
Work the pink base in two thin coats and let each coat dry. Draw the bows with a thin brush and gold polish. Add the ornament with red glitter polish and a dotting tool. Keep the gold lines thin, because heavy lines look messy on pink. Add a glossy top coat last and cap the free edge. Wear gloves for washing up, so water stays off the glitter.
10. Black Cherry Cat-Eye Nails
Black cherry covers each nail in a dark glossy coat. Cat-eye polish uses tiny magnetic specks that gather into a bright band under a magnet. Red light band glows down the centre of each nail. Dark edges frame the bright band, so the nails look deep and lit. Each nail shares the same dark base and the same red glow.

Prep one thin coat of black cherry and let it dry fully. Add a second coat, then hold a magnet over each nail at once. Keep the magnet still for a few seconds, because movement blurs the band. Work on one nail at a time so the band sets in place. Finish with a glossy top coat and seal the free edge.
11. True Red Nails With Gold Bows
True red covers most nails in a rich glossy coat. Gold glitter draws large gift bows on two accent nails. Next, gold glitter stripes run diagonally across two more nails. Each bow sits in the centre of its nail with thin ribbon lines. Dark polish pools near the cuticles, so the gold lines shine brighter. Gold dots sparkle between the bows and stripes.
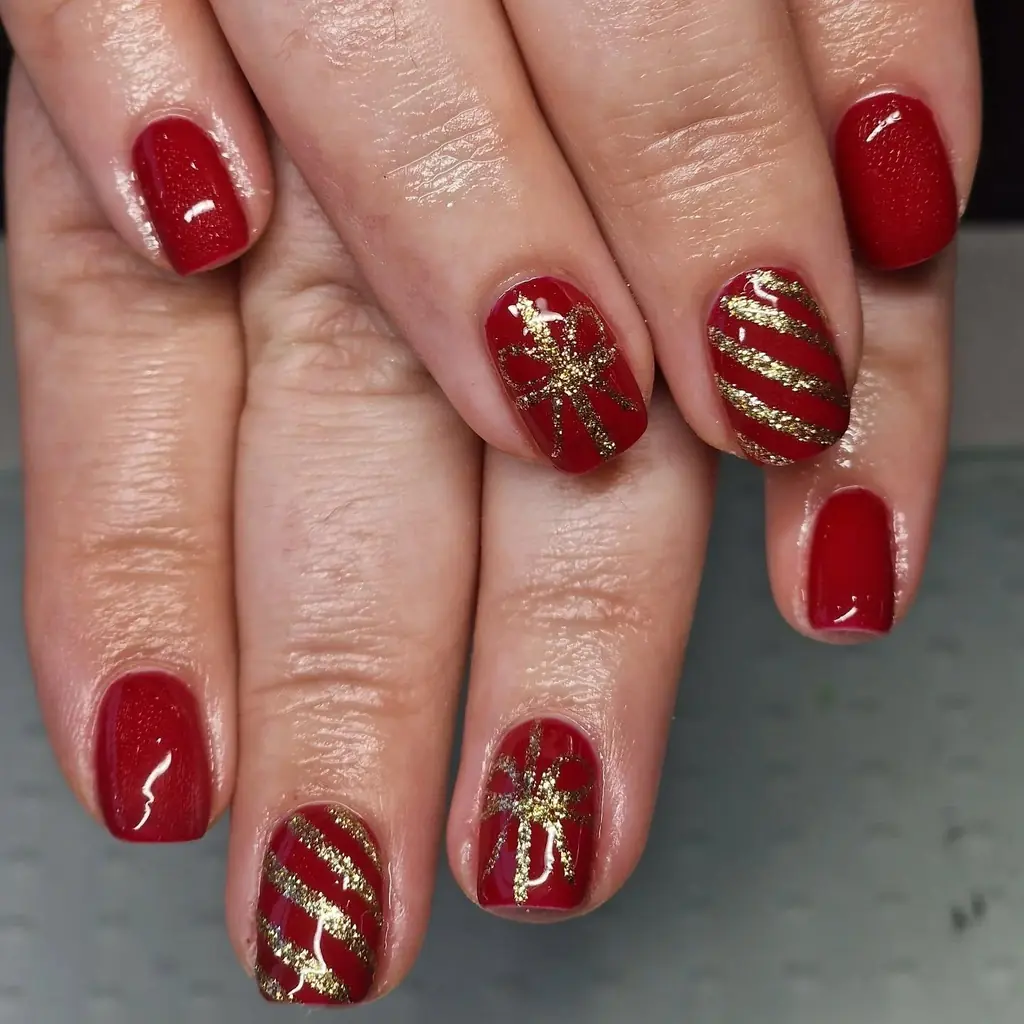
Lay the red base down in two thin coats and let each coat dry. Draw the bows with a thin brush and gold glitter polish. Use tape to keep the diagonal stripes straight and even. Clean stray glitter with a dry brush before the top coat. Seal the set with a glossy top coat, because glitter feels rough without one. Wear gloves for washing up, so water stays off the gold.
12. Sheer Pink Nails With Fairy Lights
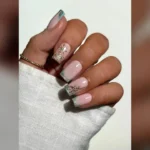
Sheer pink covers each nail in a pale clear coat. Silver lines wind across the nails like thin fairy lights. Pastel pink and mint dots hang from the silver lines. One nail shows a small brown gingerbread figure with a pink bow. Each light sits low on the nail, so the tips stay clear and soft. Gold light catches the silver lines and makes them shine.

Spread a pale pink sheer base in one even coat and let it dry. Draw the silver lines with a thin brush and silver polish. Add the dots with a dotting tool in pastel pink and green. Keep the lines thin, because thick lines hide the sheer base. Seal the set with a glossy top coat for a smooth finish. Wear gloves for washing up, so water stays off the lines.
13. Red Glitter Nails With Gold Script
Vivid red glitter covers most nails in a dense sparkle. Fine gold script lettering runs across two accent nails. Gold tree outline sits on one nail in fine lines. White paper blurs behind the hand, so the red glitter stands out. Each nail shares the same bright red base and the same glossy shine. Gold dots sparkle around the tree outline in soft light.
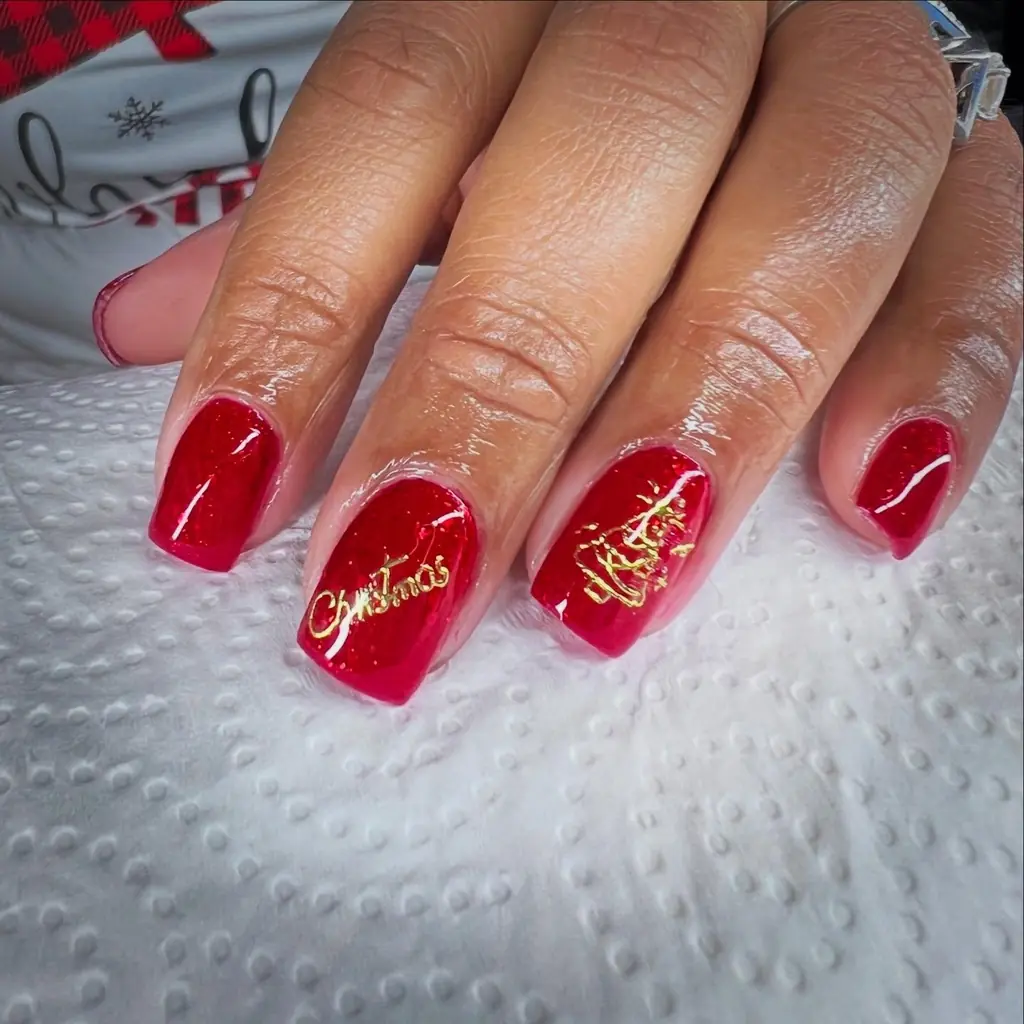
Build the red glitter nails first in two thin coats and let them dry. Draw the script with a thin brush and gold polish. Keep the letters small, because large letters crowd the nail. Add the tree outline last with steady strokes. Finish with a glossy top coat for a smooth shine. Wear gloves for washing up, so water stays off the shine.
14. Nude Nails With Gingerbread Figures
Nude covers each nail in a soft clear coat. Two nails show small brown gingerbread figures with white dot buttons. Three nails wear brown French tips over the nude base. Each figure smiles with a simple face and thin arms. Dark shadows sit behind the hand, so the nude base looks warm. Gold dots sparkle near the brown tips. Soft light falls on the nails and warms the nude shade.
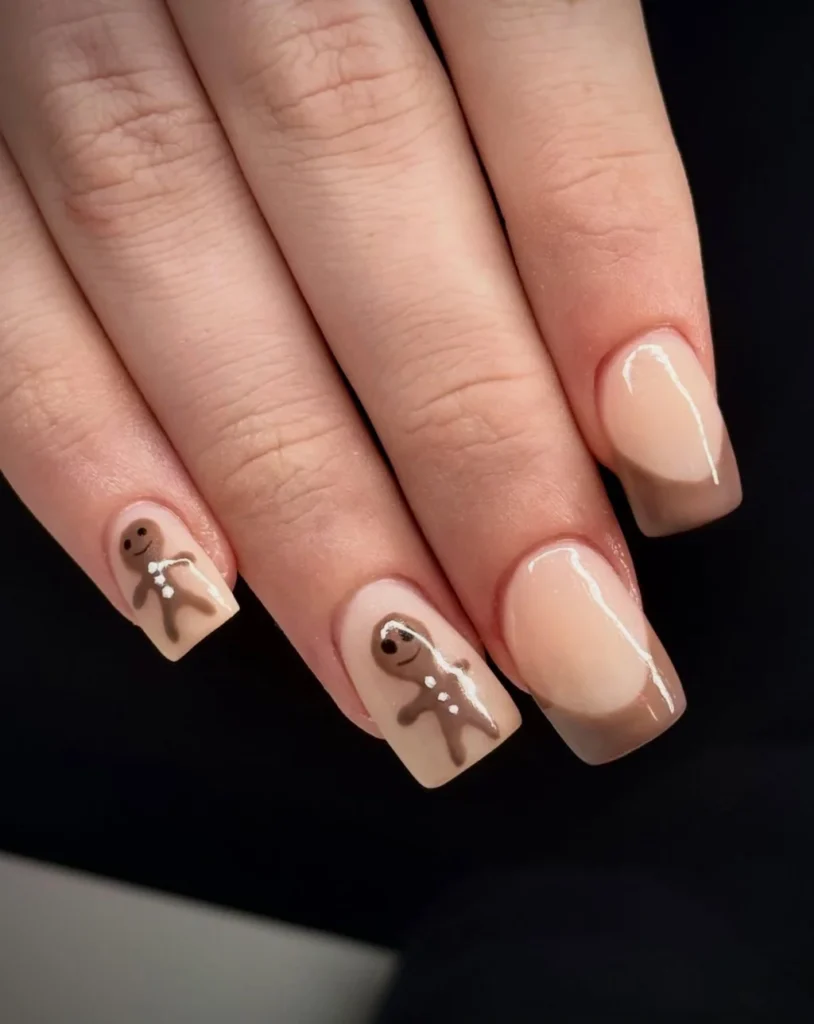
Base the set with nude in two thin coats and let each coat dry. Draw the figures with a thin brush and brown polish. Add the white dots with a dotting tool once the brown dries. Use tape to keep the brown tips crisp and even. Coat the set with a glossy top coat and seal each tip. Use gloves for washing up, because water dulls the paint fast.
15. Cherry Red Nails With White Bows
Cherry red covers most nails in a deep glossy coat. White lines also draw gift bows on two accent nails. Each bow sits near the centre with thin ribbon lines. One nail on the upper hand shows a clear tip at the edge. Grey marble blurs behind the hands, so the red looks rich. Silver light catches the white bows and makes them glow.
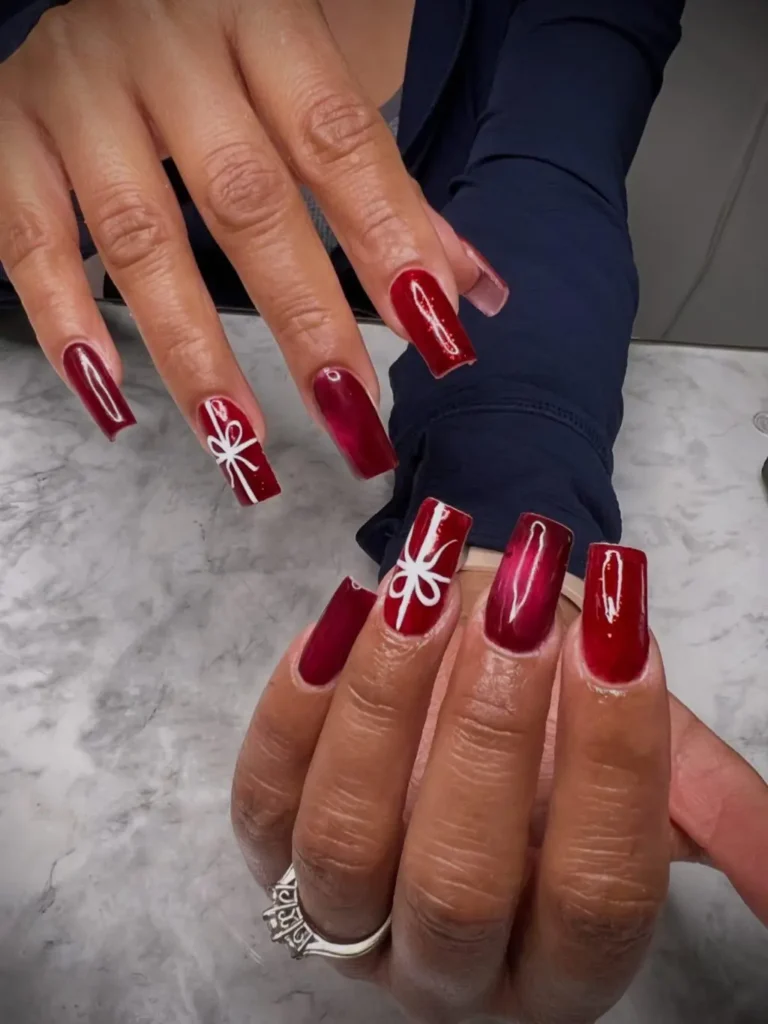
Apply the cherry base in two thin coats and let each coat dry. Draw the white bows with a thin brush and white polish. Keep the ribbon lines thin, because thick lines cover the red. Fix a clear tip by adding one more thin coat of red. Finish the set with a glossy top coat for a smooth shine. Wear gloves for washing up, so water stays off the tips.
16. Pink Nails With Gingerbread Cat Art
Pink covers most nails in a soft glossy coat. One nail shows a brown gingerbread cat with a pink bow. Next, a small brown house wears white icing and pink dots. Pink candy canes scatter across one nail in red and white. One nail shows a pink tree with a sugary white texture. Gold glitter dusts the pink base near the cuticles.
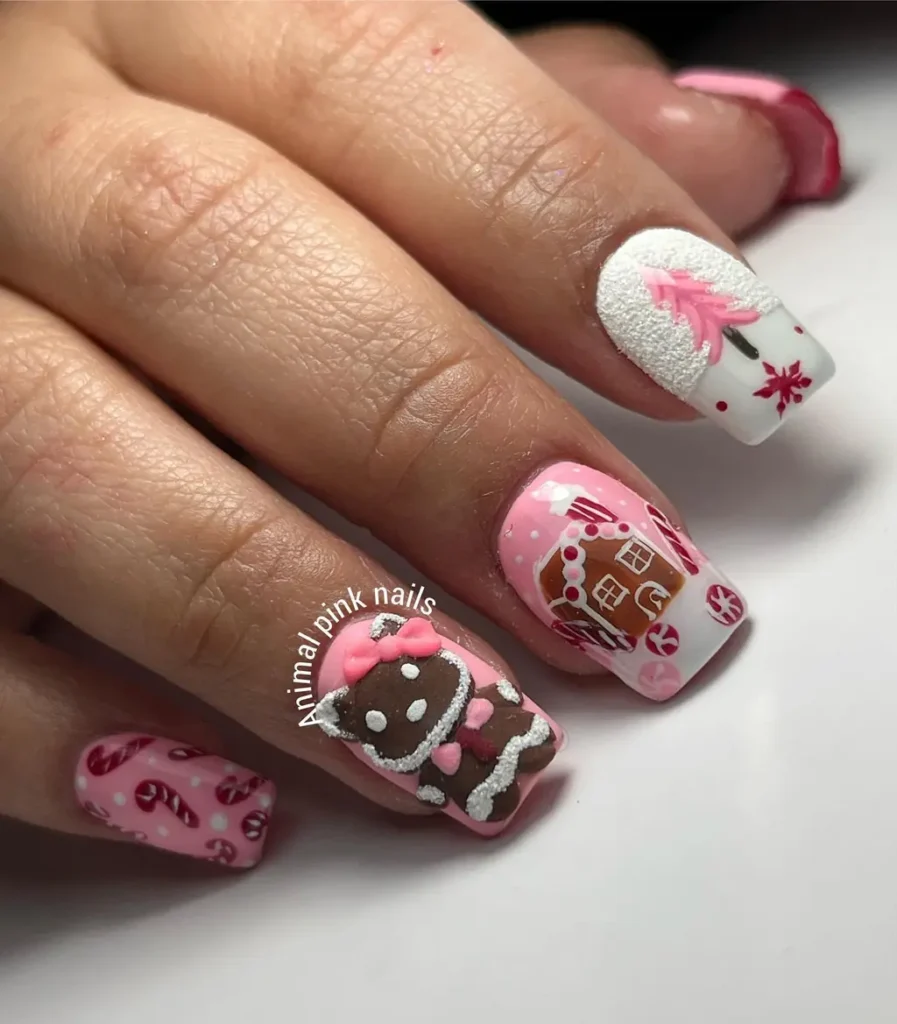
Set a pale pink base in two thin coats and let each coat dry. Draw the cat with a thin brush and brown polish. Add the house with white icing lines and pink dots. Keep the stripes small, because wide stripes hide the pink base. Finish the art with a glossy top coat and cap the free edge. Wear gloves for washing up, so water stays off the nails.
17. Burgundy Aura Nails With Soft Glow
Rich burgundy covers each nail in a dark glossy coat. Aura means a soft halo blend that fades from dark edges to a pale centre. Grey purple light pools in the middle of each nail. Dark burgundy frames the pale centre, so each nail looks lit from inside. Each nail shares the same dark edge and the same soft glow.

First, paint a dark base in two thin coats and let it dry. Sponge a pale shade onto the middle of every tip. Blend the rim with a clean sponge, then smooth the halo edges. Work in thin layers so the centre stays soft. Finish with a glossy top coat for shine. Wear gloves for washing up, because water dulls the glow fast.
18. Tan Nails With Gingerbread Faces
Tan nude covers each nail in a warm glossy coat. Smiling gingerbread faces sit on four nails with gem buttons. White icing zigzags run across the faces like sweet trim. Two nails wear iridescent glitter over the tan base. Each face has a small sweet smile, so the set feels warm and neat. Gold glitter dusts the tan base near the cuticles.
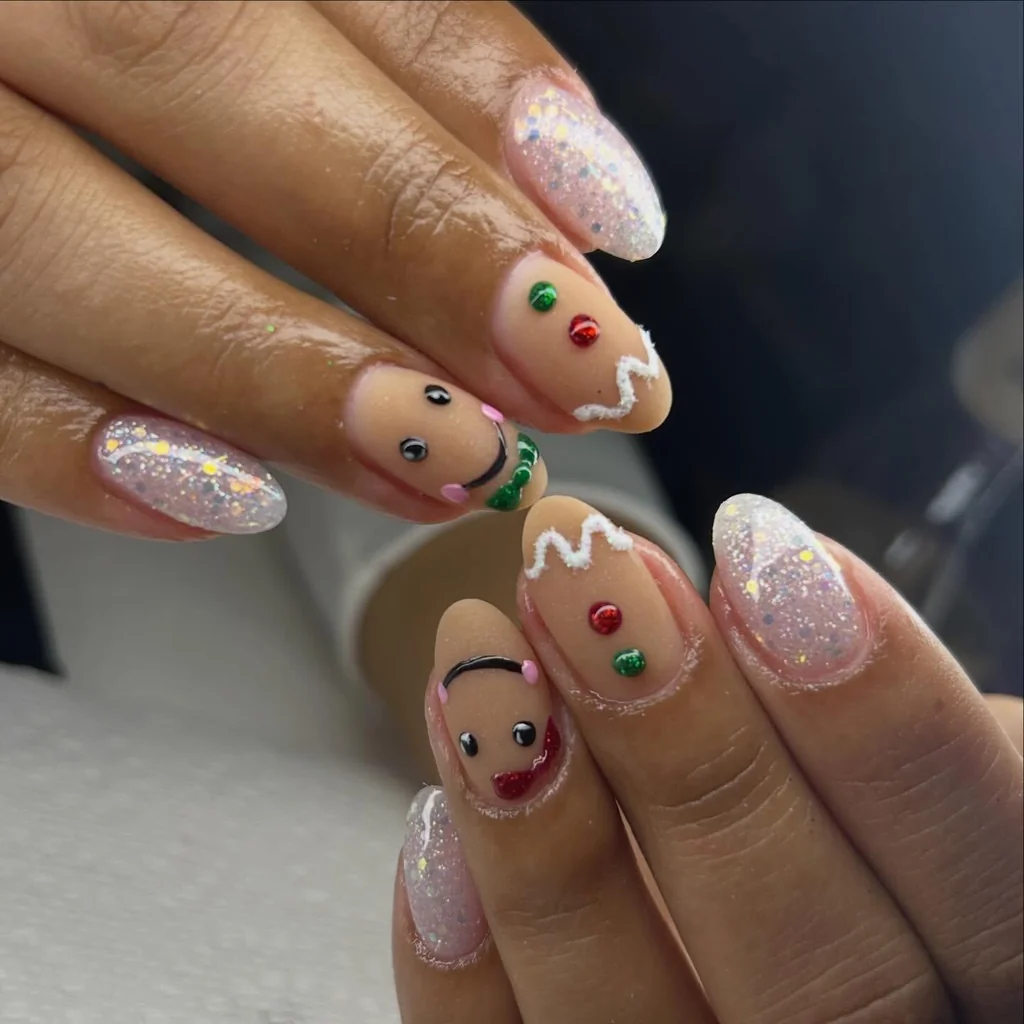
Shape the tan base in two thin coats and let each coat dry. Draw the faces with a thin brush and brown polish. Add the gem buttons with a dotting tool while the top coat stays wet. Keep the icing zigzags thin, because thick lines hide the faces. Add a glossy top coat last and seal the free edge. Wear gloves for washing up, so water stays off the faces.
19. Dark Red Cat-Eye Swirl Nails
Dark red covers each nail in a deep glossy coat. Cat-eye polish holds tiny magnetic flecks that pull into a bright band under a magnet. Swirling light lines also cross the nails like ribbons. Two bow shapes glow pale red against the dark base. Each nail shares the same dark red base and the same shifting light. Silver light catches the swirls and makes them shine.

Prime the nails with one thin coat of dark red and let it dry fully. Add a second coat, then move a magnet slowly over each nail. Tilt the magnet to bend the band into swirls. Work on one nail at a time, because the band sets fast. Top the set with a glossy top coat and cap each tip. Wear gloves for washing up, so water stays off the bands.
20. Pink Gingerbread House Nails With Bows
Pink covers most nails in a pale glossy coat. One nail shows a gingerbread girl with a pink bow and a glitter skirt. Next, a small brown house wears white icing lines and pink dots. Candy cane stripes cross one nail in pink and white. One white 3D bow sits on one nail with small gem clusters. Gold glitter dusts the tips near the cuticles.

Colour a pink base in two thin coats and let each coat dry. Draw the girl and house with a thin brush and brown polish. Add the stripes with a striping brush and pink polish. Place the bow and gems with a dotting tool while the top coat stays wet. Seal the set with a glossy top coat for a smooth shine. Wear gloves for washing up, so water stays off the bow.
21. Deep Red Nails With Bows And French
Deep red covers most nails in a dark glossy coat. Cat-eye polish carries tiny magnetic bits that form a bright band under a magnet. Two nude nails show dark red bows drawn in fine lines. Next, dark red French tips sit over the pale base on two nails. Each nail shares the same dark red shade in a different spot. Silver light catches the dark red bows and makes them glow.

Fill the dark red nails in two thin coats and let them dry. Add a plain nude layer with one even coat. Draw the bows with a thin brush and dark paint. Use tape to keep the French tips crisp and even. Coat the set with a glossy top coat for a smooth shine. Wear gloves for washing up, so water stays off the bows.
22. Caramel Brown Nails With Gingerbread Charms
Caramel brown covers most nails in a warm glossy coat. Pink glitter covers two nails in a dense sparkle. Gingerbread cat charms sit on two nails with pink bows. White icing drips run down the brown nails in thin lines. Small white pearls sit near the cuticles, so the set feels sweet and neat. Gold glitter dusts the brown nails near the cuticles.

Sweep the brown nails in two thin coats and let them dry. Add pink glitter to two nails with one thick coat. Place the charms with a dotting tool while the top coat stays wet. Press each charm flat, because raised charms catch on fabric. Finish the set with a glossy top coat and seal each tip. Wear gloves for washing up, so water stays off the charms.
23. Bright Red Cat-Eye Nails With Silver
Red covers each nail in a rich vivid glossy coat. Cat-eye polish moves tiny magnetic grains into a bright band under a magnet. Red light band runs down the centre of each nail. Silver glitter also forms a small bright crescent at the cuticle of each nail. Each nail shares the same bright red base and the same soft silver base.

Press one thin coat of bright red on and let it dry fully. Add a second coat, then hold the magnet over each nail at once. Hold the magnet still for a few seconds, because movement blurs the band. Add silver glitter at the cuticle with a small brush. End with a glossy top coat and cap the free edge. Wear gloves for washing up, so water stays off the silver.
24. Nude Nails With Burgundy Glitter French
Nude covers most nails in a soft clear coat. Burgundy glitter fills the tips of three nails in a dense sparkle. Two nails wear full burgundy glitter from cuticle to tip. Each glitter tip sits in a clean curve at the free edge. Soft light falls on the nails, so the glitter glows warm. Silver light catches the burgundy glitter and makes it sparkle.

Blend a nude base in two thin coats and let each coat dry. Draw the glitter tips with a thin brush and burgundy glitter polish. Use tape to keep the tips crisp and even. Paint the full glitter nails last with two thin coats. Finish with a glossy top coat, because glitter feels rough without one. Wear gloves for washing up, so water stays off the French.
25. Burgundy Nails With Blue Glitter Blocks
Dark burgundy covers each nail in a deep glossy coat. Bright blue glitter forms blocks across the nails in sharp shapes. Rectangles and diamonds sit in a neat row on each nail. Gold glitter lines edge the blue blocks in thin strokes. Each nail also shares the same dark base and the same bright blue shapes. Silver light catches the blue blocks and makes them sparkle.

Shade the burgundy base in two thin coats and let each coat dry. Brush the blue shapes on with a small brush and blue shimmer polish. Use tape to keep the rims clean and straight. Add the gold lines last with a thin brush. Seal the set with a glossy top coat for shine. Wear gloves for washing up, so water stays off the blocks.
Conclusion
Festive nail designs work best when one detail leads and the rest stays quiet. Start with clean, dry nails. Pick the single element that caught your eye first, then let the base colour support it. Thin coats dry more evenly, so build colour in layers instead of one thick pass. Cap the free edge with top coat to slow chips through a busy week. Keep cuticle oil nearby, because dry skin makes even neat polish look rough.