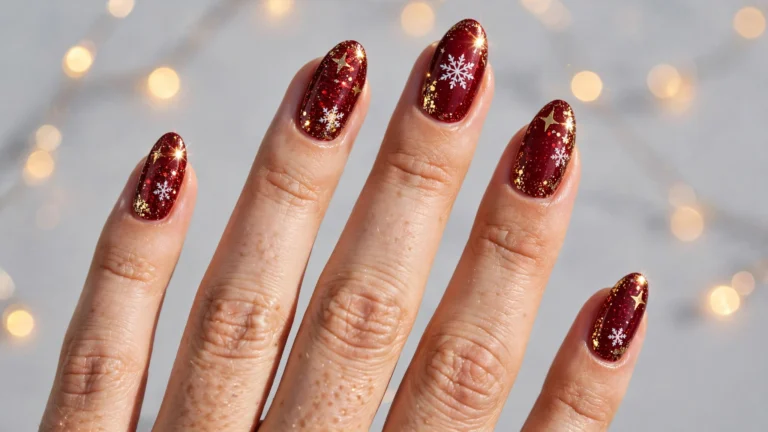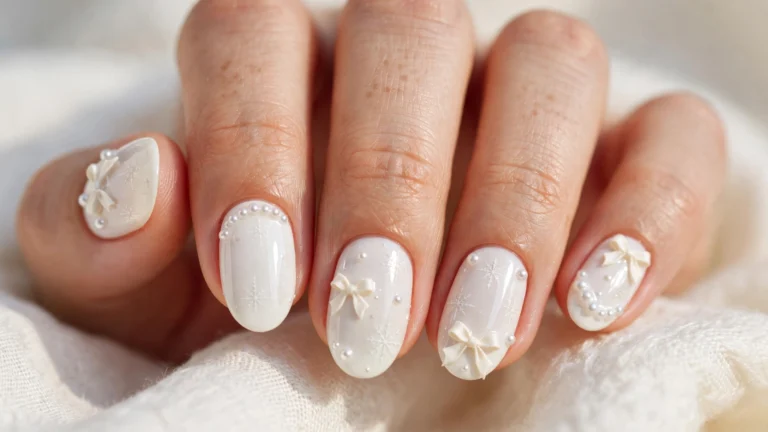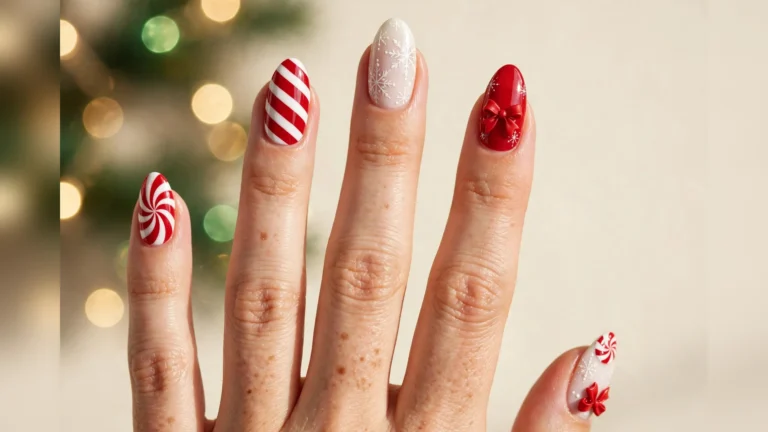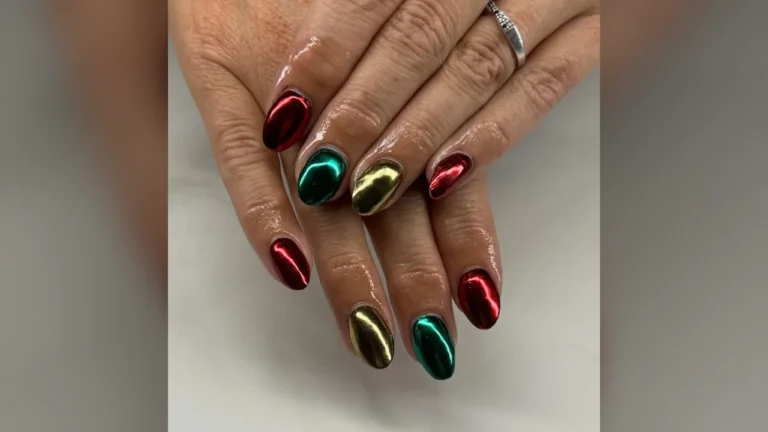


December nails in this set span deep reds, forest greens, bright golds, and icy blues. Glitter, matte shine, and hand-painted scenes share space across twenty-five festive manicures. Snowflakes, plaid, baubles, bows, and candy stripes sit beside plain glossy colour. Each hand carries its own mix of calm and celebration, so choice stays wide. Some designs stay quiet and pale, while others pack every nail with sparkle. Party nights, family dinners, and slow days at home all suit this varied set.
1. Emerald Glitter with Silver Star
Rich emerald glitter covers three nails with dense, bright sparkle. Silver chrome swirls across one nail in smooth, wavy lines. Black star sits near the centre of a green nail, holding a clear gem. Glitter shifts from dark green to pale gold as light moves across it. Light plays over the glitter, so the set glows from every side. Small gem gleams at the star centre, with silver framing the shape.

Work the green shimmer onto three nails, then let each coat dry fully. Sweep liquid metal over one accent tip in loose, curling strokes. Draw a charcoal star on one accent tip with a fine brush. Set a gem at its heart once the surface feels dry. Seal the set with a glossy top coat for a sleek finish. Reapply a glossy top coat twice a week to keep the gleam fresh.
2. Frosty Blue Snowflake Sparkle
Pale blue and crisp white share the set in soft, frosty tones. White snowflakes rest near the centre of several nails. Diagonal stripes in blue and white cross two accent nails. One nail carries a raised white snowflake with a soft textured surface. Pale blue tips frame the white bases, so the whole set reads calm and wintry. Silver rings catch the light beside the cool colours.

Lay the pale base first, then add white flakes with a thin brush. Use a dotting tool for the small round centres on each flake. Swap the blue stripes for silver lines when a softer set suits the mood. Keep brush strokes light, because heavy paint hides the pale base. Finish with a clear top coat for a smooth, even shine.
3. Red Gold and Green Mix
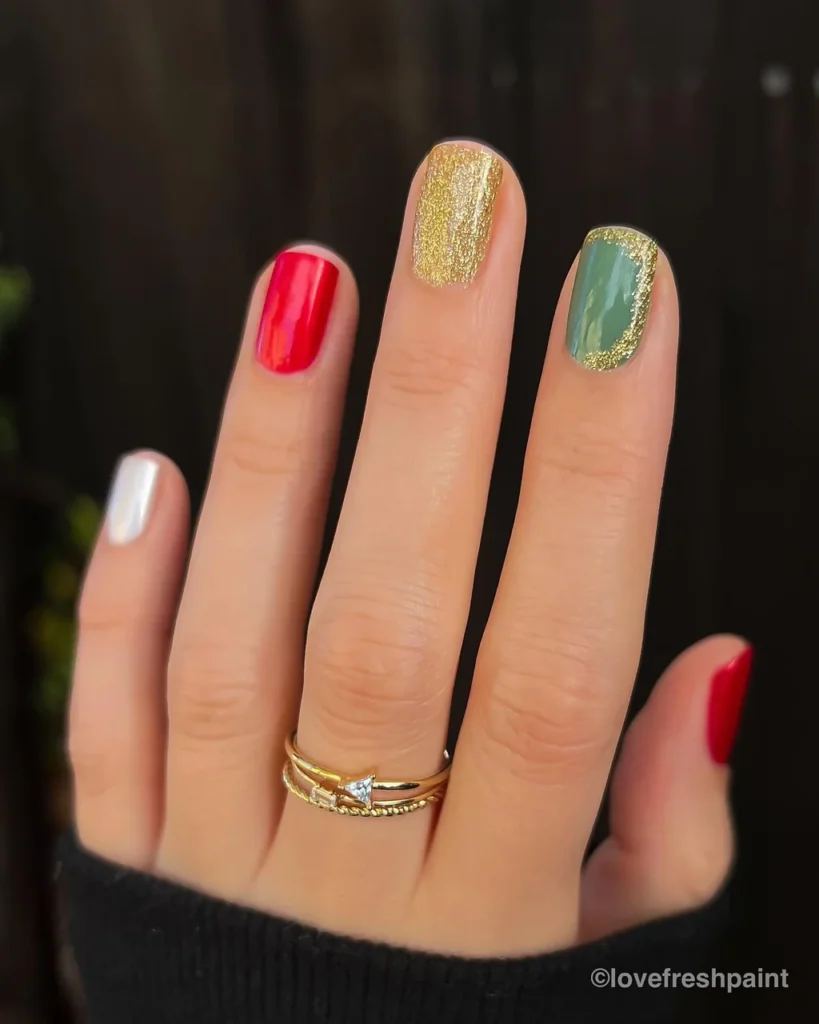
Warm gold, bright red, and muted sage green sit side by side. Chunky gold glitter covers one nail from base to tip. Sage green carries a thin gold rim along one edge. Pearly white softens the set, so bold and calm tones balance well. Slim gold ring draws the eye across the hand. Dark background makes each colour stand out with extra depth.
Start with the solid colours, then add glitter to the accent nails. Use a thin brush for the gold rim along the green edge. Swap sage green for deep teal when a cooler set fits better. Seal with a glossy top coat, because glitter feels rough without one. Touch up the rim with a steady hand after the base dries.
4. Midnight Blue Silver Snowflakes
Deep blue polish shines like polished stone under bright light. White snowflakes spread across most nails in varied shapes. Silver snowflakes add a cool gleam beside the white ones. Tiny silver stars dot the gaps between larger flakes. Glossy surface reflects light, so the blue glows from every angle. Each flake keeps crisp edges, with no smudged lines in sight.
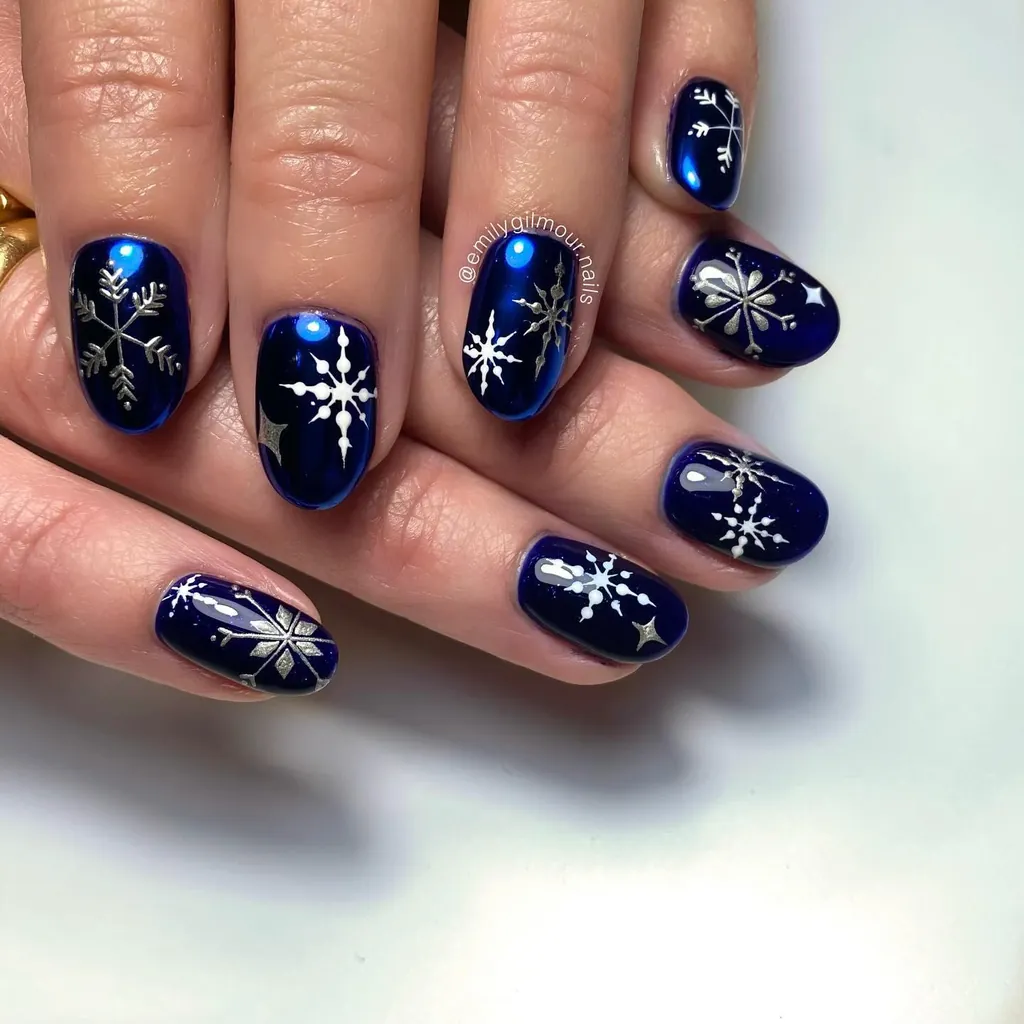
Brush on two thin coats of deep blue, then let the base dry fully. Use a thin brush to draw each flake arm in short strokes. Add the silver stars last with a dotting tool for neat points. Avoid thick paint, because it blurs the fine white lines badly. Finish with a clear top coat to lock the shine in place.
5. Polka Dots in Holiday Colours
Strong red and deep green lead the set with clear colour. Warm gold glitter fills one nail with dense sparkle. White accent nails carry red and green dots in loose rows. Dots vary in size, so the pattern feels playful rather than stiff. Red and green sit in equal measure across both hands. Soft light keeps the glitter bright without harsh glare.
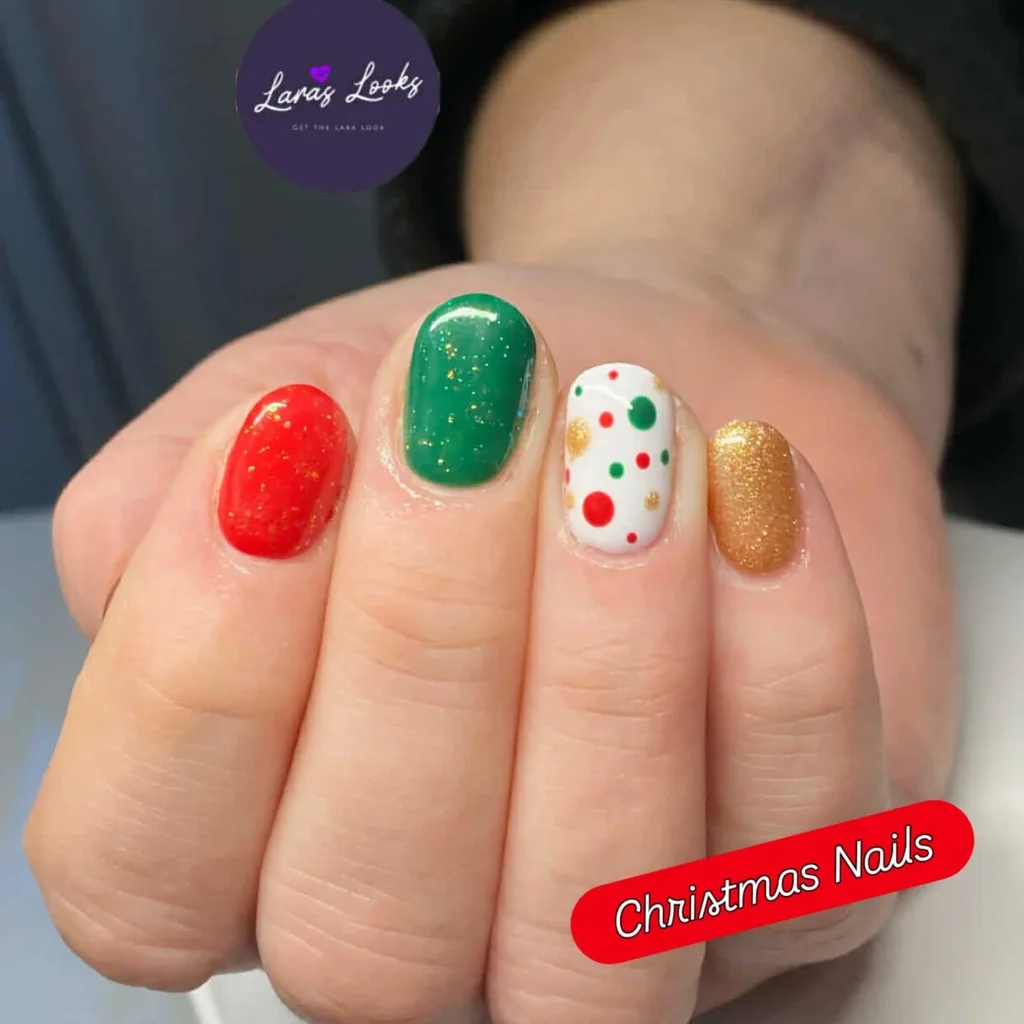
Begin with all the solid red, green, and gold glitter bases in thin coats. Use a dotting tool to place each dot in loose rows. Vary the dot size, then step back to check the balance. Swap green dots for silver ones when a cooler mix suits the set. Seal with a clear top coat to smooth the raised dots.
6. Candy Swirl on Red Glitter
Crimson glitter covers most nails with dense, bright sparkle. One white accent nail carries a red spiral swirl. Swirl lines curve from the centre toward the edges. Small jewel cluster sits near the cuticle of one nail. Gold and green stones catch light, so the accent draws the eye. Compact nails keep the whole set neat and easy to wear.
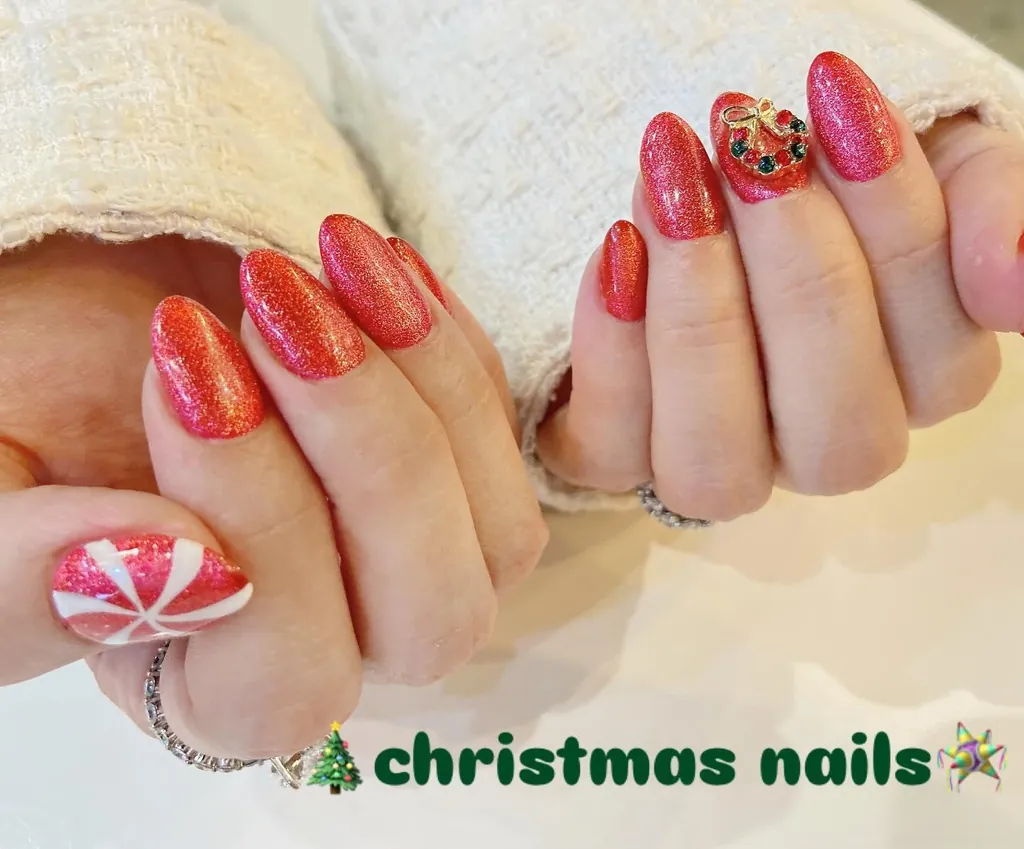
Coat the nails twice in red glitter, then let the base dry fully. Draw the spiral with a thin brush in one smooth, steady motion. Place the jewel cluster last, because glue grips best on fully dry paint. Press each stone gently into place before the glue sets. Seal the whole set with a clear top coat for a smooth finish.
7. Emerald Baubles with Gold Glitter
Deep emerald green glows with a soft satin sheen. Red nails carry gold glitter baubles on white strings. Each bauble wears a tiny white bow at the top. Chunky gold glitter fills two nails with warm sparkle. Green, red, and gold sit in turn, so the set feels rich yet calm. Smooth surfaces show every colour with clear, even depth.
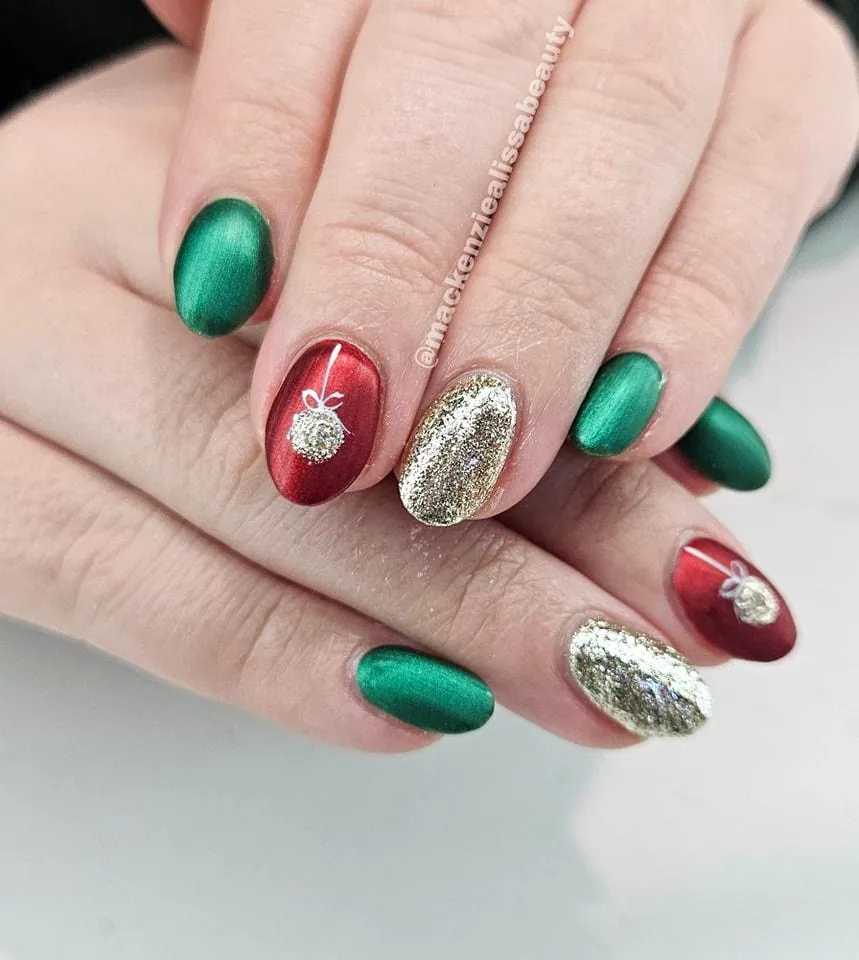
Apply the deep green and bright red bases first in two thin coats. Add gold glitter to the accent nails with a flat brush. Draw the bauble strings with a thin brush and white paint. Place a gold glitter ball at each string end, then add the bow. Seal with a clear glossy top coat, because glitter lifts without one.
8. String Lights and Tiny Bows
Glitter in red and green alternates across both hands. Nude accent nails carry hand-painted strings of tiny lights. Black wire curves across the nude base in loose loops. Red and green bulbs hang from the wire in bright rows. Tiny bows in red and green sit beside the light strings. Glossy shine also ties the glitter and the painted details together.
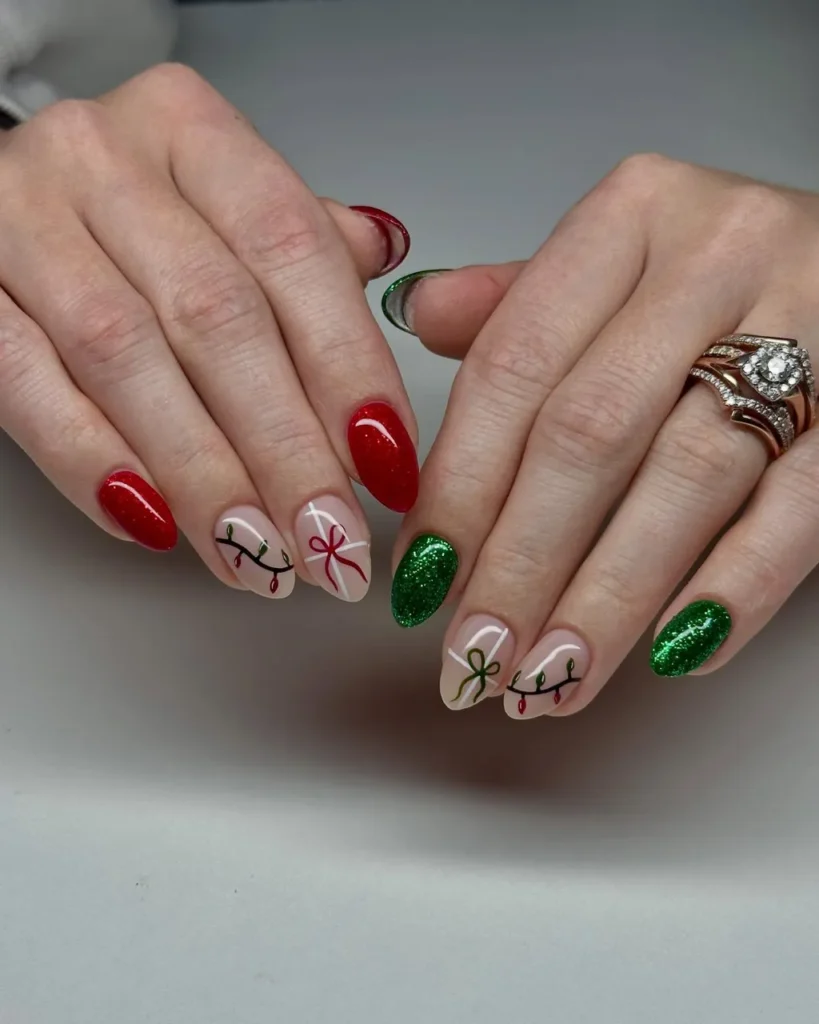
Work the sparkle nails first in thin coats, then add the plain accents. Draw the dark wire with a fine brush in loose sweeps. Dot small coloured spots along the wire with a dotting tool. Add the small bows last, once the paint feels fully dry. Swap the spots for warm metal dots when a softer set suits the mood.
9. Blue Glitter Winter Night Scene
Sky blue glitter sparkles like fresh snow under bright light. Navy nails carry white snowflakes, stars, and pine trees. One navy nail shows white pine trees over a snowy base. White script lettering spells seasonal words on two navy nails. Glitter and matte navy sit side by side, so texture shifts across the set. Pale fur behind the hands adds a soft winter backdrop.

Set the blue glitter base first, then add the navy accents. Use a thin brush for snowflakes, stars, and small pine trees. Keep the lettering simple and well spaced, because crowded script blurs fast. Seal the glitter with a glossy top coat for lasting shine. Skip thick coats on the navy nails, so the fine white lines stay crisp and clear.
10. White Glitter Bows and Snowflakes
Soft nude pink base keeps the set gentle under white glitter details. White glitter bows sit on two nails like tied gift boxes. Snowflakes rest on the glitter in crisp, clean white lines. Diagonal white stripes cross two nails over blue glitter flecks. Pale blue shimmer peeks through, so the set stays cool and light. Soft shine keeps the whole set gentle rather than loud.

Cover the nails with a nude base first, then add the glitter. Use a thin brush to draw the small bows at the nail ends. Add snowflakes last with a fine brush for crisp lines. Swap white bows for gold ones when a warmer set suits the day. Seal with a clear top coat to lock the sparkle in place.
11. Classic Red Green Gold Glitter
Red glitter, green glitter, and gold glitter take turns across the set. Each colour fills whole nails with dense, even sparkle. Red leads the set, with green and gold close behind. Glitter catches light from every side, so the hands glow at night. Blurred ornaments behind the hands add warm festive colour. No single shade rules, and the mix stays balanced throughout.
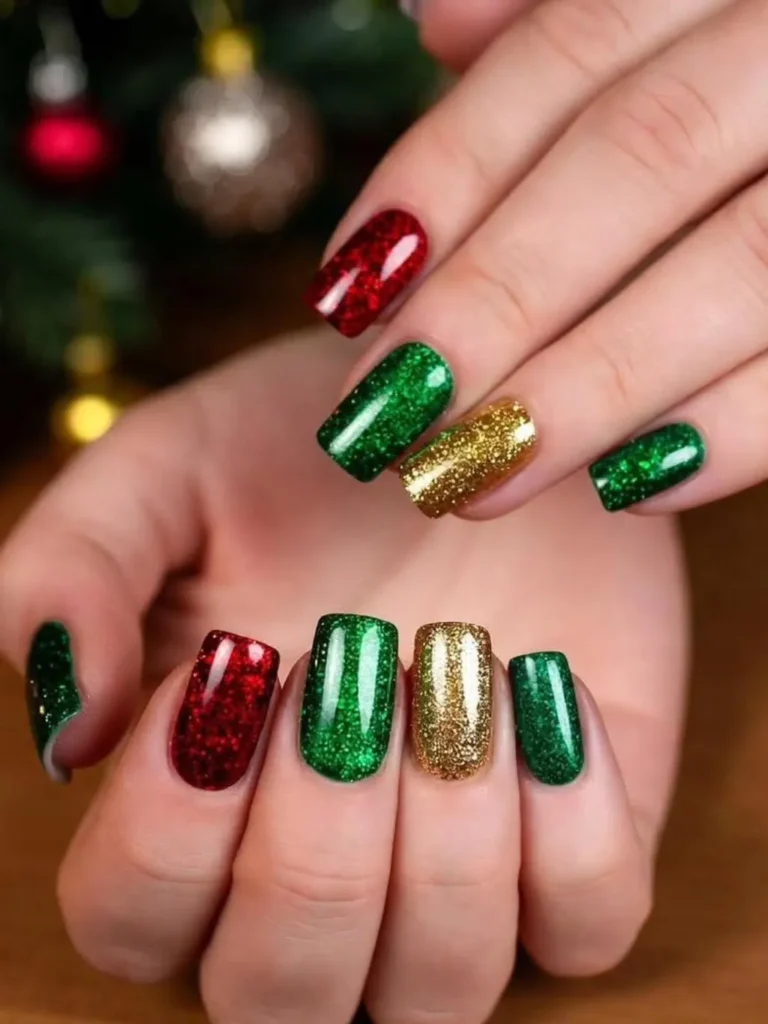
Paint two thin coats of each glitter shade in turn across both hands. Let each coat dry fully before the next, because wet glitter drags and clumps. Cap the free edge with glitter, then seal the set well. Wear gloves for washing up, so the sparkle lasts much longer. Reapply a clear top coat every few days to fight chips.
12. Milky Pink with Silver Glitter
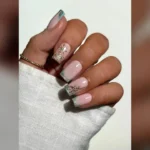
Milky pink covers the nails in a soft, sheer wash. White French tips frame the pale pink base in clean arcs. Tiny white snowflakes rest on two of the pink nails. Two nails wear full silver glitter from base to tip. Pink box behind the hand adds a soft rosy backdrop. Shine stays gentle, so the set reads calm and polished.

Lay the milky pink base first in two thin coats. Paint two nails in full silver glitter with a flat brush. Add the tiny flakes with a thin brush once the base feels dry. Swap the full glitter nails for plain pink ones for a quieter set. Seal with a clear glossy top coat, because glitter edges lift without one.
13. Metallic Red Green Gold Shine
Metallic red and deep green shine with a smooth glow. Warm gold metallic fills two nails with rich shine. Cream nails carry fine dark speckles across a pale base. Speckles scatter in loose groups, so no two nails match. Red, green, and gold trade places across both hands. Glossy light plays over the metal tones and the soft cream base.
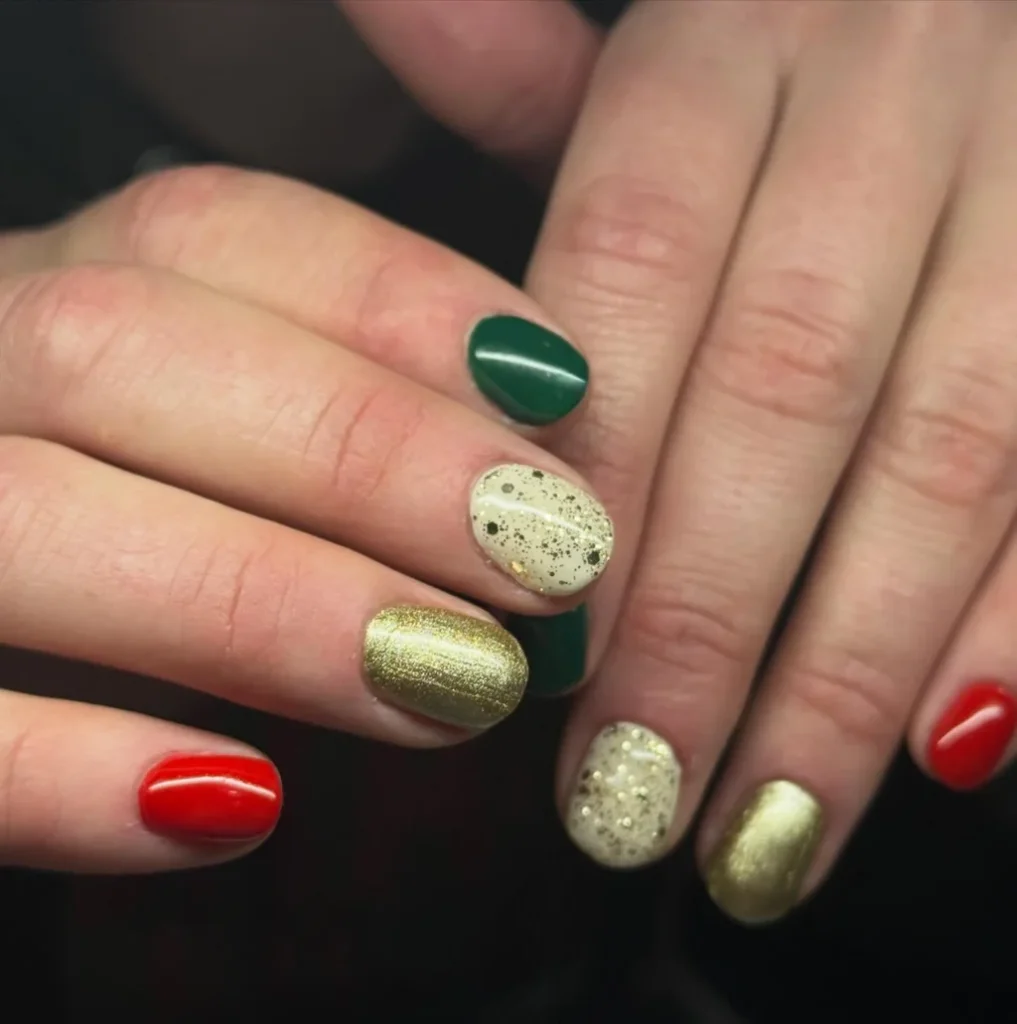
Choose the metallic shades first and paint them in two thin, even coats. Use a sponge to dab the dark speckles onto the cream base. Swap the cream for pale grey when a cooler set suits the mood. Seal with a clear top coat, because metallic paint scuffs fast. Buff the surface lightly first, then wipe away dust before the top coat.
14. Peppermint Marble Candy Swirl
Candy red, green, and white swirl together in soft marble bands. Marble lines twist across most nails in loose curves. Gold glitter fills one nail with warm, dense sparkle. One white nail shows a raised snowflake in crisp relief. Candy colours blend at the edges, so no line feels harsh. Glossy finish keeps the swirls bright and easy to read.

Start with a pale base first, then drag crimson and green through it. Use a fine brush to pull the shades into soft wavy streaks. Work while the paint stays wet, because dry paint will not blend well. Add warm sparkle last to one accent tip for bright, bold contrast. Seal with a clear top coat once the pattern feels dry.
15. Holiday French Tips Trio
Sheer nude base lets the bright tips take centre stage. Red tips end in sharp points with tiny gold stars. Green glitter tips sparkle beside the bright red ones. Gold glitter tips add warm light across the whole set. Each tip shape repeats, so the three colours feel linked. Stars sit close to the tips, with gold dust scattered nearby.

Shape the pale sheer base first, then form the coloured tips with guides. Use a fine brush for the pointed ends and the stars. Swap the green for silver when a cooler mix suits the day. Seal with a clear top coat, because sparkle ends chip fast. Fix a crooked tip with a flat brush before the paint fully dries.
16. Pink to Blue Snowflake Fade
Pink melts into pale blue across each nail in a soft fade. White snowflakes rest on the faded colour in varied sizes. Tiny white stars dot the gaps between larger flakes. Colour shifts from warm pink at the base to cool blue. Soft glow keeps the fade gentle, so the set feels dreamy yet calm. Each nail shows a slightly different mix of pink and blue.

Blend pink at the base, then fade blue upward with a sponge. Dab the sponge lightly and slowly, because hard pressure leaves harsh lines. Add white flakes with a thin brush once the fade feels dry. Swap the blue for lilac when a softer fade suits the mood. Seal with a clear glossy top coat to smooth the faded surface.
17. Gold Holly on Glitter Green
Chunky gold glitter covers several nails with warm sparkle. Green holly leaves with red berries sit on two nails. Red and white lattice crosses one nail in a neat net. Bright confetti flecks dot the lattice in many colours. Deep red solids balance the glitter, so the set stays grounded. White accent nail keeps one corner of the set calm.

Apply the solid red and white bases first in thin coats. Coat the accent nails in gold glitter with a flat brush. Draw the holly leaves with a thin brush, then dot the red berries. Keep the lattice lines even and well spaced, because wobbly lines blur the net. Seal with a clear top coat to lock the glitter in place.
18. Gold Glitter and Nude Gradient
Warm gold glitter fills four nails with dense, bright shine. Nude nails carry a soft gold glitter fade toward the pale tips. Glitter grows thicker near each tip, so the fade stays gentle. Metallic gleam shifts from pale champagne to deep gold. Both hands rest crossed, with every nail in clear view. Glossy top layer keeps the glitter smooth and bright.

Cover four nails in gold glitter, then let each coat dry fully. Brush a nude base onto the rest, with thin, even coats. Dab gold glitter at the tips, fading it down with a sponge. Keep the fade light near the base, because heavy glitter hides the nude. Add a fresh top coat every few days to keep the finish clean.
19. Tiny Trees on Festive Solids
Festive red, deep green, and warm gold glitter fill most nails. Each solid colour covers whole nails with even, rich depth. White accent nails carry tiny green pine trees in neat rows. Trees stand in small rows with gold trunks and star tops. Red and green trade places, so the set feels balanced. Gold glitter breaks the solids with bright, warm sparkle.
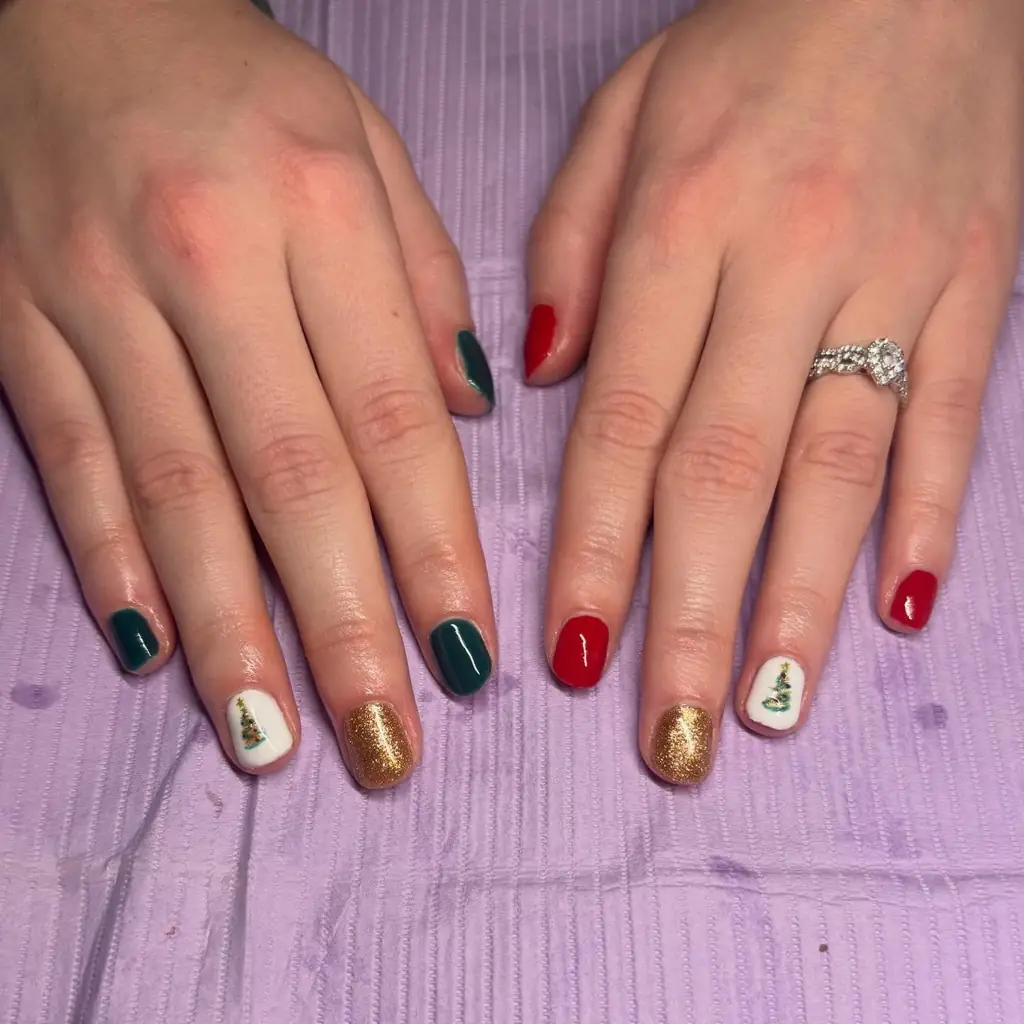
Coat the nails in the solid colours first, using thin coats. Spread gold glitter over the accent nails with a flat brush. Draw the tiny trees with a thin brush and fresh green paint. Swap the trees for gold stars when a simpler set suits the day best. Seal with a clear top coat, because glitter edges lift without one.
20. Green French V with Gold
Nude base gives the set a soft, sheer glow. Deep green tips form sharp V shapes at the nail ends. Red glitter fills two nails with dense, bright sparkle. Warm gold glitter adds light beside the green tips. Pale silver shimmer washes over one nail in a faint, cool gleam. Glossy finish also ties the nude, green, and glitter together.

Form the sheer nude base first, then shape the green V tips. Use a thin brush for the sharp V points and the clean edges. Add the red and gold glitter to the accent nails last of all. Keep the V lines even and matched, because uneven points show fast. Seal with a clear top coat to smooth the glitter edges.
21. Red Poinsettias on White
Glossy bright red covers most nails in a rich, even coat. White accent nails show red poinsettia blooms in full. Petals spread wide with green leaves and gold centres. Each bloom sits near the centre of its white nail. Red and white trade places, so the set feels bold yet calm. Clean shine keeps the flowers crisp against the pale white.

Set red and white bases first in two thin coats. Draw the poinsettia petals with a thin brush and bright red paint. Add the green leaves and gold centres once the petals feel dry. Seal the set with a clear top coat, because painted flowers scuff fast. Touch up a chipped petal edge with a fine brush before you reseal.
22. Sheer Glitter with Colour Dots
Sheer glitter base gives the set a light, airy feel. Tiny red dots scatter across the nails in loose groups. Green dots join the red ones on several nails. Faint gold flecks hide among the glitter in soft flashes. Nails look bare at first glance, so the dots surprise the eye. Gentle sparkle suits quiet days and small gatherings alike.

One sheer glitter coat goes on first, then let it dry fully. Use a dotting tool to place the red and green dots. Space the dots wide apart, because crowded dots look messy and dull. Swap green dots for silver ones when a cooler set suits the mood. Seal with a clear top coat to smooth the raised dots well.
23. Painted Santa and Ornaments
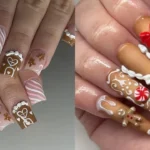
Each nail tells a small holiday story in red and gold. One nail shows a Santa face with a white beard. Another shows a snowman outline traced in gold. Tree with tiny gifts fills one more nail. Poinsettia blooms and red bows fill the gaps between scenes. Gold swirls tie the scenes together, so the set reads rich and warm.
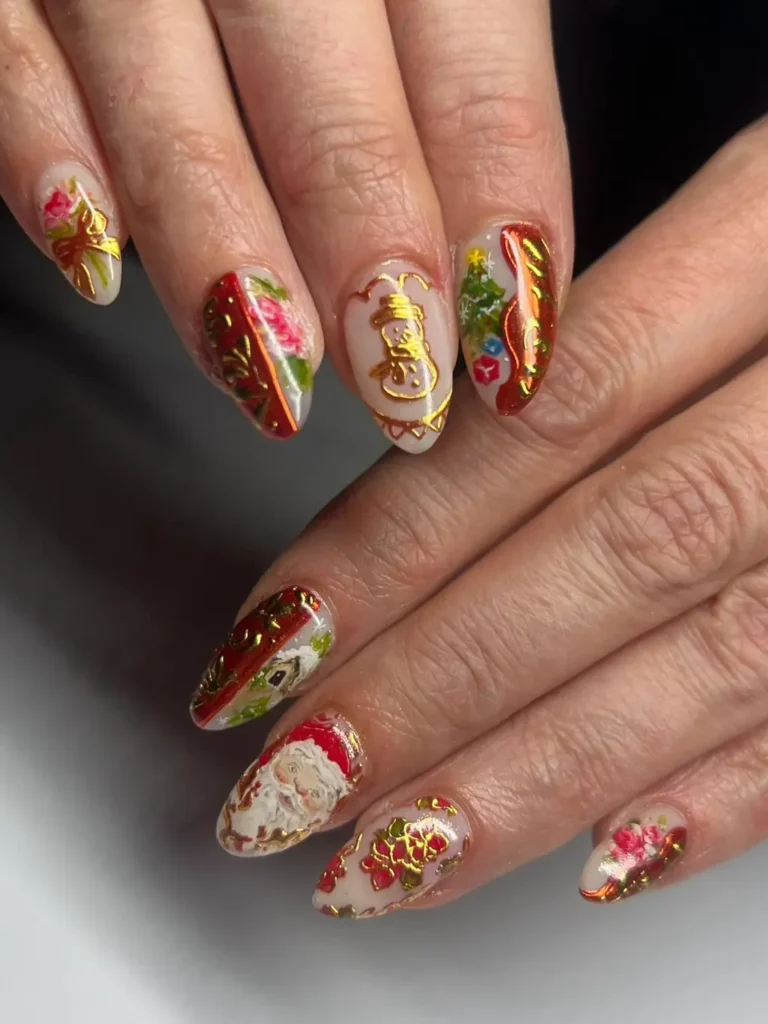
Begin with the red and gold bases in two thin coats. Sketch each small scene with a thin brush before adding any colour. Use gold paint for the bold outlines, then fill each shape slowly. Keep each scene small and simple, because crowded art blurs so fast. Seal with a clear glossy top coat to guard all the painted details.
24. Silver Chrome with Colour Gems
Mirror silver chrome coats every nail with a bright, liquid shine. Small coloured gems dot the chrome in red, blue, green, and gold. Gems catch light like tiny baubles, so the set glows softly. Flocked tree branches fill the backdrop with white frost and gold baubles. Warm fairy lights glow behind the hands, with silver ornaments nearby. Chrome surface stays smooth, with gems spread across the shine.

Paint the nails in silver chrome, then let each coat dry fully. Place small gems on the chrome while the surface stays tacky. Mix red, blue, and green gems across the set for bright contrast. Keep the gems spaced wide apart, because crowded gems look messy. Seal the set with a clear top coat to guard the gems. Buff the chrome lightly first, wiping away dust before the top coat.
25. Red Plaid with Gold Glitter
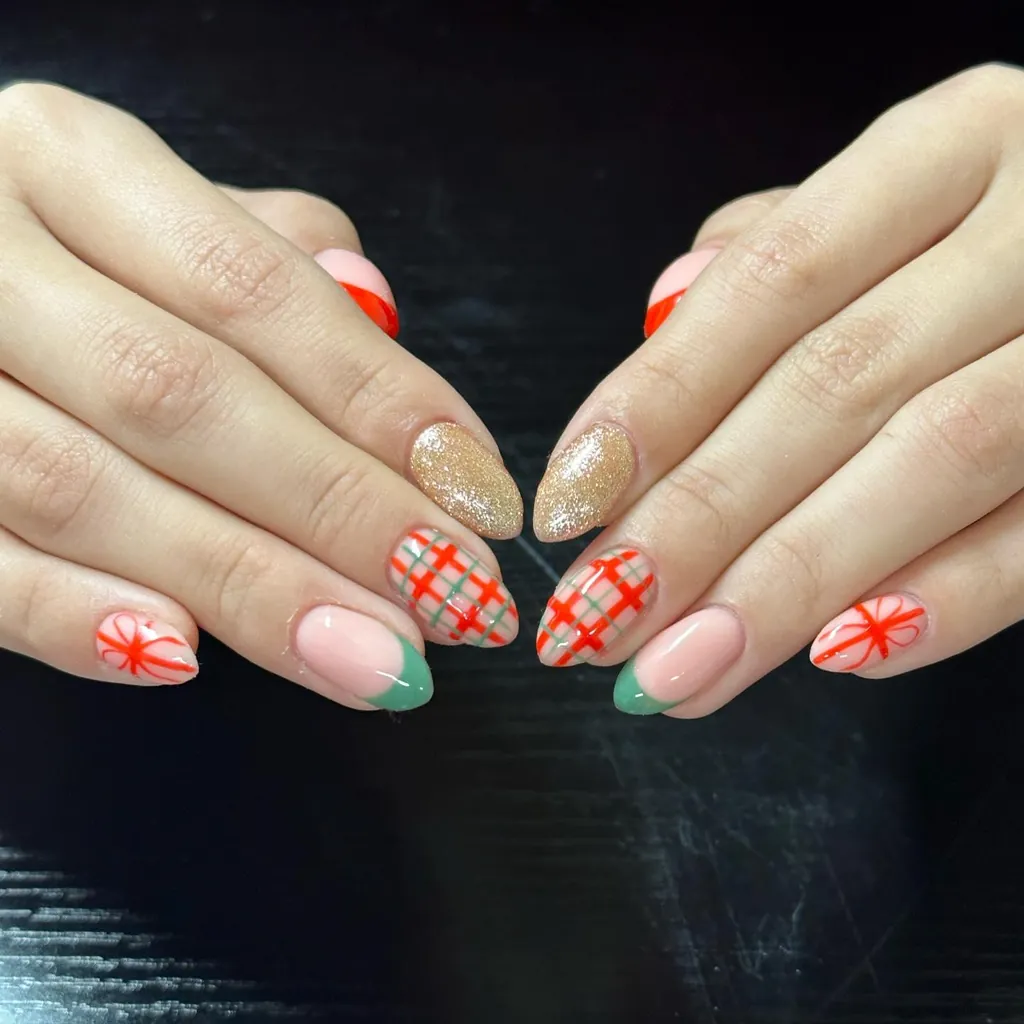
Nude nails carry red and green plaid in bold, clear lines. Warm gold glitter covers two nails in dense, bright sparkle. Green tips frame the plaid nails in deep, rich colour. Red starburst blooms on one white nail near the tip. Plaid and glitter trade focus, so the set feels lively yet neat. Dark backdrop makes the gold and red stand out against the nude.

Two thin coats of nude go on first, then add the plaid lines. Use a thin brush for the straight red and green lines. Brush gold glitter onto the accent nails with a flat brush. Swap the starburst for a white snowflake when a frostier set suits the mood. Seal with a clear top coat to smooth the raised glitter.
Conclusion
December nails reward a little planning before the first coat goes on. Pick one main colour for the week, then let one accent nail carry the detail. Thin coats dry more evenly, so patience at the start saves fixes later. Cap the free edge with each coat, because that small step cuts down chipping. Keep clear top coat nearby for quick repairs through busy days. Good prep and steady upkeep keep the manicure looking neat right into January.