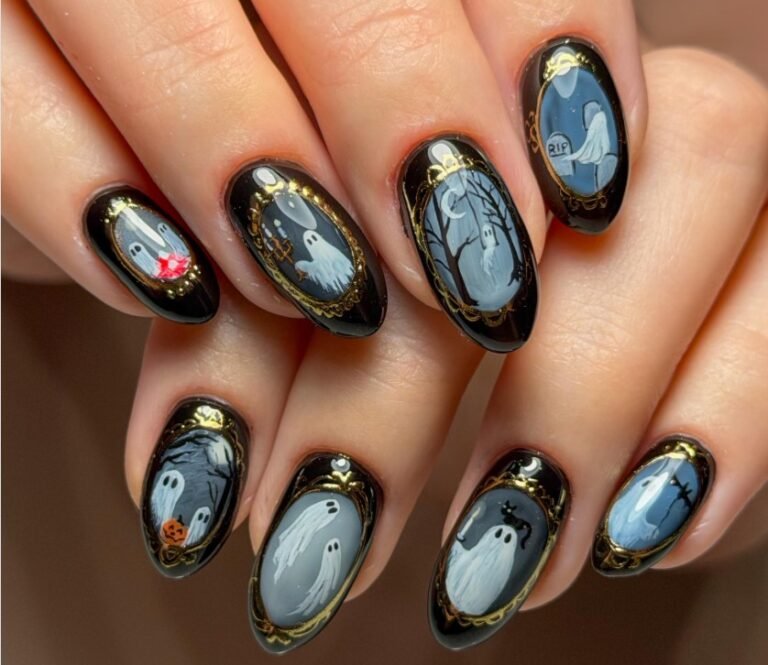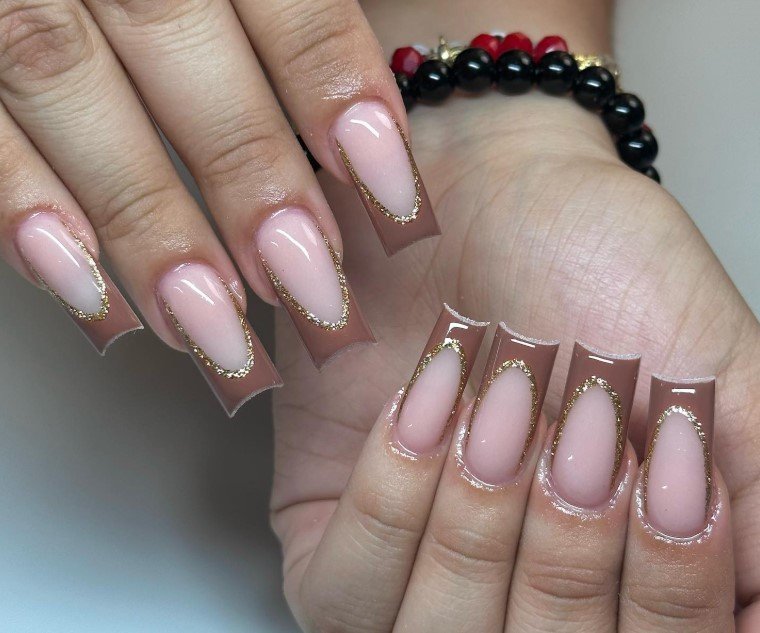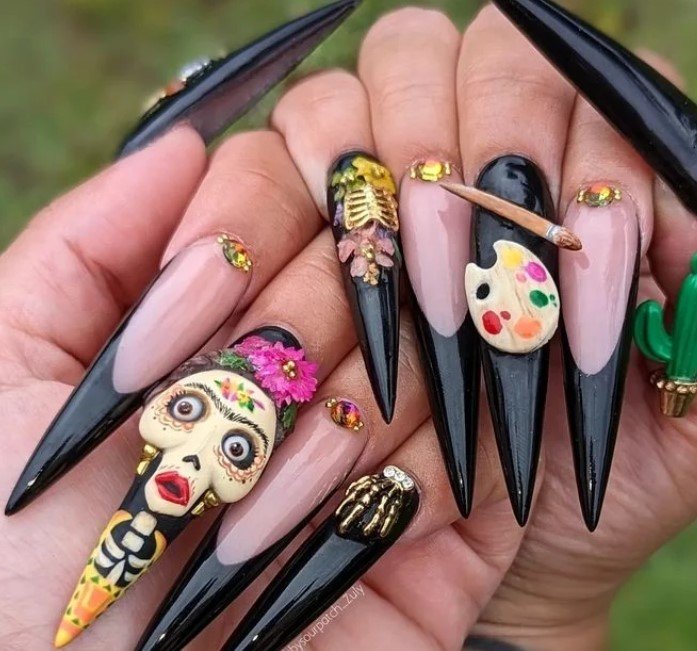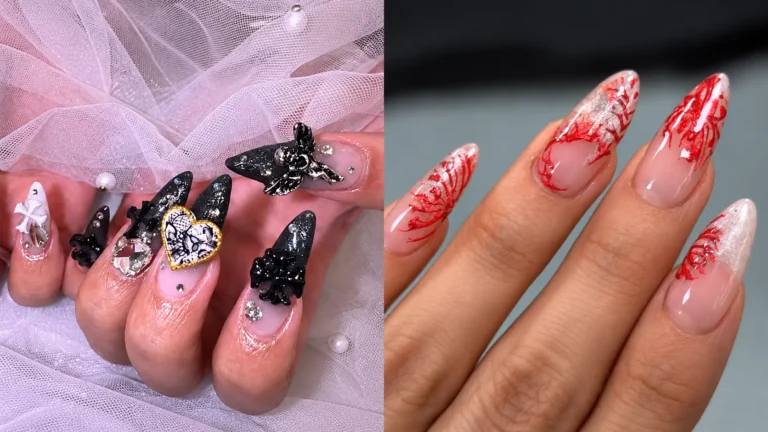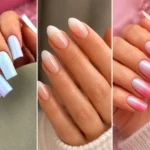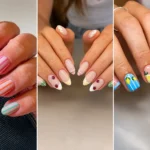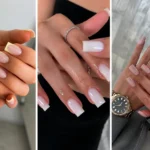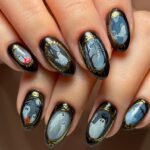


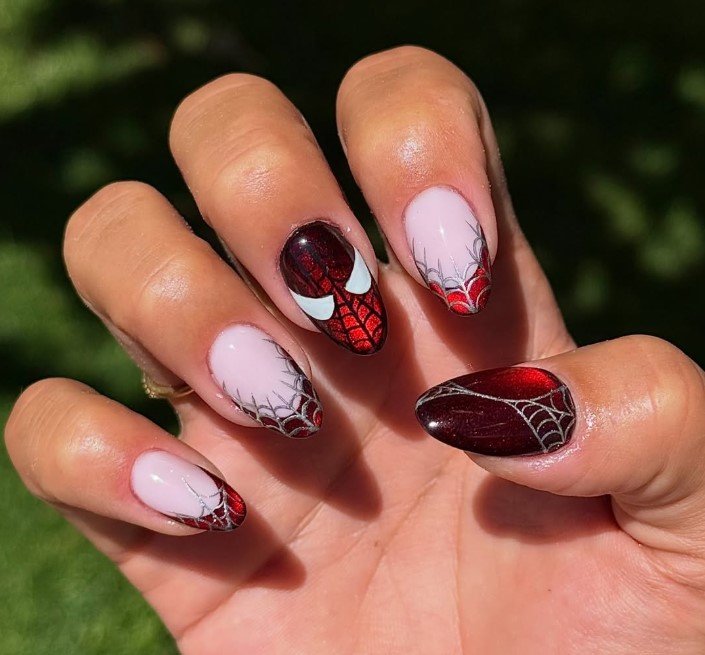
Halloween nail art gives you plenty of freedom to mix spooky details with polished finishes. Spider web nail designs can be delicate, dramatic, cute, or glamorous depending on the colors and textures you choose. From spider web nails with sheer French tips to bold Halloween sets covered in tiny spiders, these looks offer options for different nail lengths, shapes, and personal styles.
1. Ghosts and Spiders Galore
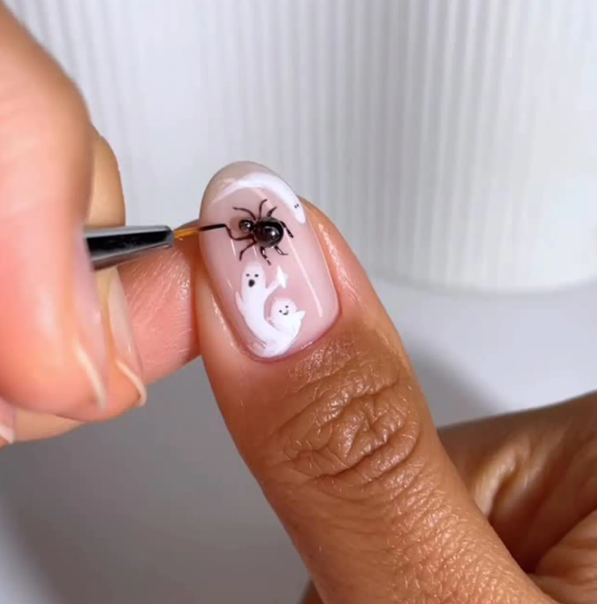
Spooky season gives nail art plenty of room for creativity, especially when webs and tiny creatures become the main focus. Hand-painted ghosts and raised spider details create a playful manicure with plenty of Halloween personality. Soft white ghosts can keep the base light, while dimensional spiders add texture and a stronger spooky effect. Neutral polish works well underneath, although a dark base can make the artwork stand out more clearly.
Credit: @sansungnails / Instagram
2. Witchy Webs
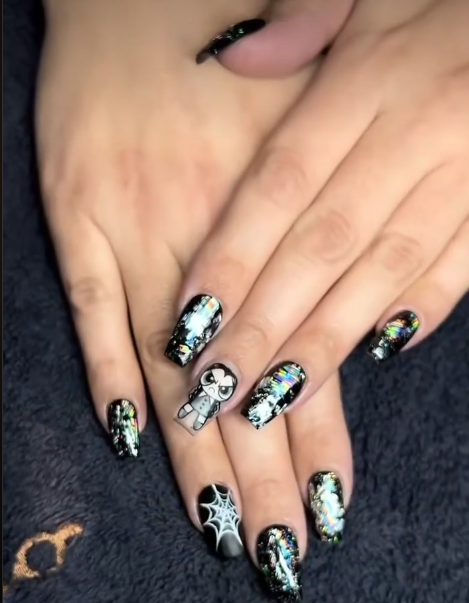
Vanessa Hudgens-inspired witchy nails show how several small motifs can work together without losing their visual balance. Spider webs, crescent moons, and dark accents create a mysterious finish that suits Halloween without requiring every nail to look identical. Keeping the background sheer or softly tinted helps each detail remain visible. Fine brushes are useful for thin web lines, while metallic accents can add a subtle glow around darker artwork.
Credit: @leximartone / Instagram
3. XL Spiders
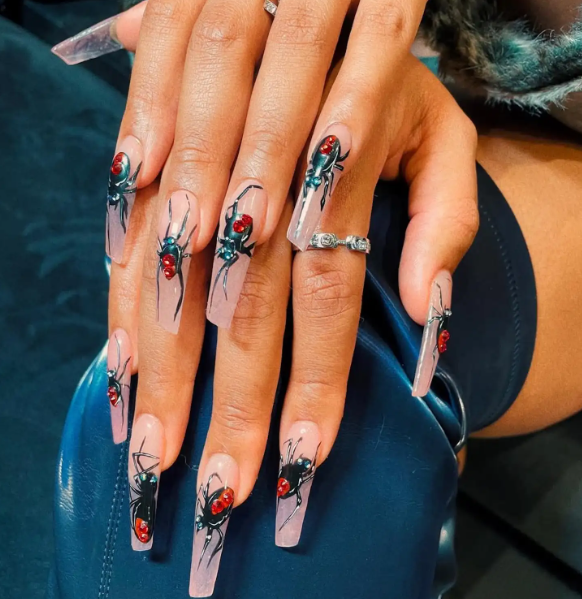
Megan Thee Stallion’s elaborate spider manicure demonstrates how bold shapes can become the main feature of a set. Long lipstick-shaped nails provide enough surface area for detailed spider artwork, while red gems bring contrast and sparkle. Similar designs can be adapted to shorter nails by using one larger spider on an accent nail instead of repeating every detail. Black, red, and clear finishes create a dramatic palette that feels intentionally theatrical.
Credit: @theestallion / Instagram
4. Classic Accent Webs
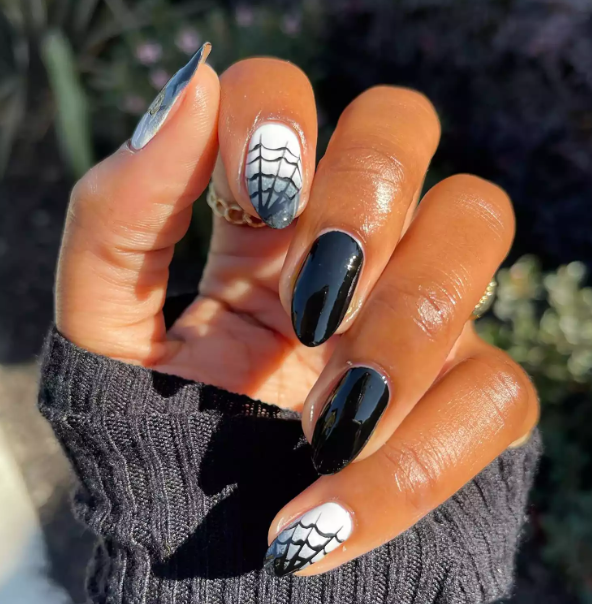
DIY-friendly web tips offer a practical way to create Halloween nail art without covering the entire nail. Start with a light base, then blend black and white polish near the tips for soft contrast. Once the color dries completely, use a fine-lining brush to draw curved lines that connect into simple webs. Working slowly with thin layers gives you cleaner shapes and makes small corrections easier before applying your final top coat.
Credit: @lolo.nailedit / Instagram
5. Negative Space Spider Web Frenchies
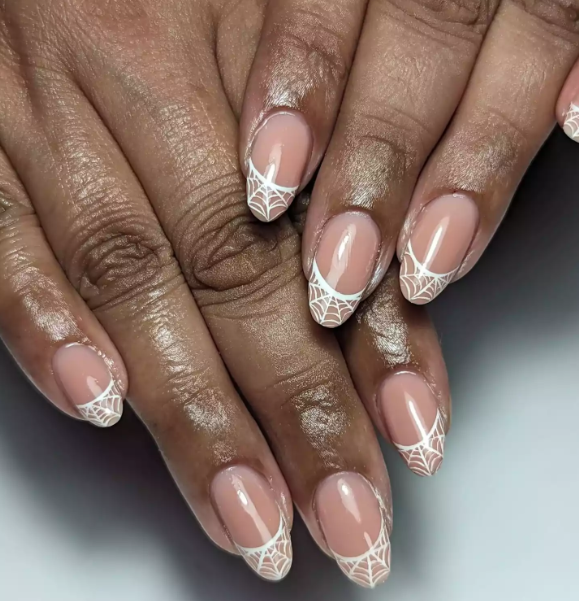
Negative-space French tips provide a polished option for people who want Halloween details without a heavy design. Nude-pink polish keeps the base natural, while delicate black webs frame the tips with a clean graphic effect. High-shine top coat can enhance the sheer, glass-like appearance and protect fine artwork. Short or medium nails suit this approach particularly well because the open space helps the manicure maintain a neat, balanced look.
Credit: @bhambnails / Instagram
6. Creepy Crawly Web Nails
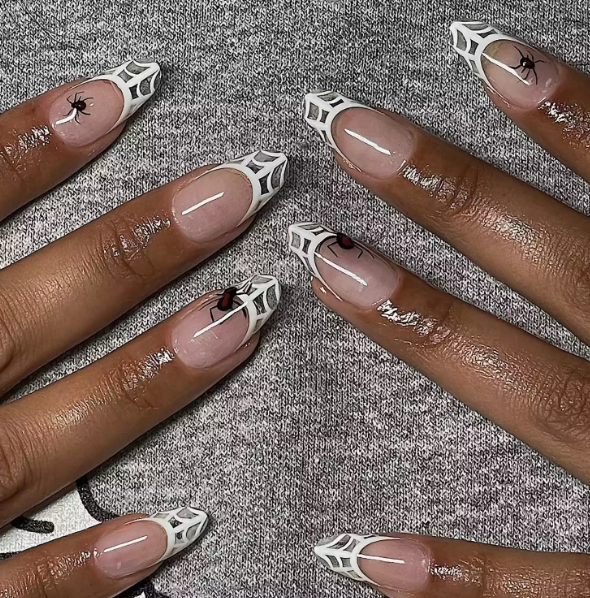
Hyper-realistic spider artwork creates a much stronger visual impact than simple web lines. Detailed legs, textured bodies, and carefully placed shadows can make each accent nail look almost three-dimensional. Such artwork works best when surrounding nails stay relatively simple, giving the main image enough space to stand out. Choosing a neutral or sheer base also helps the darker spider remain sharp instead of competing with additional colors and decorations.
Credit: @myprettyset / Instagram
7. Put the Spider in Spider Webs
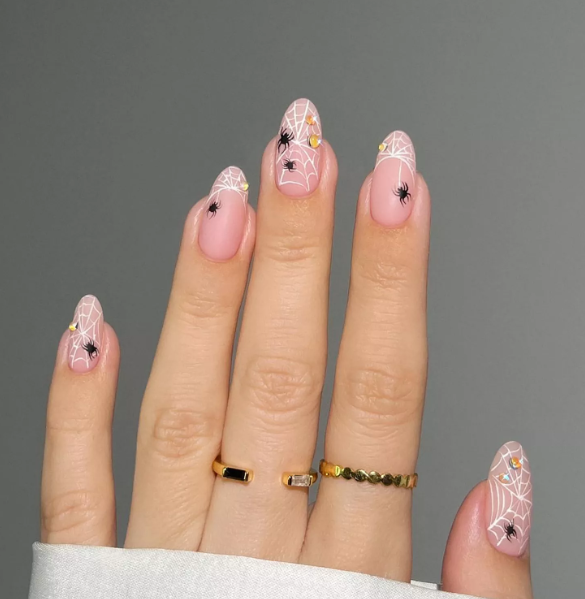
Small black spiders can make a web design feel more complete when placed where the lines naturally meet. French tips create useful spaces for these tiny figures because the creatures can appear to sit directly on the web. Keeping spider shapes simple makes the manicure easier to recreate and keeps the overall finish tidy. Thin legs require a steady brush, so practicing the shape on paper first can improve accuracy.
Credit: @heygreatnails / Instagram
8. Spooky-Scary Webs
Matte textures, hazy edges, bats, and webs create an artistic Halloween manicure with a darker mood. Softly blurred borders can make the artwork resemble an illustrated surface, while the matte finish reduces reflections and highlights the shapes. Complex detailing may require professional application, especially when several motifs overlap. Anyone recreating the style at home can simplify the artwork by choosing one bat, one web, and a single textured accent nail.
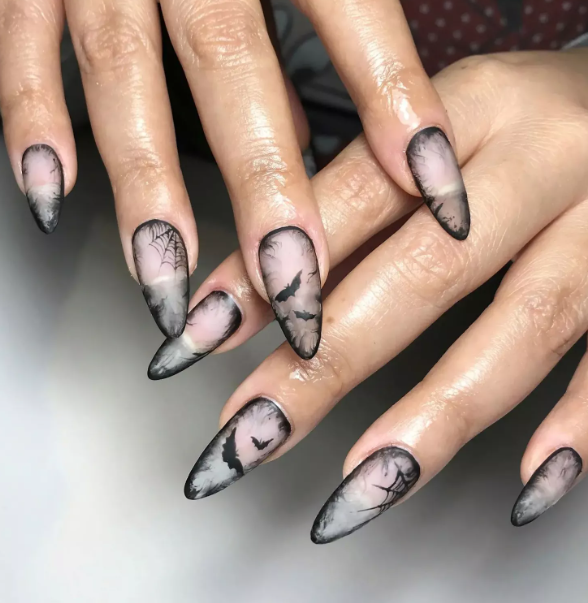
Credit: @bhambnails / Instagram
9. Spider Pantyhose Nails
Sheer black polish gives classic web French tips a delicate, stocking-inspired appearance. Mixing black lacquer with clear top coat can create a translucent effect when a dedicated sheer formula is unavailable. Fine web lines look especially refined over the smoky base because the transparency adds depth without making the design too heavy. Short nails can use smaller tips, while longer shapes offer more room for wider webs and layered details.
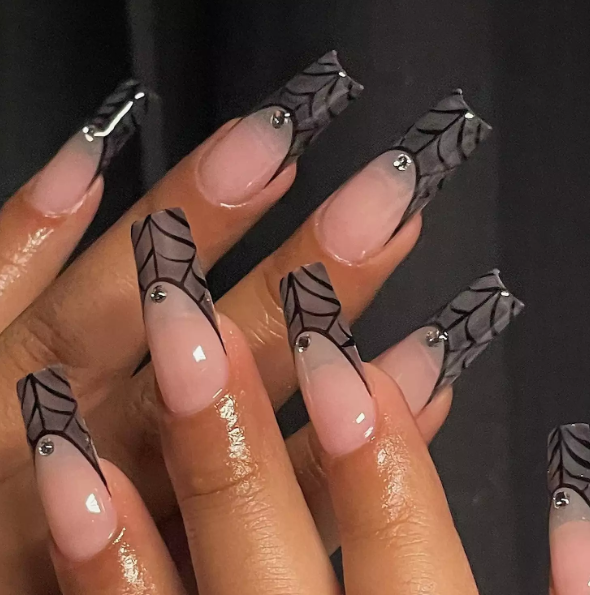
Credit: @myprettyset / Instagram
10. Spun of Silver
Gray tones offer a softer alternative to traditional black Halloween nails while keeping the spider theme visible. Silver chrome webs and carefully placed rhinestones bring light to the muted base, creating a manicure that feels more polished than frightening. Balanced decoration matters here because too many crystals can compete with the web pattern. Choosing one or two statement nails lets the reflective details shine while the remaining nails support the overall design.
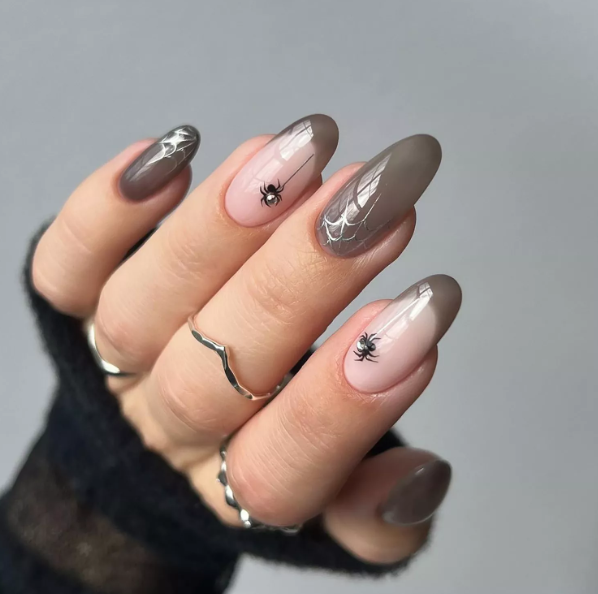
Credit: @heygreatnails / Instagram
11. Lavender Glaze Webs
Lavender glaze gives spider web artwork a surprisingly soft setting. Sheer purple polish with a luminous finish can create a delicate base, while thin white or silver webs introduce the Halloween theme without overpowering the color. Pearly top coats work particularly well when you want a glazed effect that catches light from different angles. Pairing the manicure with minimal jewelry can keep the finish elegant rather than overly decorative.
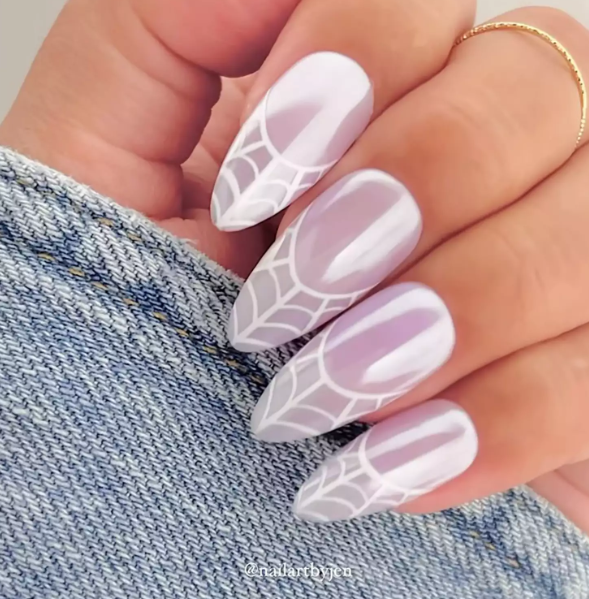
Credit: @nailartbyjen / Instagram
12. Shimmering Spider Webs
Neutral polish and shimmering web lines create an elevated Halloween look suited to parties, dinners, or evening events. Fine glitter can trace each web without making the design appear bulky, especially when the base remains sheer or softly beige. Silver or champagne-toned sparkle offers a refined alternative to bright seasonal colors. Applying shimmer selectively also keeps the manicure wearable after Halloween, which makes the design more versatile for longer-lasting appointments.
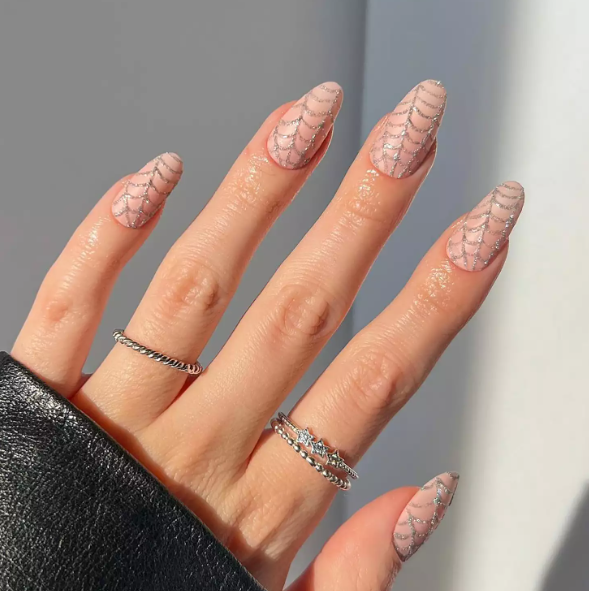
Credit: @pop_polished / Instagram
13. Pretty in Pink Webs
Hot pink ombré can replace traditional orange and black when you want a Halloween manicure with a brighter personality. Star accents add a playful touch, while thin web lines keep the theme recognizable without making the set feel overly dark. Blending two pink shades creates movement across the nails and gives the artwork more depth. A glossy finish suits this colorful approach because it makes the gradient look smooth and polished.
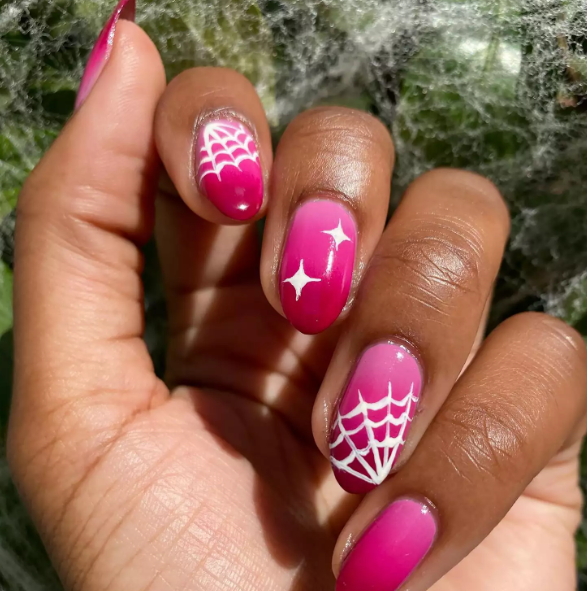
Credit: @lolo.nailedit / Instagram
14. So Coquette Webs
Bubblegum pink brings a sweet, feminine direction to spooky nail art. Combining soft pink polish with small webs or other Halloween motifs creates contrast between cute and creepy elements. Keeping the artwork compact prevents the playful color from becoming visually overwhelming. Short rounded nails can carry tiny web details neatly, while longer shapes provide more space for bows, stars, or miniature spiders alongside the main design.
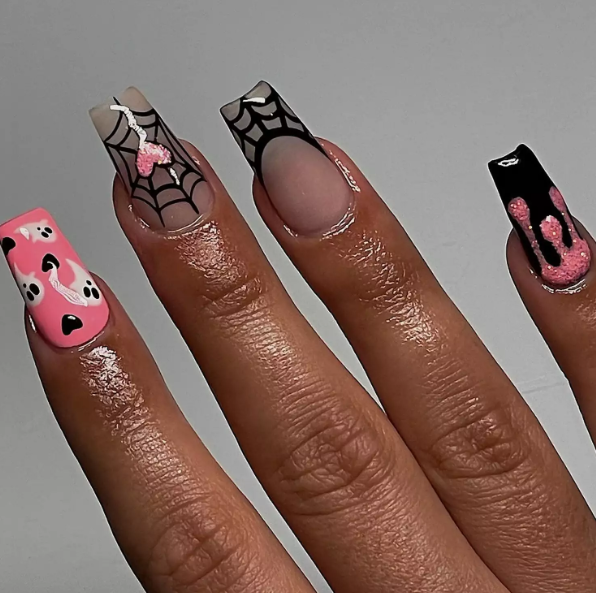
Credit: @myprettyset / Instagram
15. The Amazing Spider-Web Nails
Cartoon-inspired spider nails use bold outlines and a limited palette to create an energetic, youthful manicure. Rounded spiders can look especially playful when paired with patch-like details and small graphic shapes. Gray, red, and black provide enough contrast to make each illustration readable from a distance. Simplified characters also make this style easier to adapt at home because clean outlines often matter more than highly realistic shading or complex texture.
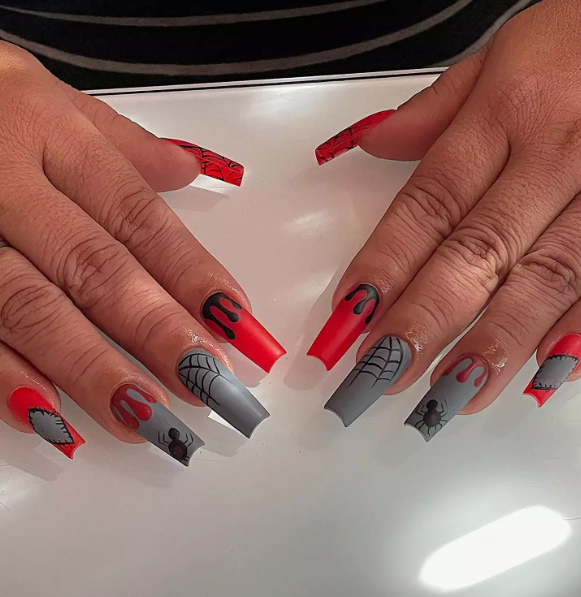
Credit: @myprettyset / Instagram
16. Spider Webs, Spider Webs
Red polish and silver chrome webs create a comic-inspired manicure with strong visual contrast. Vinyl-like red color gives the base a smooth, dramatic appearance, while reflective silver lines catch light across the surface. Using chrome only for the webs keeps the design focused and prevents excessive sparkle. Short nails can feature one central web per nail, while longer nails can support wider patterns with overlapping curves.
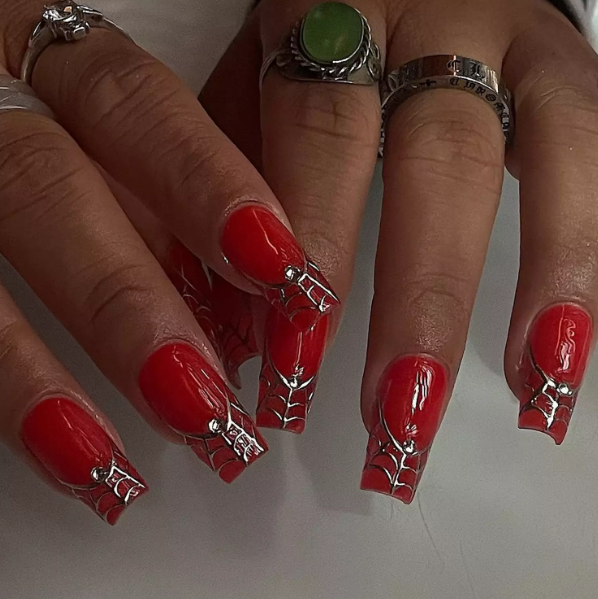
Credit: @myprettyset / Instagram
17. Not 2Spoopy4Me
Purple nails, tiny ghosts, and spider webs can deliver Halloween charm without relying on frightening imagery. Mixing different shades across the set adds variety, while small illustrations keep each nail connected to the same seasonal theme. Soft lavender can make the design sweeter, whereas deeper purple creates more mystery. Finishing with a consistent top coat helps mismatched artwork look intentional and gives the entire manicure a unified surface.
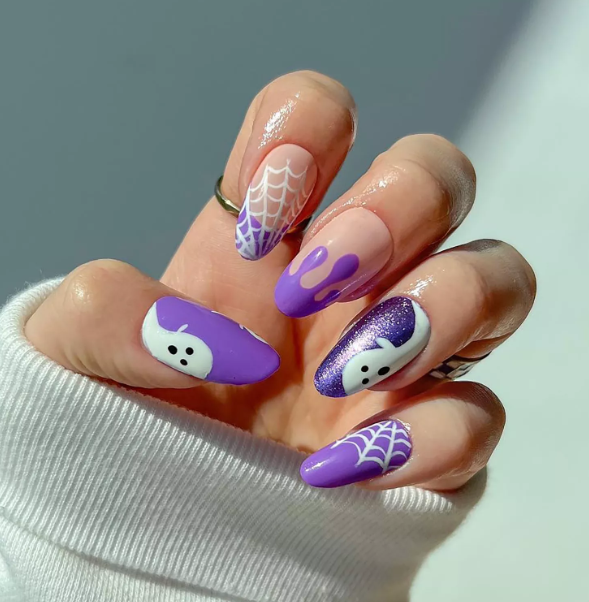
Credit: @pop_polished / Instagram
18. Slimy Webs
Neon green takes on a seasonal character when paired with darker artwork and a plush-looking finish. Velvet or magnetic polish can shift under changing light, giving the bright shade more depth than a flat neon coat. Black webs provide a strong contrast and make the Halloween theme easy to recognize. Limiting green to the base while keeping decorations dark creates a controlled color story that feels bold without becoming chaotic.
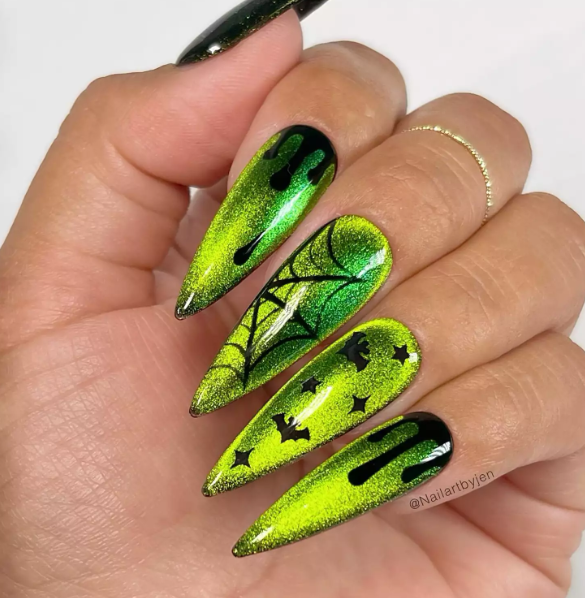
Credit: @nailartbyjen / Instagram
19. Glow-in-the-Dark Webs
Glow-in-the-dark polish adds a fun surprise that becomes more noticeable when the surrounding light fades. White web lines can look simple during the day while becoming a playful focal point later, especially when ghosts or mummy details share the same glowing formula. Apply enough product to build an even effect and follow the polish’s curing instructions carefully. Neutral daytime colors help the manicure remain wearable before the glow becomes visible.
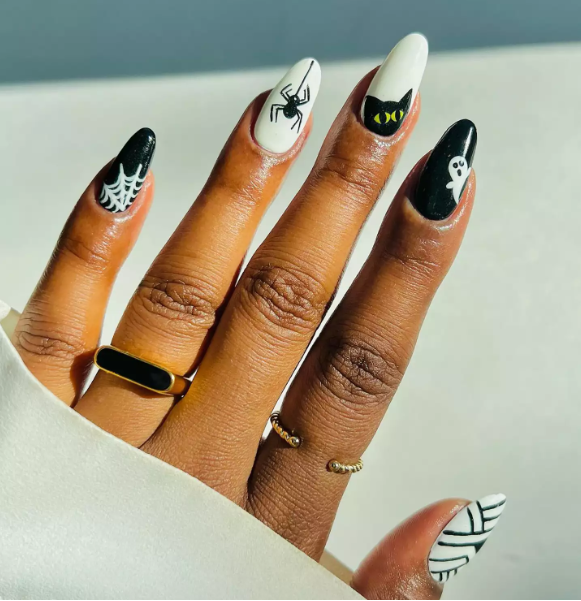
Credit: @brushedbyb_ / Instagram
20. Simple Mismatched Webs
Simple mismatched nails prove that seasonal artwork does not need complicated construction. Black, white, and orange polish can establish the Halloween palette, while small bat decals and a confetti top coat add detail with little painting required. Fine web lines work well on one or two accent nails instead of every finger. Choosing related colors and repeating one small motif keeps the mismatched set visually connected and easy to wear.
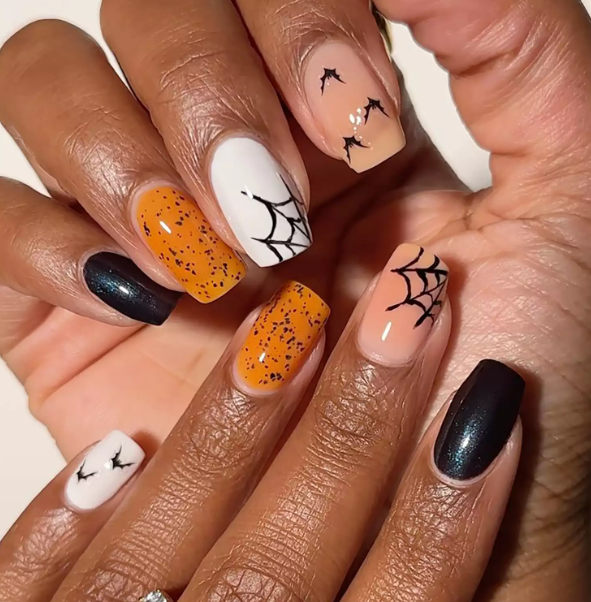
Credit: @melanated.mani / Instagram
21. Playful Webs
Swooping French tips, tiny bugs, stars, and spider webs create a cheerful alternative to darker Halloween manicures. Soft curves can make the French details feel playful, while miniature insects add movement across the set. Keeping each motif small leaves enough negative space for the manicure to breathe. Pastel or neutral bases suit this approach when you want seasonal nail art that feels charming enough for everyday outfits.
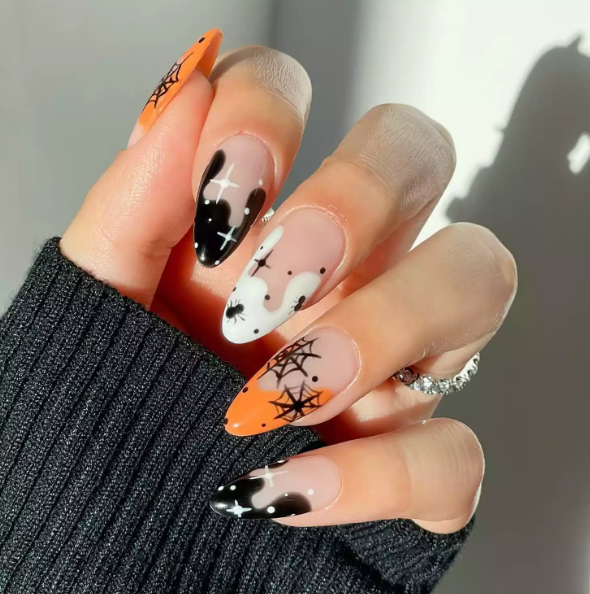
Credit: @disseynails / Instagram
22. Velvet French Webs
Velvet polish adds depth to translucent French tips and gives spider web details a luxurious finish. Light-catching magnetic effects can shift as your hands move, making the manicure look different under indoor and outdoor lighting. Sheer tips keep the design airy, while fine web lines provide the Halloween connection. Choosing one dominant finish and using restrained decoration helps the set look sophisticated rather than overloaded.
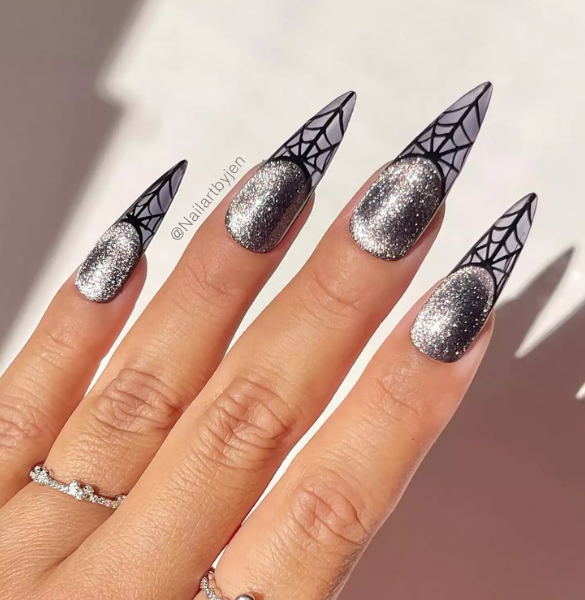
Credit: @nailartbyjen / Instagram
23. Two-Tone Webs
Matte black nails with glossy web lines create contrast through texture instead of relying on bright colors. Negative space can break up the darker palette, while two-tone artwork gives the manicure a sharper, rock-inspired character. Applying matte top coat first and adding shiny web details afterward creates the strongest finish contrast. Matching the web color to the base family keeps the design cohesive while still giving each nail a distinct surface effect.
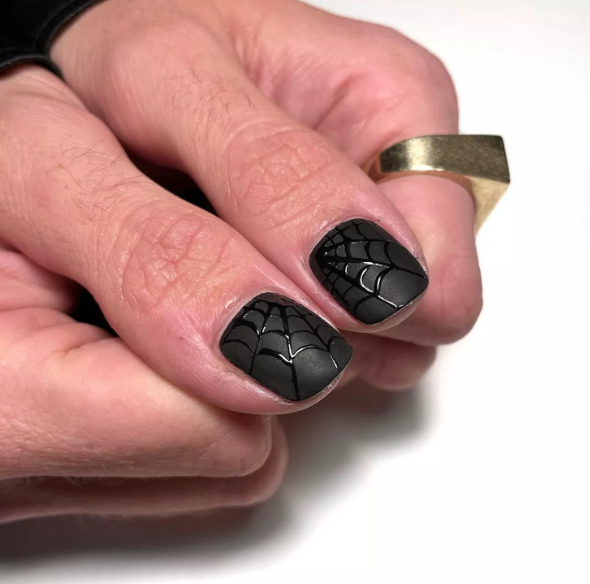
Credit: @tinybrushes / Instagram
24. Midnight Web Accents
Deep midnight shades create a dramatic background for delicate spider web details. Navy, charcoal, and black can work together to give the manicure a mysterious nighttime feel without relying on traditional orange. Silver or white web lines provide enough contrast to keep the artwork visible. Adding one small spider to an accent nail can strengthen the Halloween theme while allowing the remaining nails to focus on clean, sophisticated color layering.
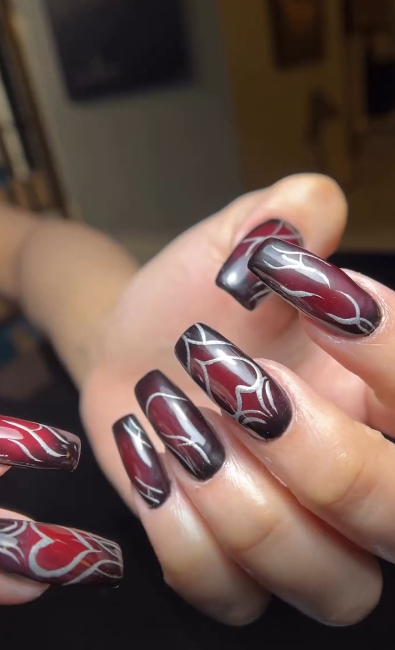
Credit: @salonministry / Instagram
25. Black and Gold Webs
Black and gold create a refined combination that gives spider web artwork a more luxurious direction. Rich black polish provides depth, while thin metallic-gold lines highlight the web pattern with a warm reflective finish. Keeping gold details limited to the artwork prevents the manicure from looking overly busy. Short square nails can carry simple web sections neatly, while longer almond shapes offer more space for elaborate metallic designs.
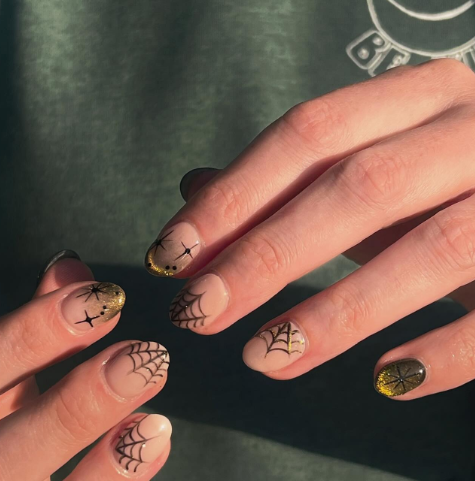
Credit: @ballard_pinkpolish / Instagram
26. Red Web French Tips
Red French tips bring a bold Halloween accent to an otherwise clean manicure. Deep crimson works particularly well with black spider webs because both shades create strong contrast without needing extra decoration. Sheer nude polish can keep the base understated and allow the tips to become the main feature. For a sharper finish, use very thin web lines and seal the artwork with a high-shine top coat.
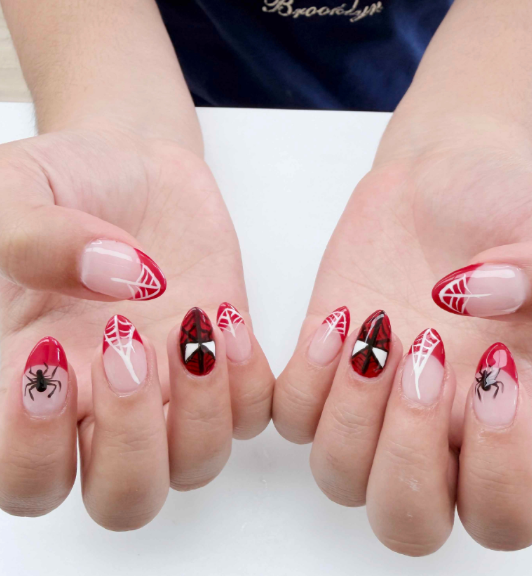
Credit: @eve.nails_flanders / Instagram
27. White Webs on Black
White spider webs become striking when painted over a deep black base. High contrast makes every curved line easy to notice, creating a graphic manicure that feels distinctly Halloween-inspired. Fine brushes help produce even strands, while slightly irregular lines can give the webs a more hand-drawn appearance. Adding tiny silver dots at selected intersections provides subtle sparkle without taking attention away from the clean black-and-white design.
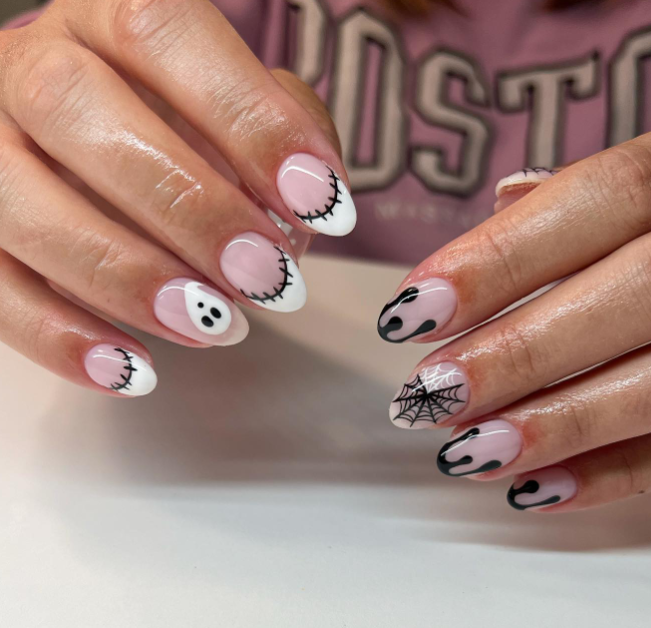
Credit: @twilldidmynails / Instagram
28. Chrome Spider Web Tips
Chrome finishes give traditional spider webs a futuristic update while keeping the artwork sleek. Silver, gunmetal, or holographic chrome can trace French tips over a sheer base for a design that looks polished rather than overly spooky. Reflective details become especially noticeable under direct light, so keeping the rest of the manicure simple helps maintain balance. Almond and coffin shapes both provide enough length for clean, sweeping web patterns.
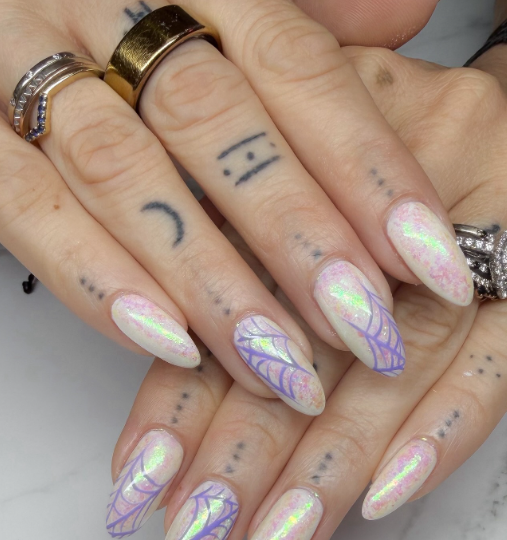
Credit: @getklawed / Instagram
29. Purple Spider Web Tips
Purple adds an enchanting twist to classic Halloween nail art, especially when paired with black web details. Deep plum creates a moody appearance, while brighter violet offers a more playful finish. French tips provide an easy way to introduce the color without covering the entire nail. Small stars, moons, or tiny spiders can complement the webs, but using only one extra motif keeps the overall manicure organized and wearable.
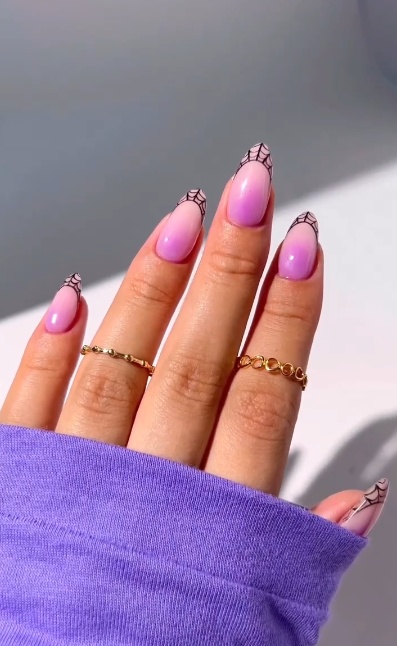
Credit: @thenaillologist/ Instagram
30. Delicate Web Overlay
Delicate spider webs can transform a simple manicure without covering the base completely. Sheer nude, milky pink, or soft beige polish creates an understated canvas for ultra-thin black or white lines. Minimal artwork works especially well for people who want a seasonal manicure that still suits everyday outfits. Placing webs on only a few nails creates natural variation, while a consistent glossy finish ties the entire set together.
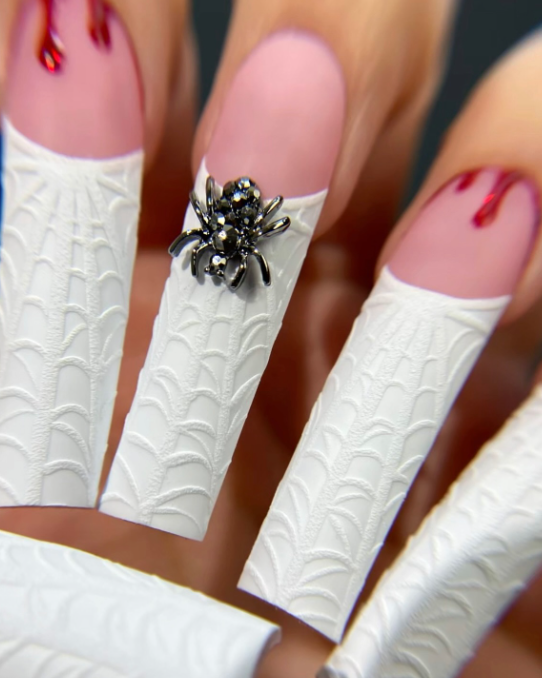
Credit: @setsbylotus / Instagram
Conclusion
Choosing the right finish can completely change how Halloween artwork looks on your hands. Halloween spider web nails work beautifully with matte polish, chrome details, sheer bases, bright colors, and even glowing accents, so there is no need to follow one traditional style. For a more wearable approach, consider spider web manicure ideas with subtle French tips or negative space, while spooky web nail art can bring stronger character through detailed spiders, ghosts, and bold seasonal colors.